- Home
- What's New?
- $70.00 to $110.00 Pendants
- $115.00 - $140.00 Pendants
- $150.00 - $195.00 Pendants and Pins
- $200 and over Pendants and Pins
- Bracelets for Sale
- Work at Gordy's Fine Art and Framing
- Work at Ft. Wayne Museum's Paradigm Gallery
- Work at Indiana Artisan Store: Carmel
- Work at Carrie Wright Silks
- Chase Repousse Collection
- Purchasing and Contact
IAC Grant for Chase Repousse

The "chase repousse blog" shows my latest postings first. If you want to follow the project in chronological order, go down to the first posting and work your way up.
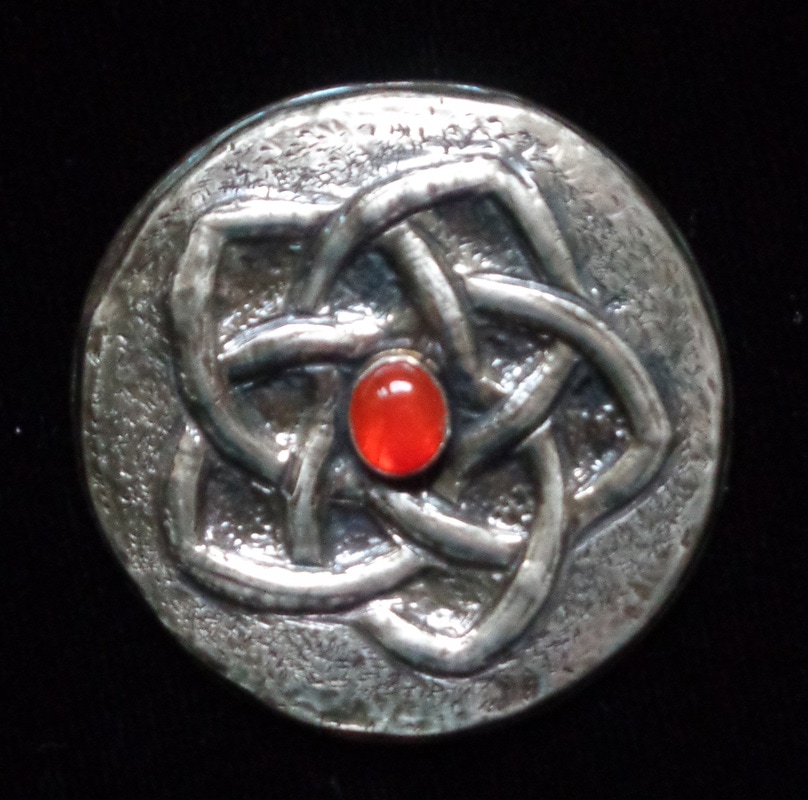
2/22/17: Another set of challenges: At my last meeting with Pat Nelson, my chase repousse guru, she told me that most artists use bezel set stones in the CR pieces. I wanted to try that and also wanted to practice designs that go under and over such as interlacing. The pin was based on a Japanese design while the bracelet was a Viking one. On the bracelet, I figured out how to make a border which I will use again. All in all, I'm improving each time I make a new piece. However, what drives me onward is that I can always see areas where I still need to improve. Alas, that will probably be until the day I die!
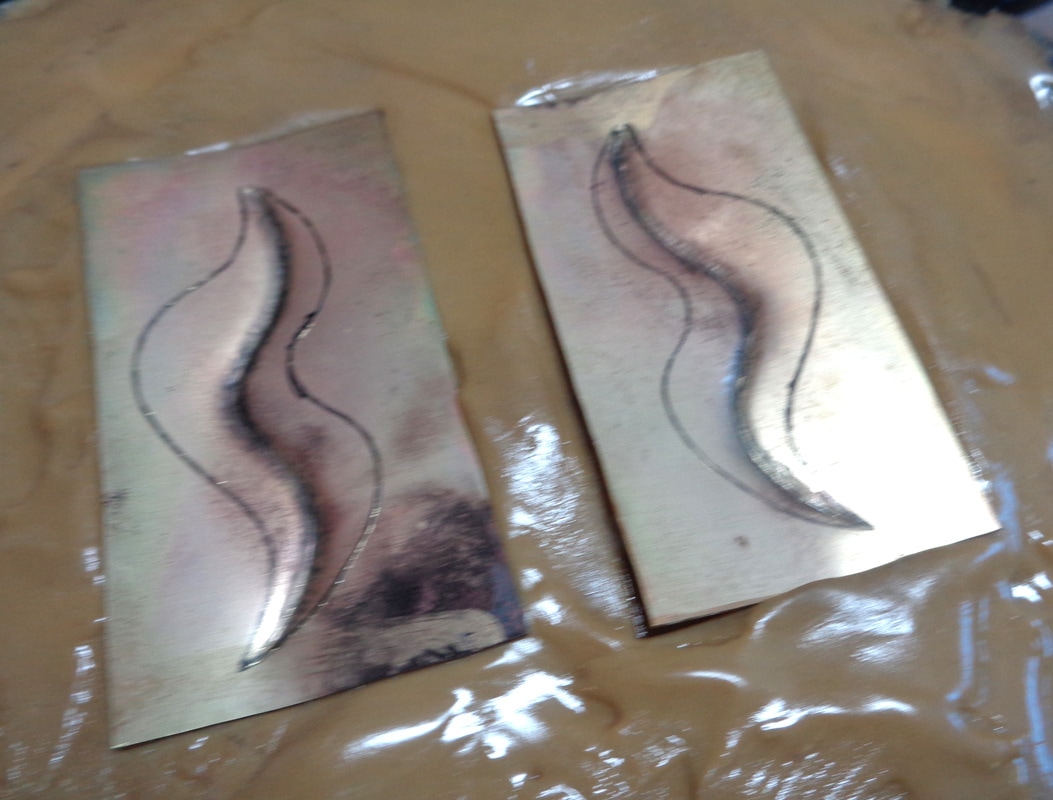
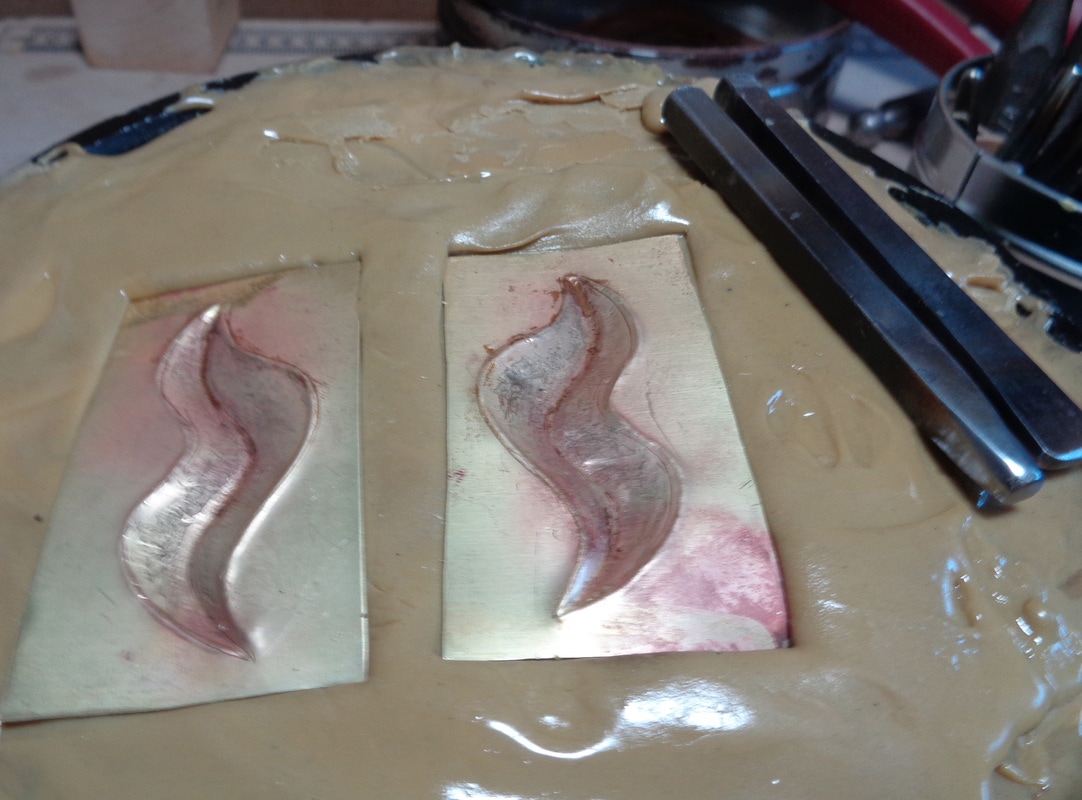
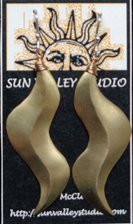
2/20/17: How do you make your chase repousse look smooth with no hammer marks? I wanted to find out so I followed Elizabeth Oliver's instructions for chase repousse earrings in her Jewelry Making Techniques Book. To get the earrings identical, you work both at the same time. The first picture shows the earrings from the front after the middle line has been hammered into the back and the sides curved up to the mid line. The next picture is the back of the earrings showing the hammer marks which are present even after smoothing it as much as possible. To get the finished look required lots and lots of sanding and then going over the earrings with a buffing wheel. They look beautiful, but I'd also like to try another pair on which I leave the hammer marks.
2/19/17: It's frustrating to try to figure out how to chase repousse...much experimentation. I found a project in Jewelry Artist magazine and followed the steps as I would a recipe. (artist: Tom Benham) It helped me understand better what happens when you use a certain tool or hammer from a particular direction. I was very pleased with the results.
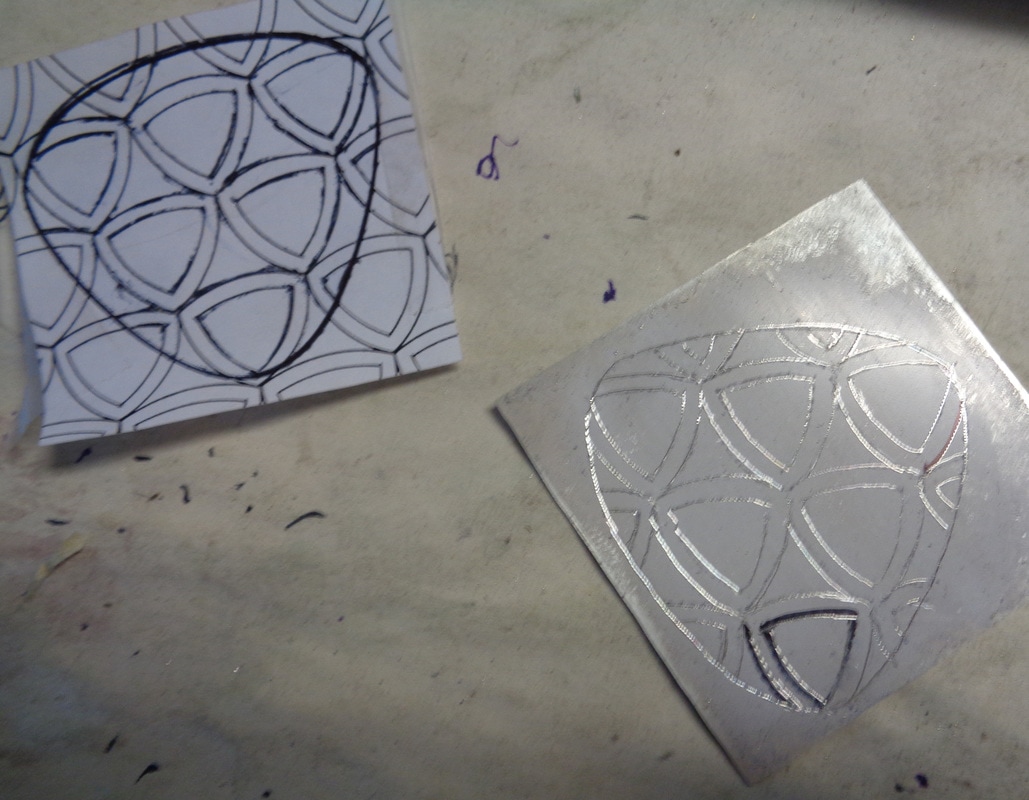
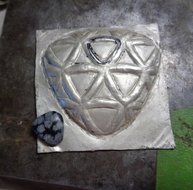
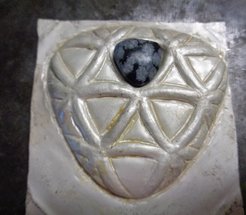
2/17: Silver Pendant: After such a complicated design for the bracelet, I wanted to try a simpler one and work on my technique. You could call this triangles cubed: triangular shapes on a large triangle with a triangular snowflake obsidian. As usual, I learned a lot. 1. It's helpful to trace your design with a sharp tool before you chase it. The engraved line acts as a channel for your tool so you get an accurate line. 2. I pushed in an area for the stone. However, I still had to shape and reshape the stone on my lapidary machine until it fit just right. It is held in place by the indentation that I made for and by Loc-Tite Super Glue. Pat Nelson suggested that a better solution would be a bezel set stone, so I'll try that next time.
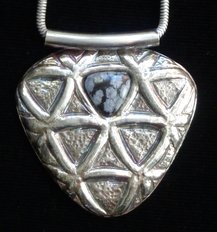
Finished pendant. This one was very successful.
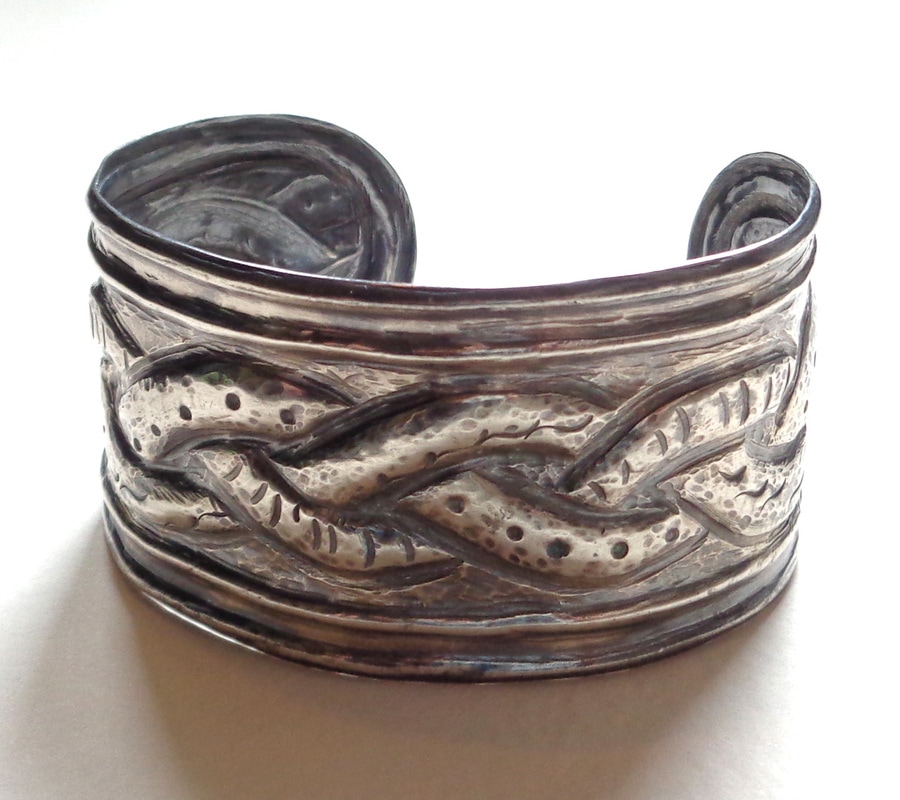
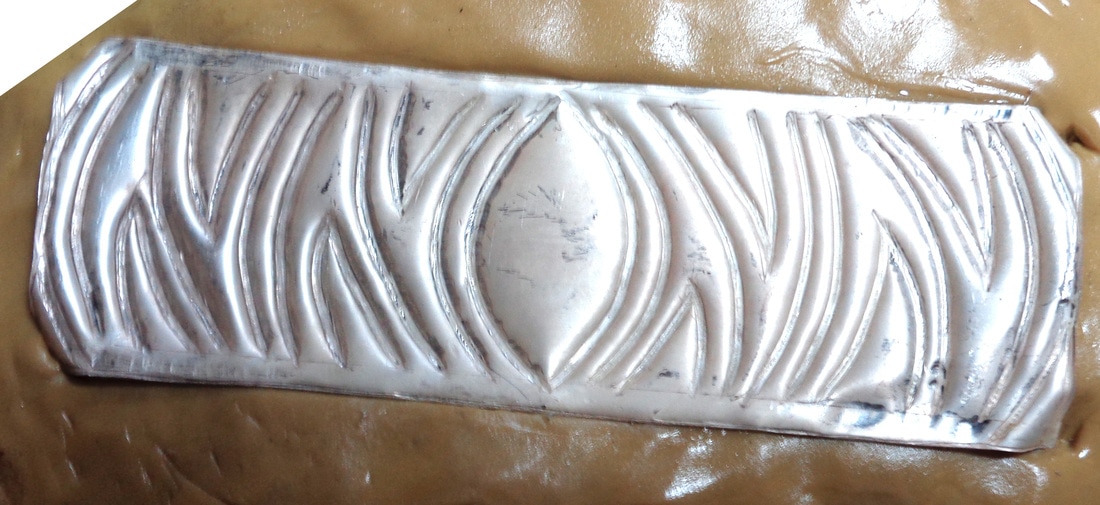
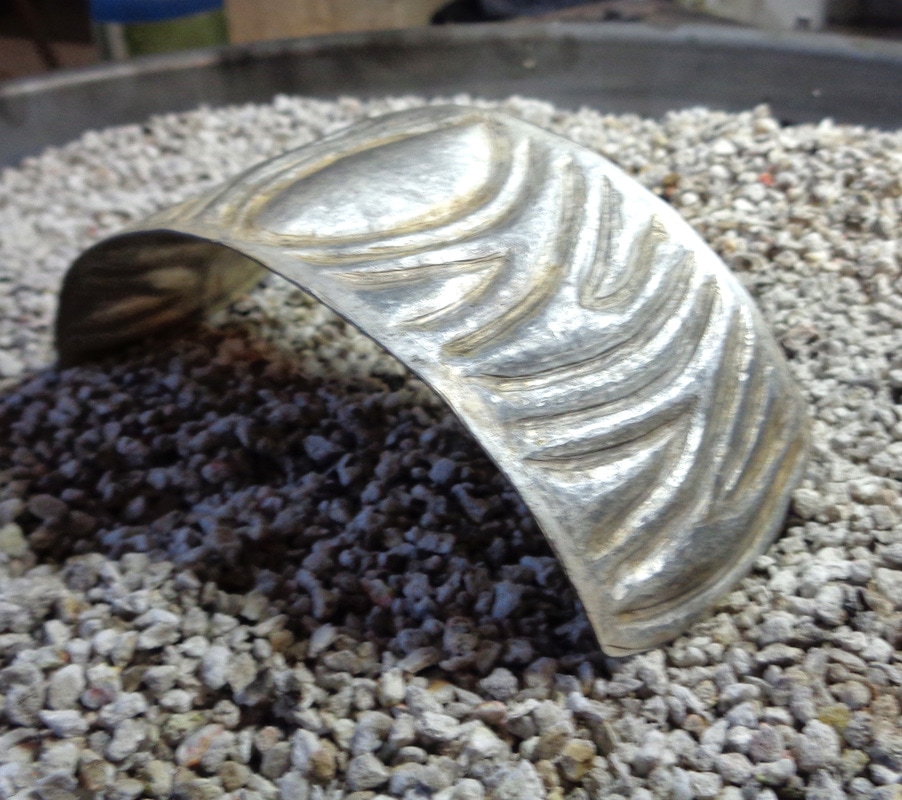
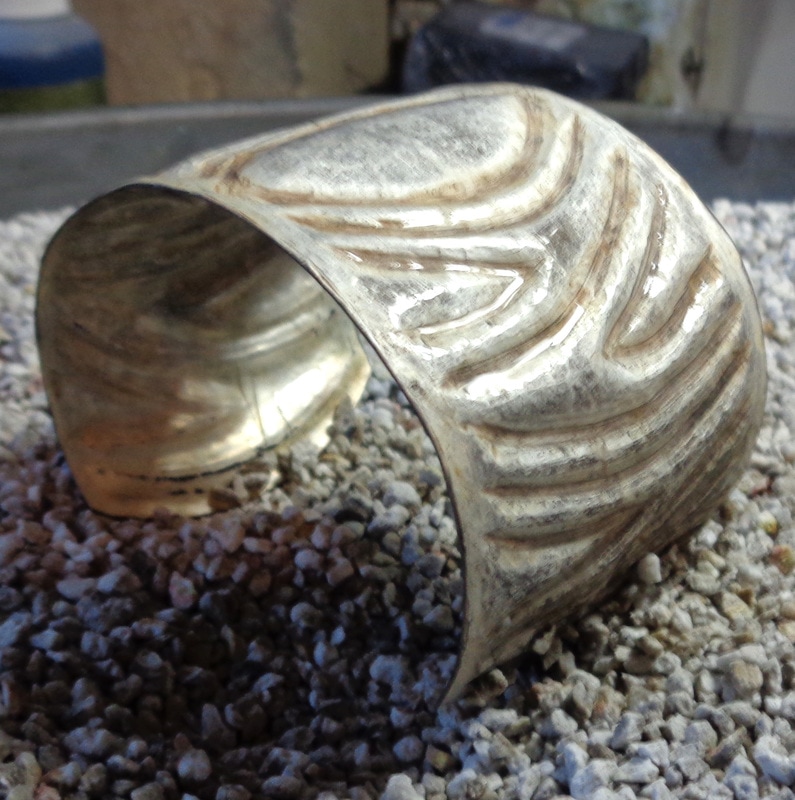
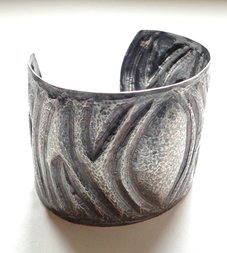
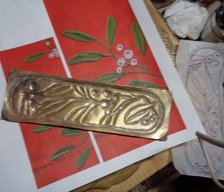
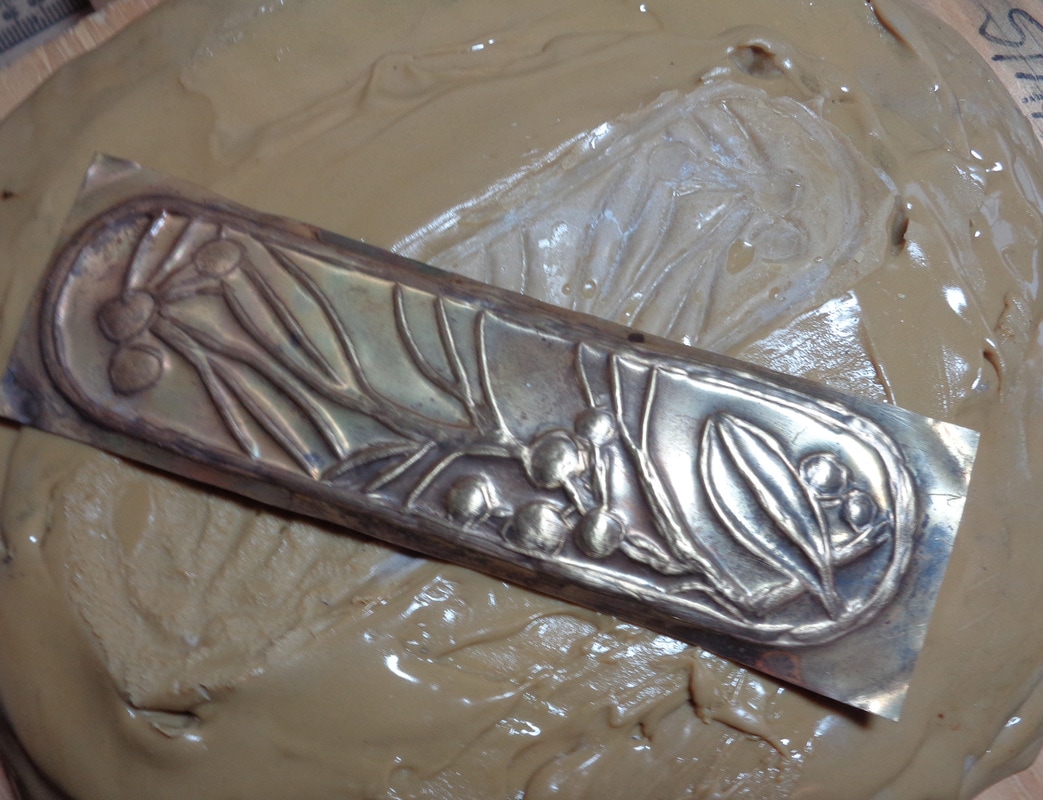
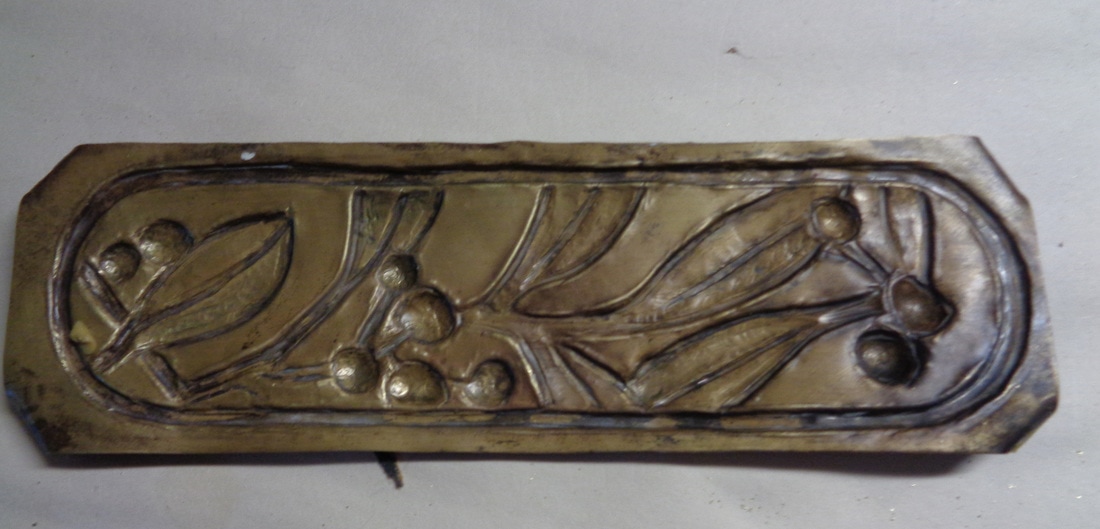
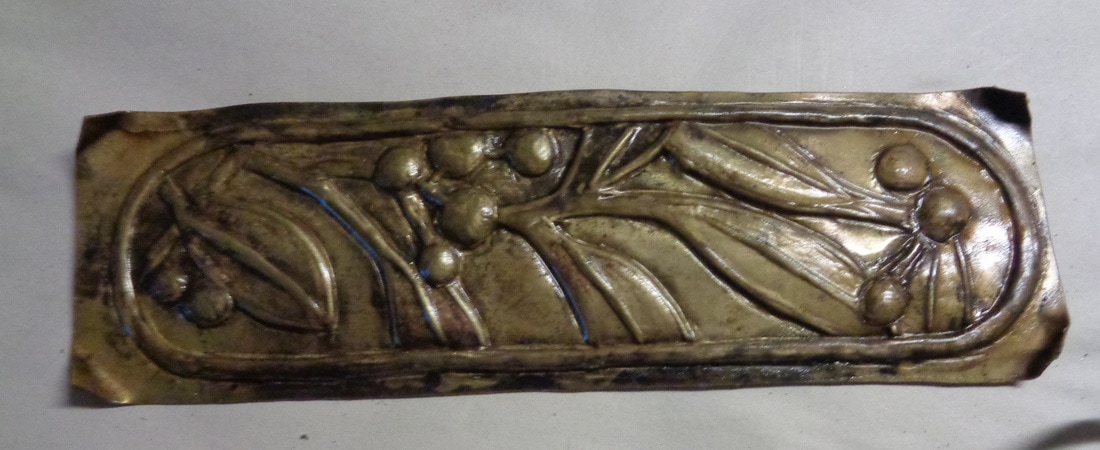
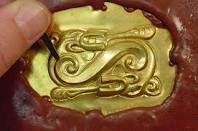
1/17: First Bracelet: The inspiration for the cuff came from a Christmas table runner. I traced parts of the image and repeated them to make my design. Most chase repousse artists bend the cuff first and then hammer in the design. I found an article in which the artist worked it flat and then bent the metal into a cuff. Here's my experiment using his technique. Verdict: This is the way to go! Also, I love the look of the brass because it looks so ancient as if I unearthed a bracelet from an archaeological site.
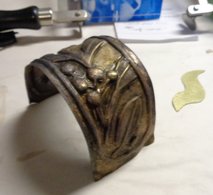
The trickiest part of the bracelet was shaping it into a cuff. If you do it too fast, you crease the metal. So...you anneal the metal, shape it a little with your hands...anneal again, shape a little more. All in all, it took 8-9 times of annealing and shaping to get it right. One thing I learned the hard way: saw off the excess before you bend it. It is so difficult to saw afterwards.
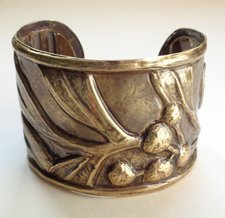
Here's my finished cuff....antiqued with liver of sulfur to highlight the design. This photo will appear in the Indiana Artisan Viewbook as an example of my work.
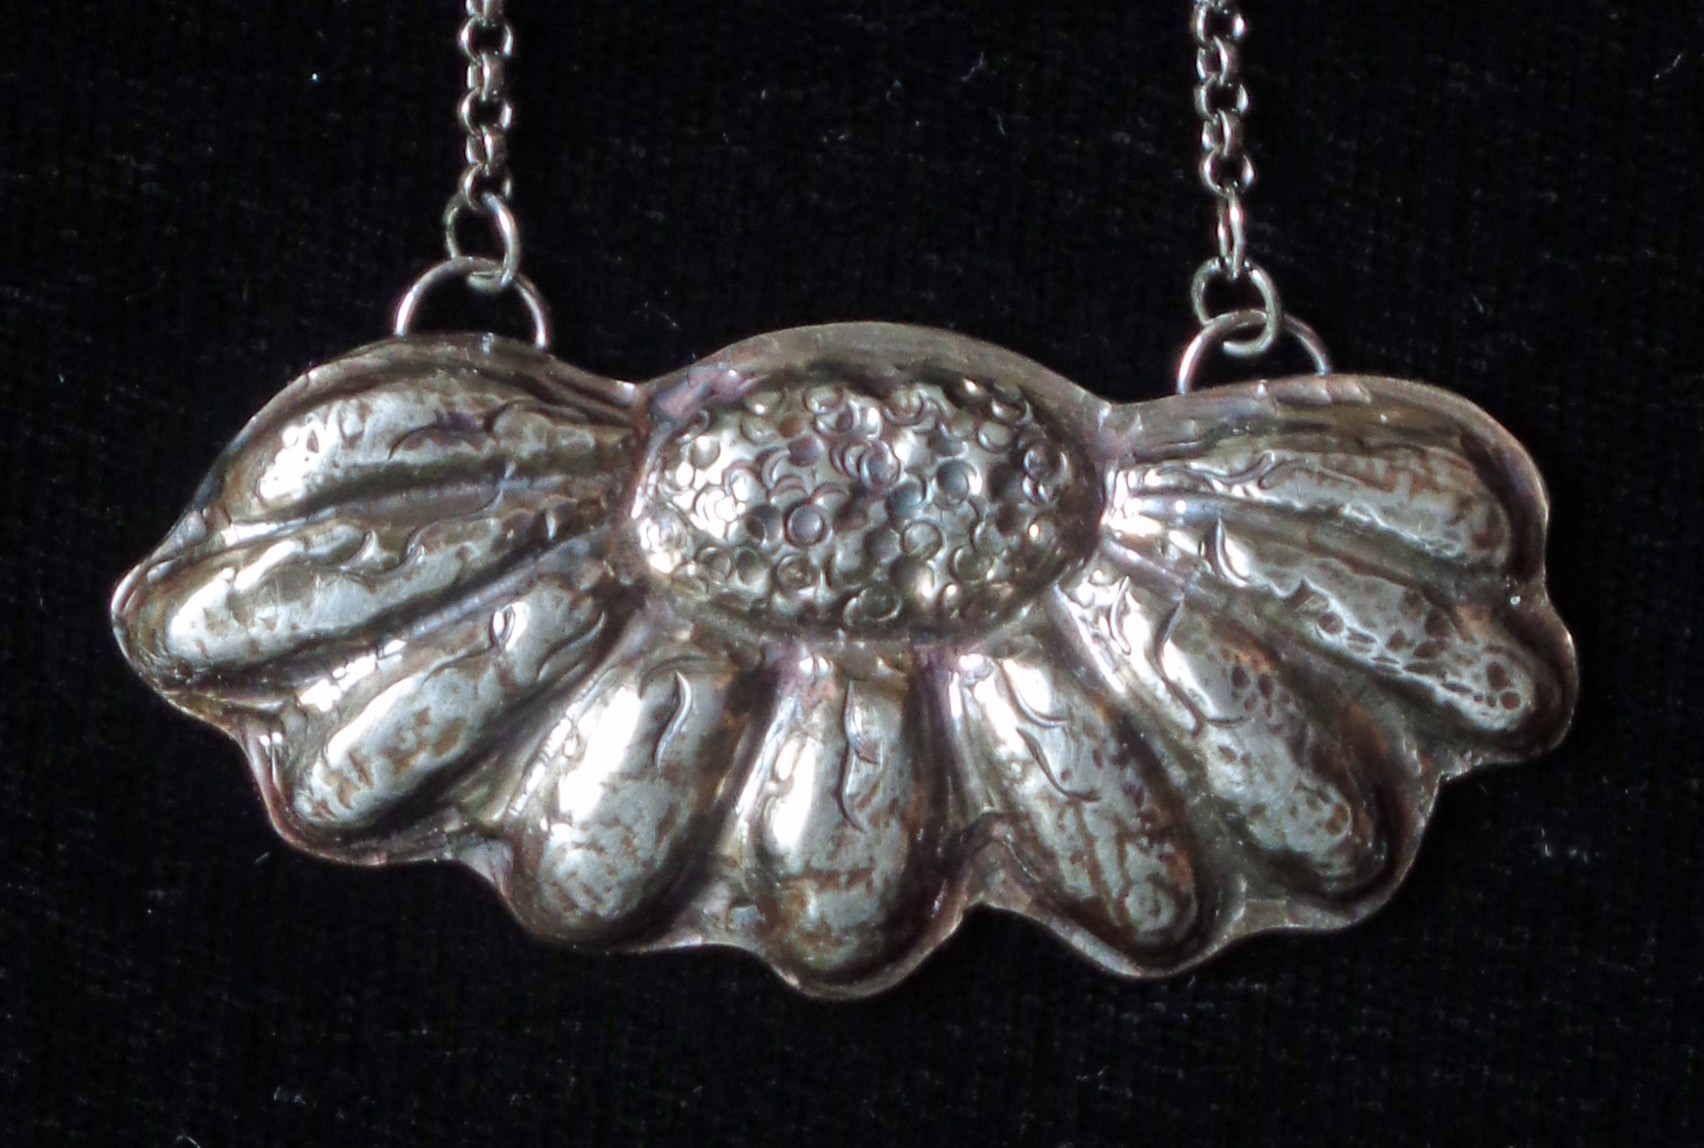
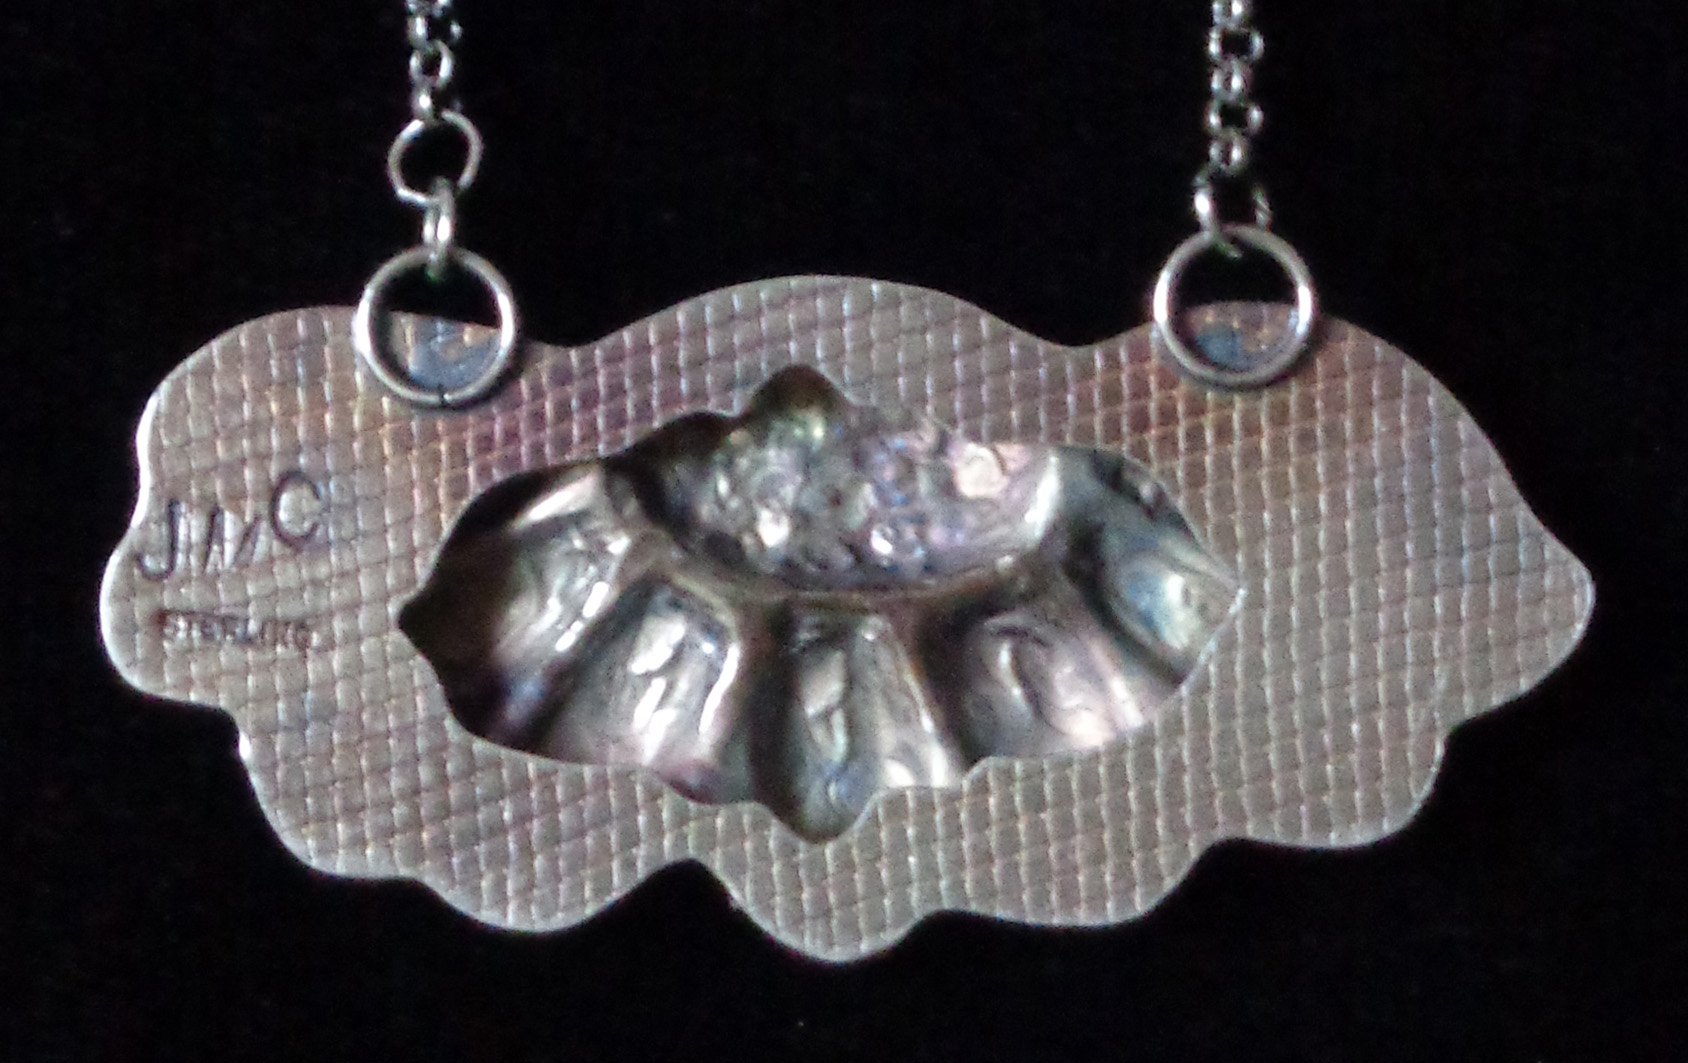
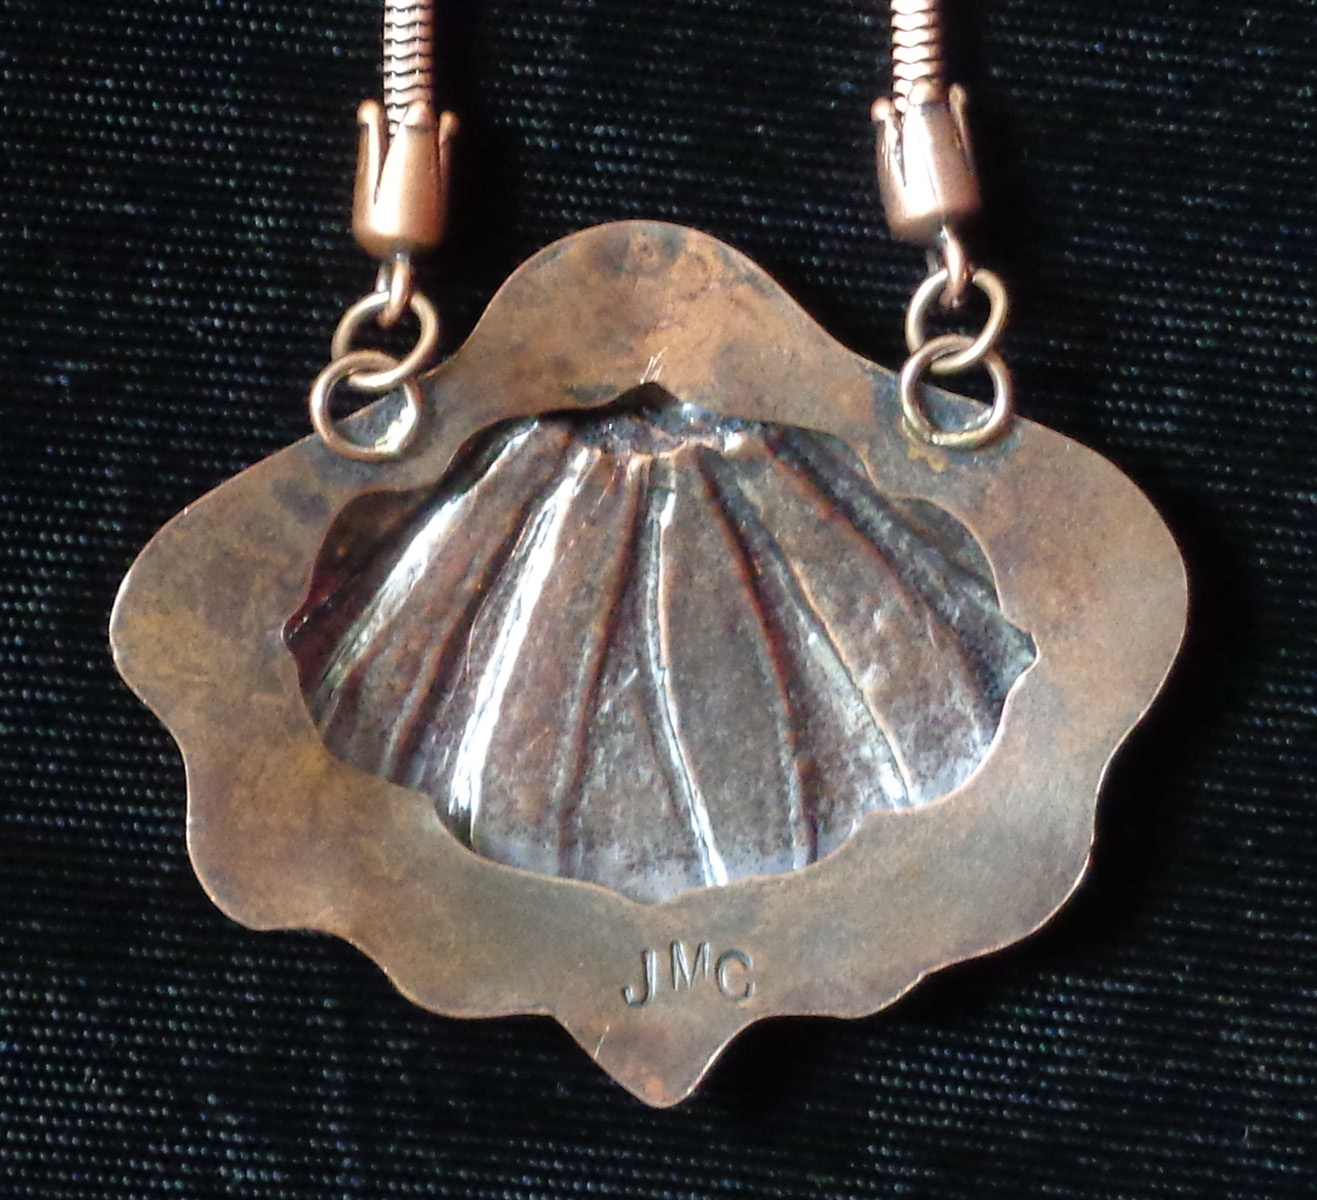
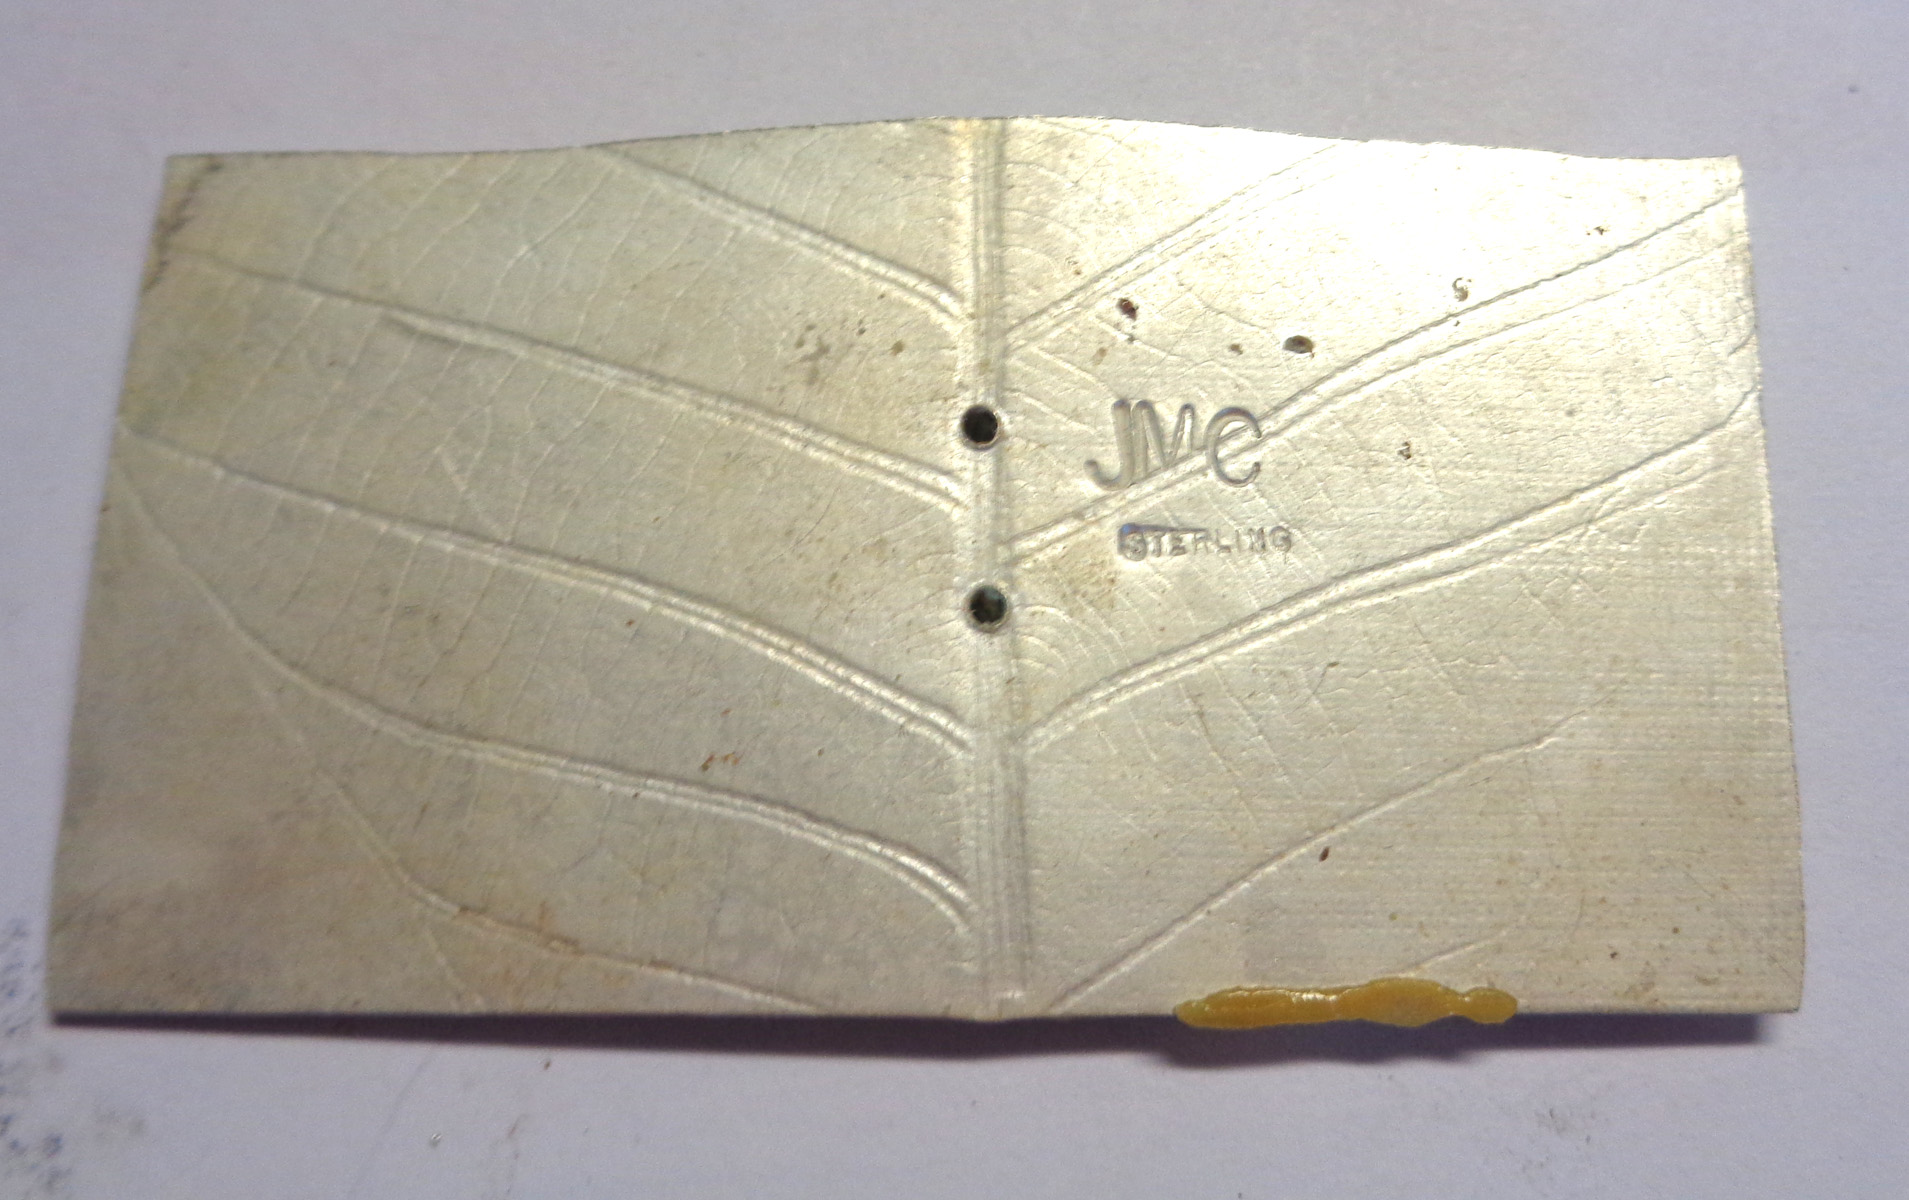
12/3/16: Pendant and a Pin: I completely remade my disaster pendant from October...cut new silver and started over. It turned out a lot better the second time. Below are pictures of both the front and back. I really like designing a hole for the back that not only enhances the piece but takes care of the technical issue needing a hole so the hot air can escape during the soldering process.
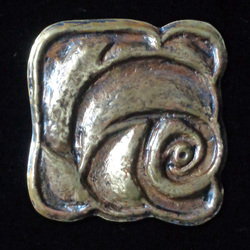
This is the first of three pins all made with the same design but with different metals. I started with brass, but will also make ones in copper and silver. My idea is to play around with various ways of hammering so that they all look different.
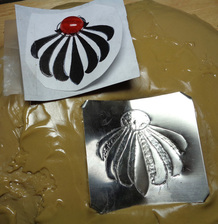
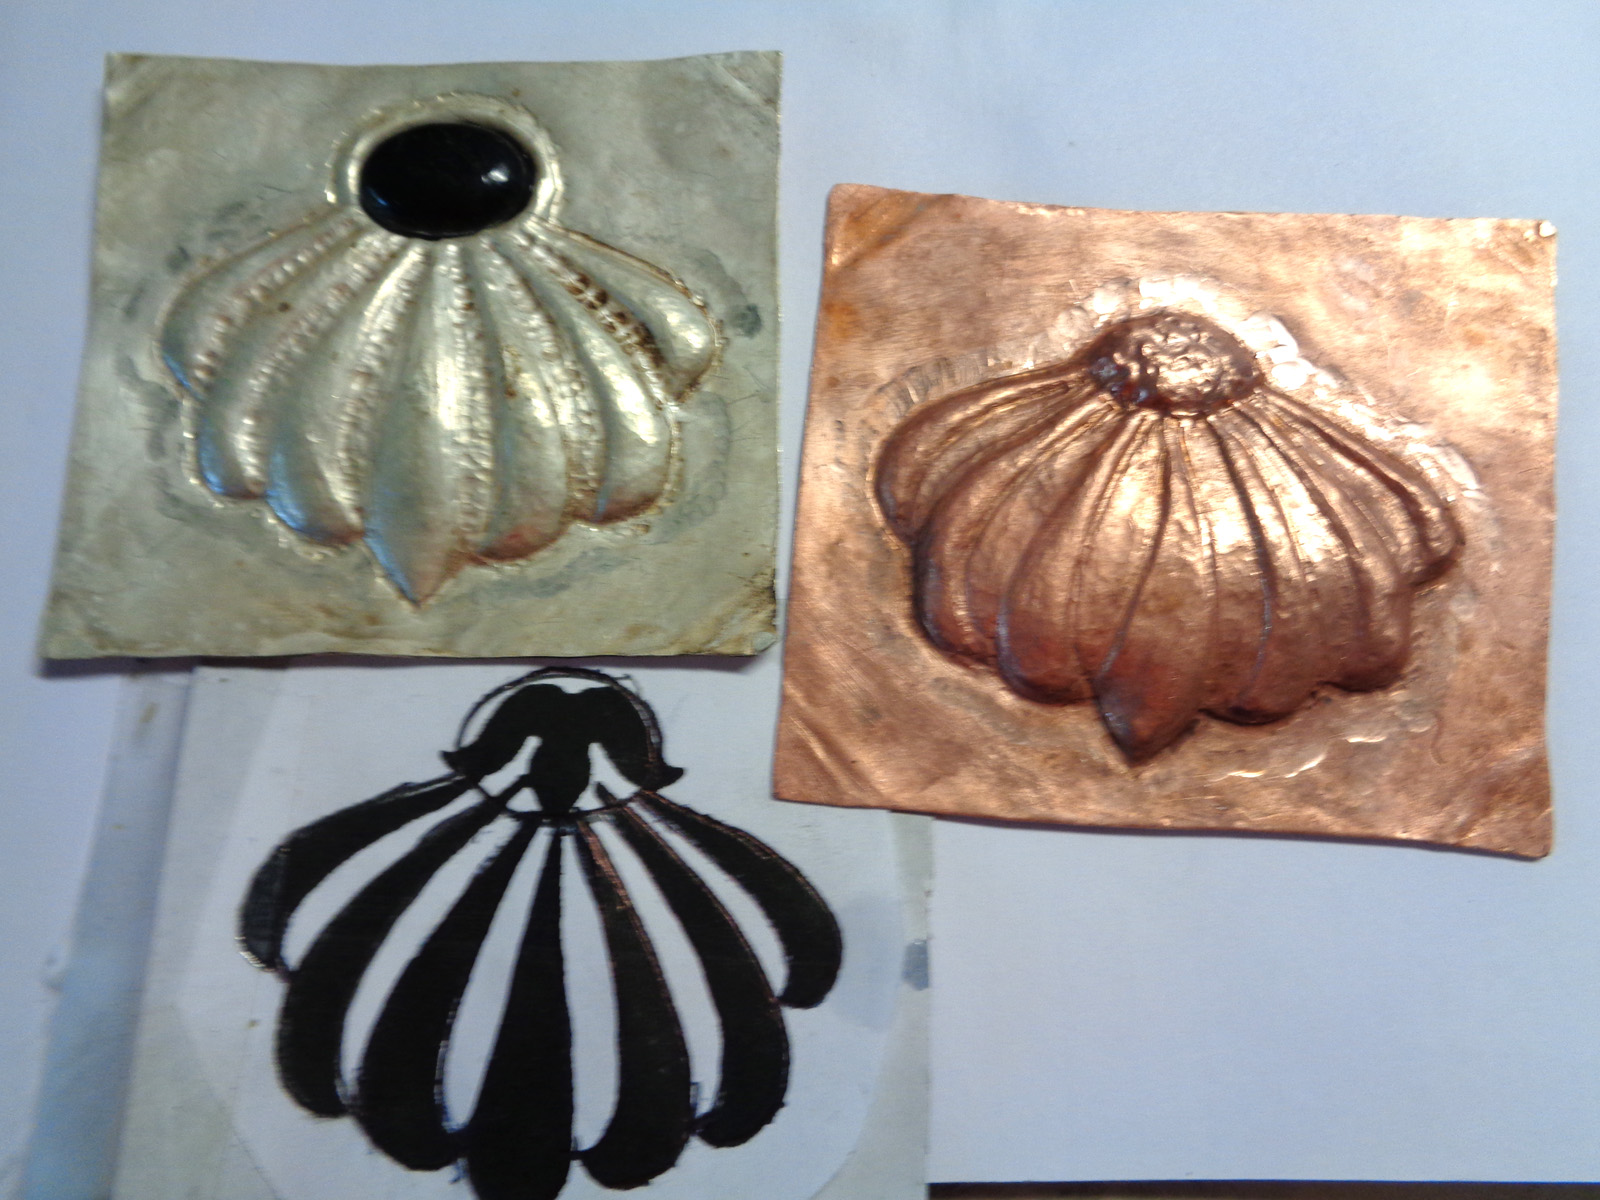
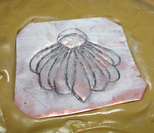
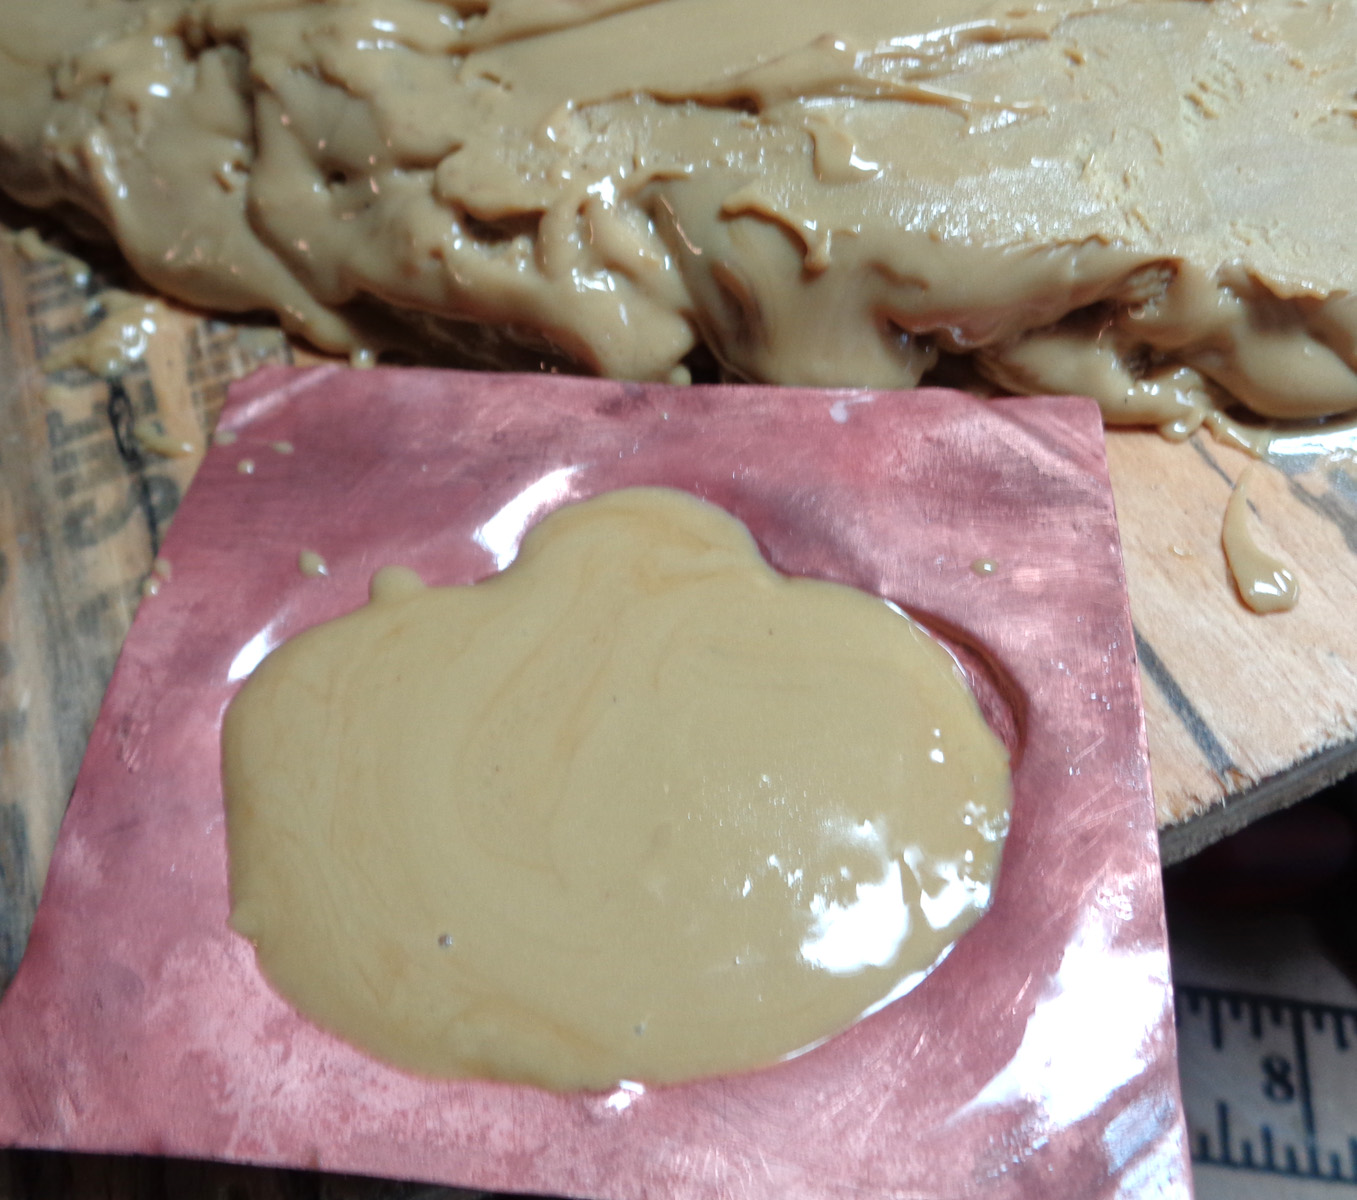
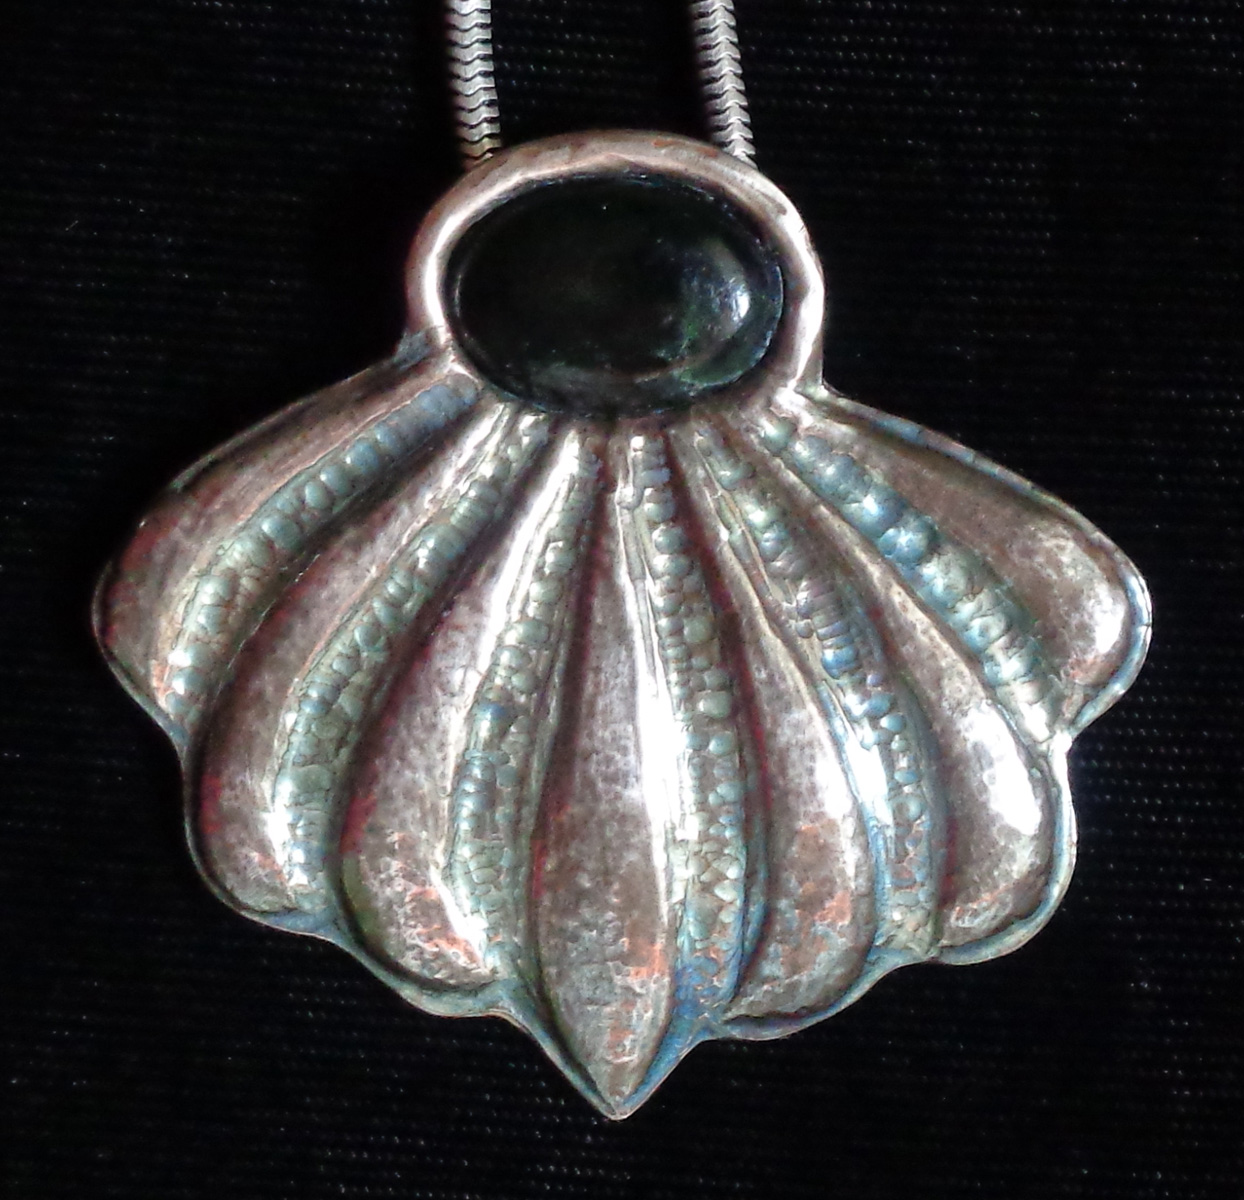
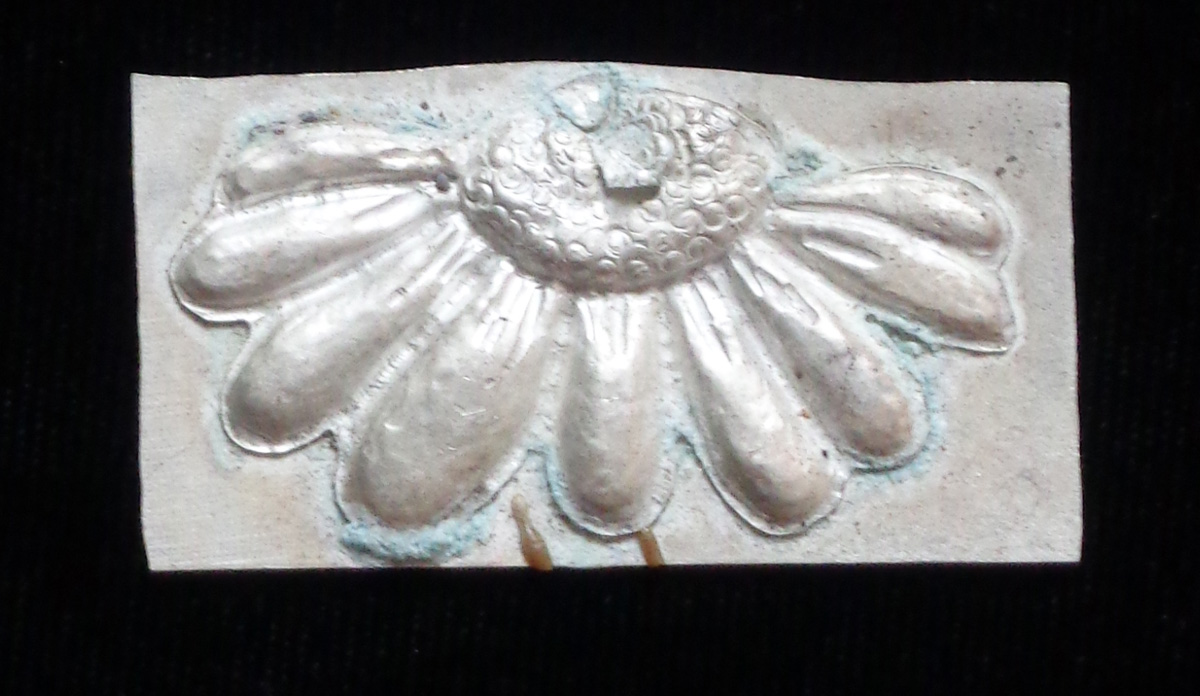
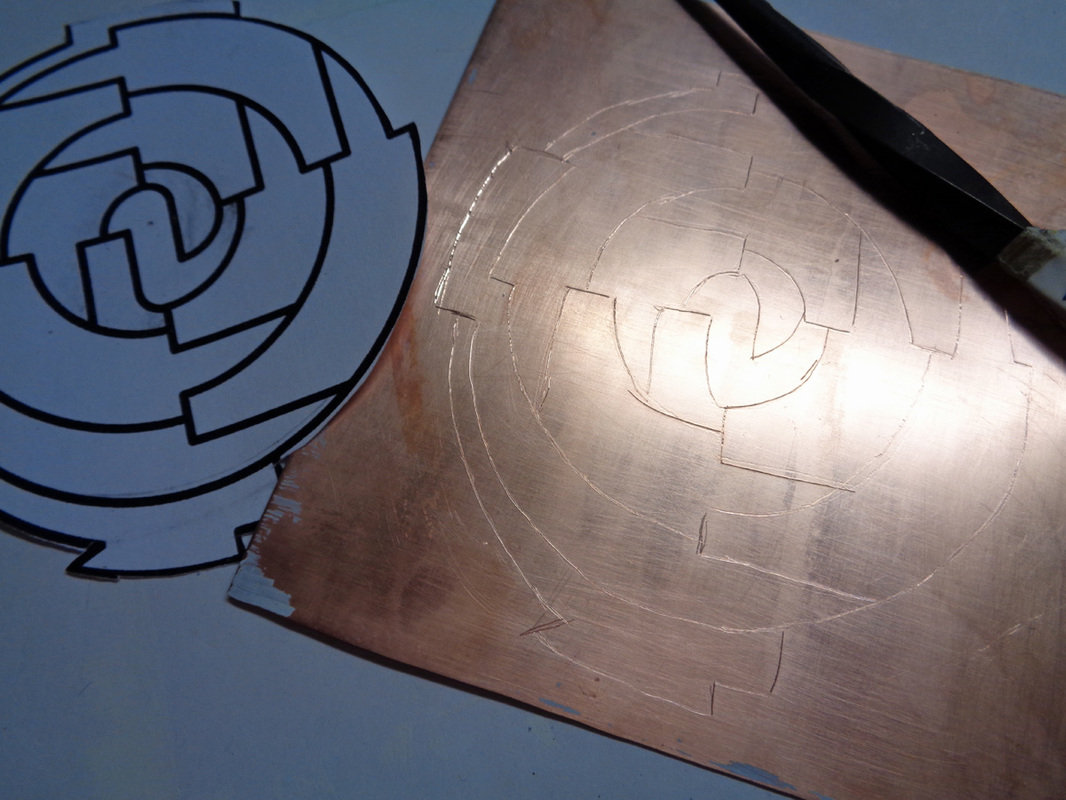
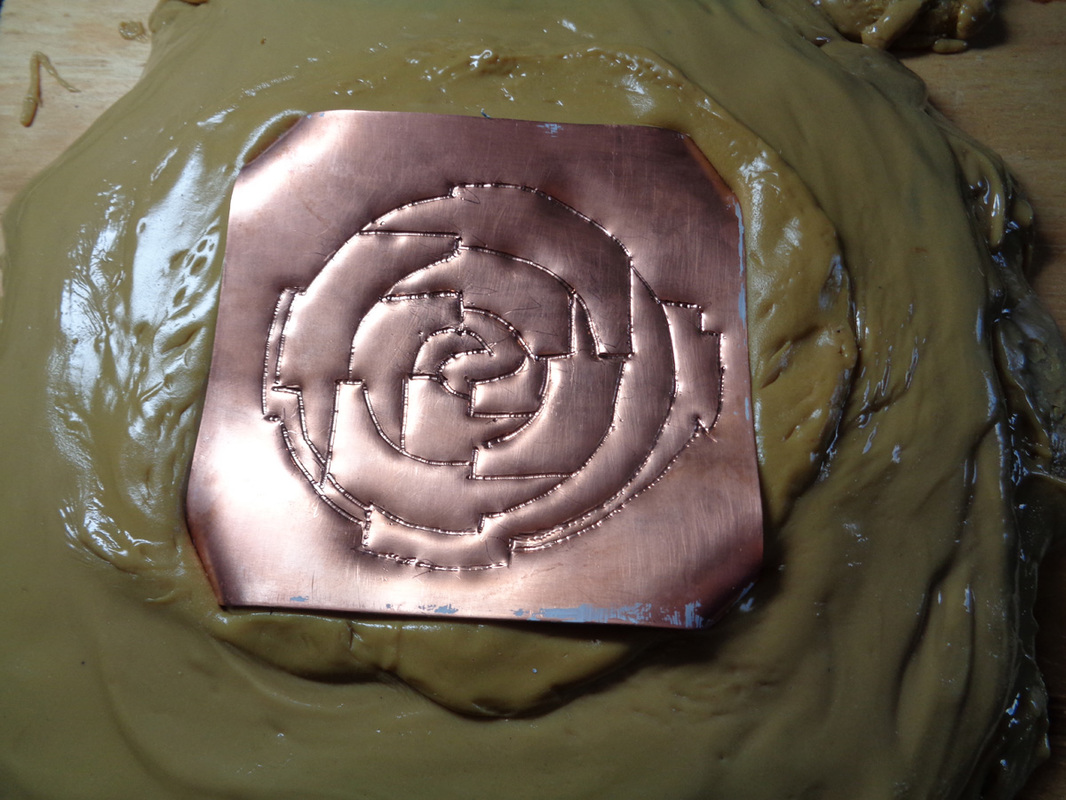
11/19/16: First Pendants....that Worked. Throughout my first experiments, I figured out a number of things that I should do differently. First, there is a much better way to transfer designs. White acrylic doesn't work but white gouache with old fashioned carbon paper does. I immediately put the sheet of copper in soft pitch and punched in all the outlines with a lining tool and hammer. (Messy, so next time I should use an etching tool to redraw the lines and then wash off the carbon and white gouache.) I used the same design but added a stone to make a similar silver pendant which is shown after it's been lined.
|
The two pieces below are finished and ready to be turned into pendants.
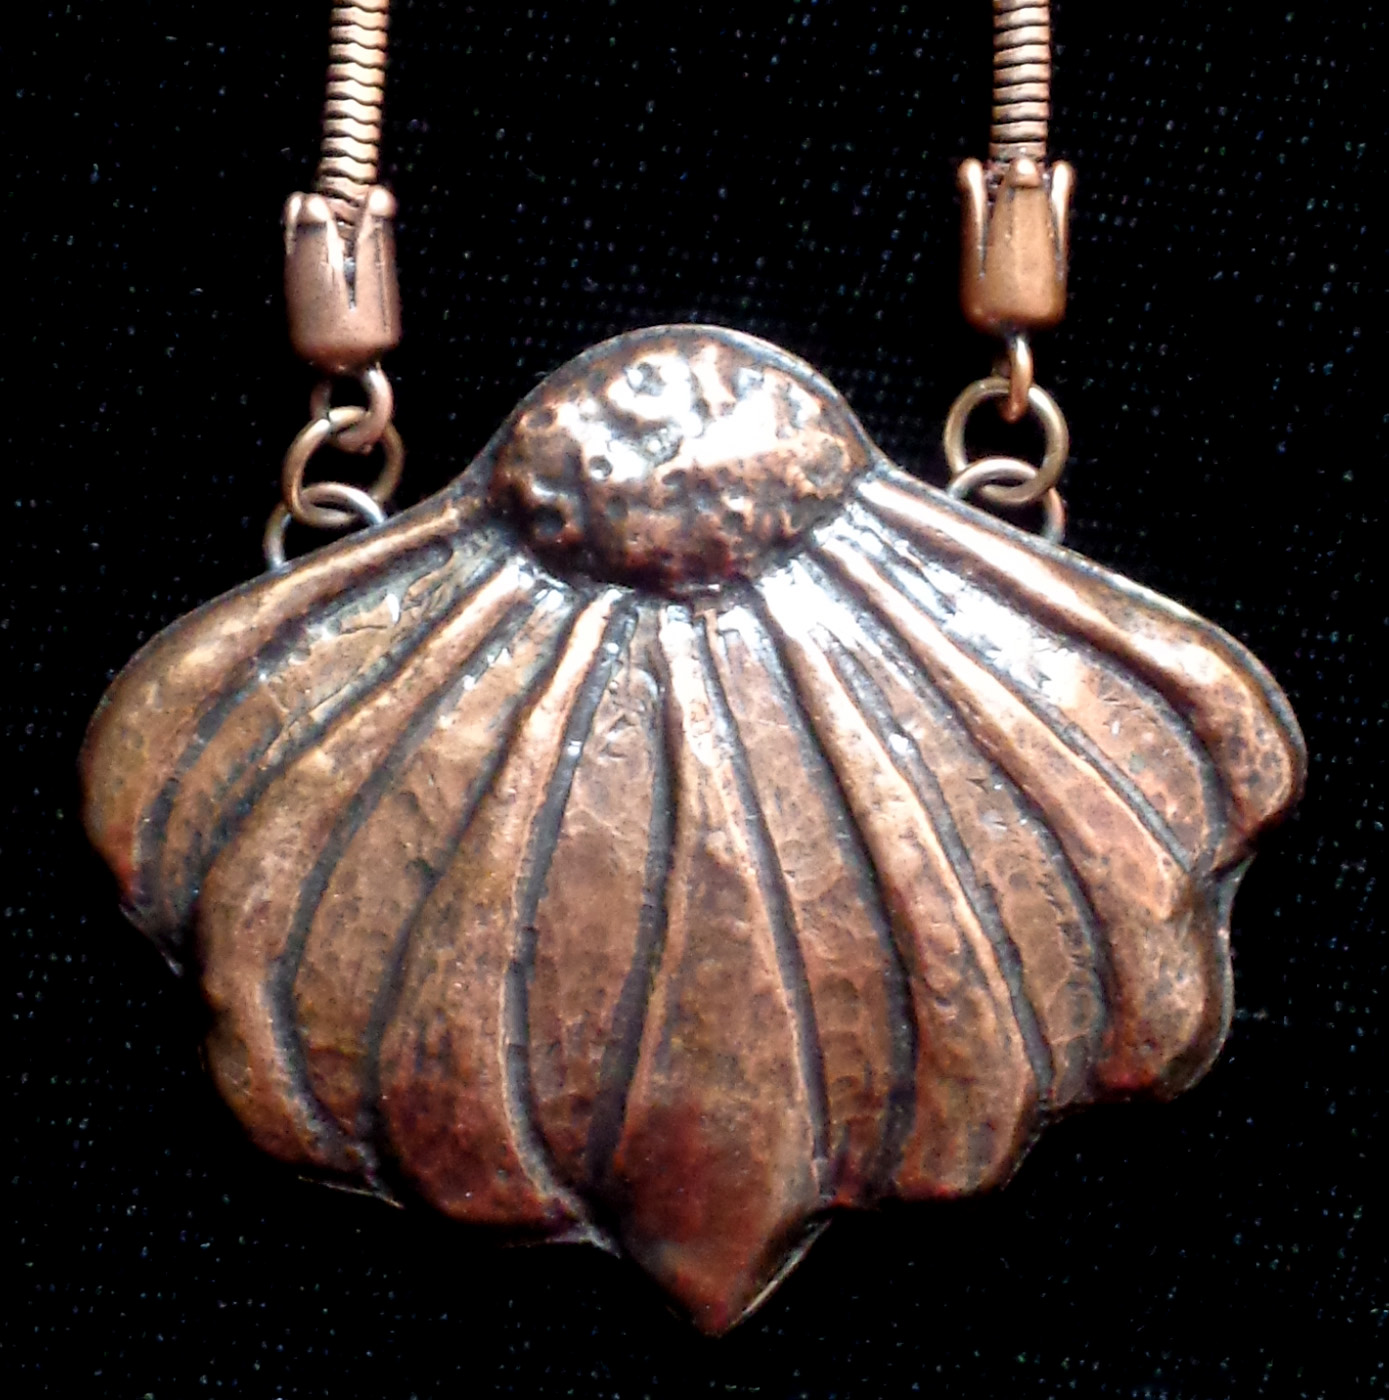
Two completed pendants! I am proud of both of them and learned so much as I did them. I am loving chase repousse. Stay tuned for more projects...
|
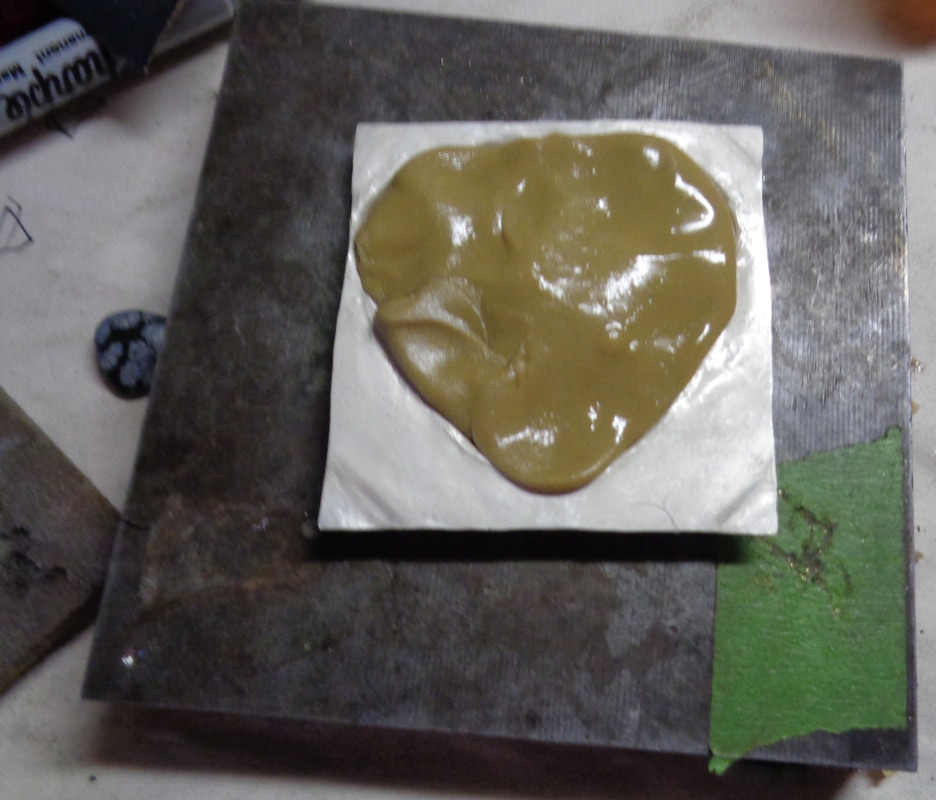
Another lesson I learned. Once you have added repousse to the back, it's a good idea to fill the cavity with heated pitch. Then turn it over and fasten it into your pitch board. That way you are sure that your design will not collapse when you chase the front side.
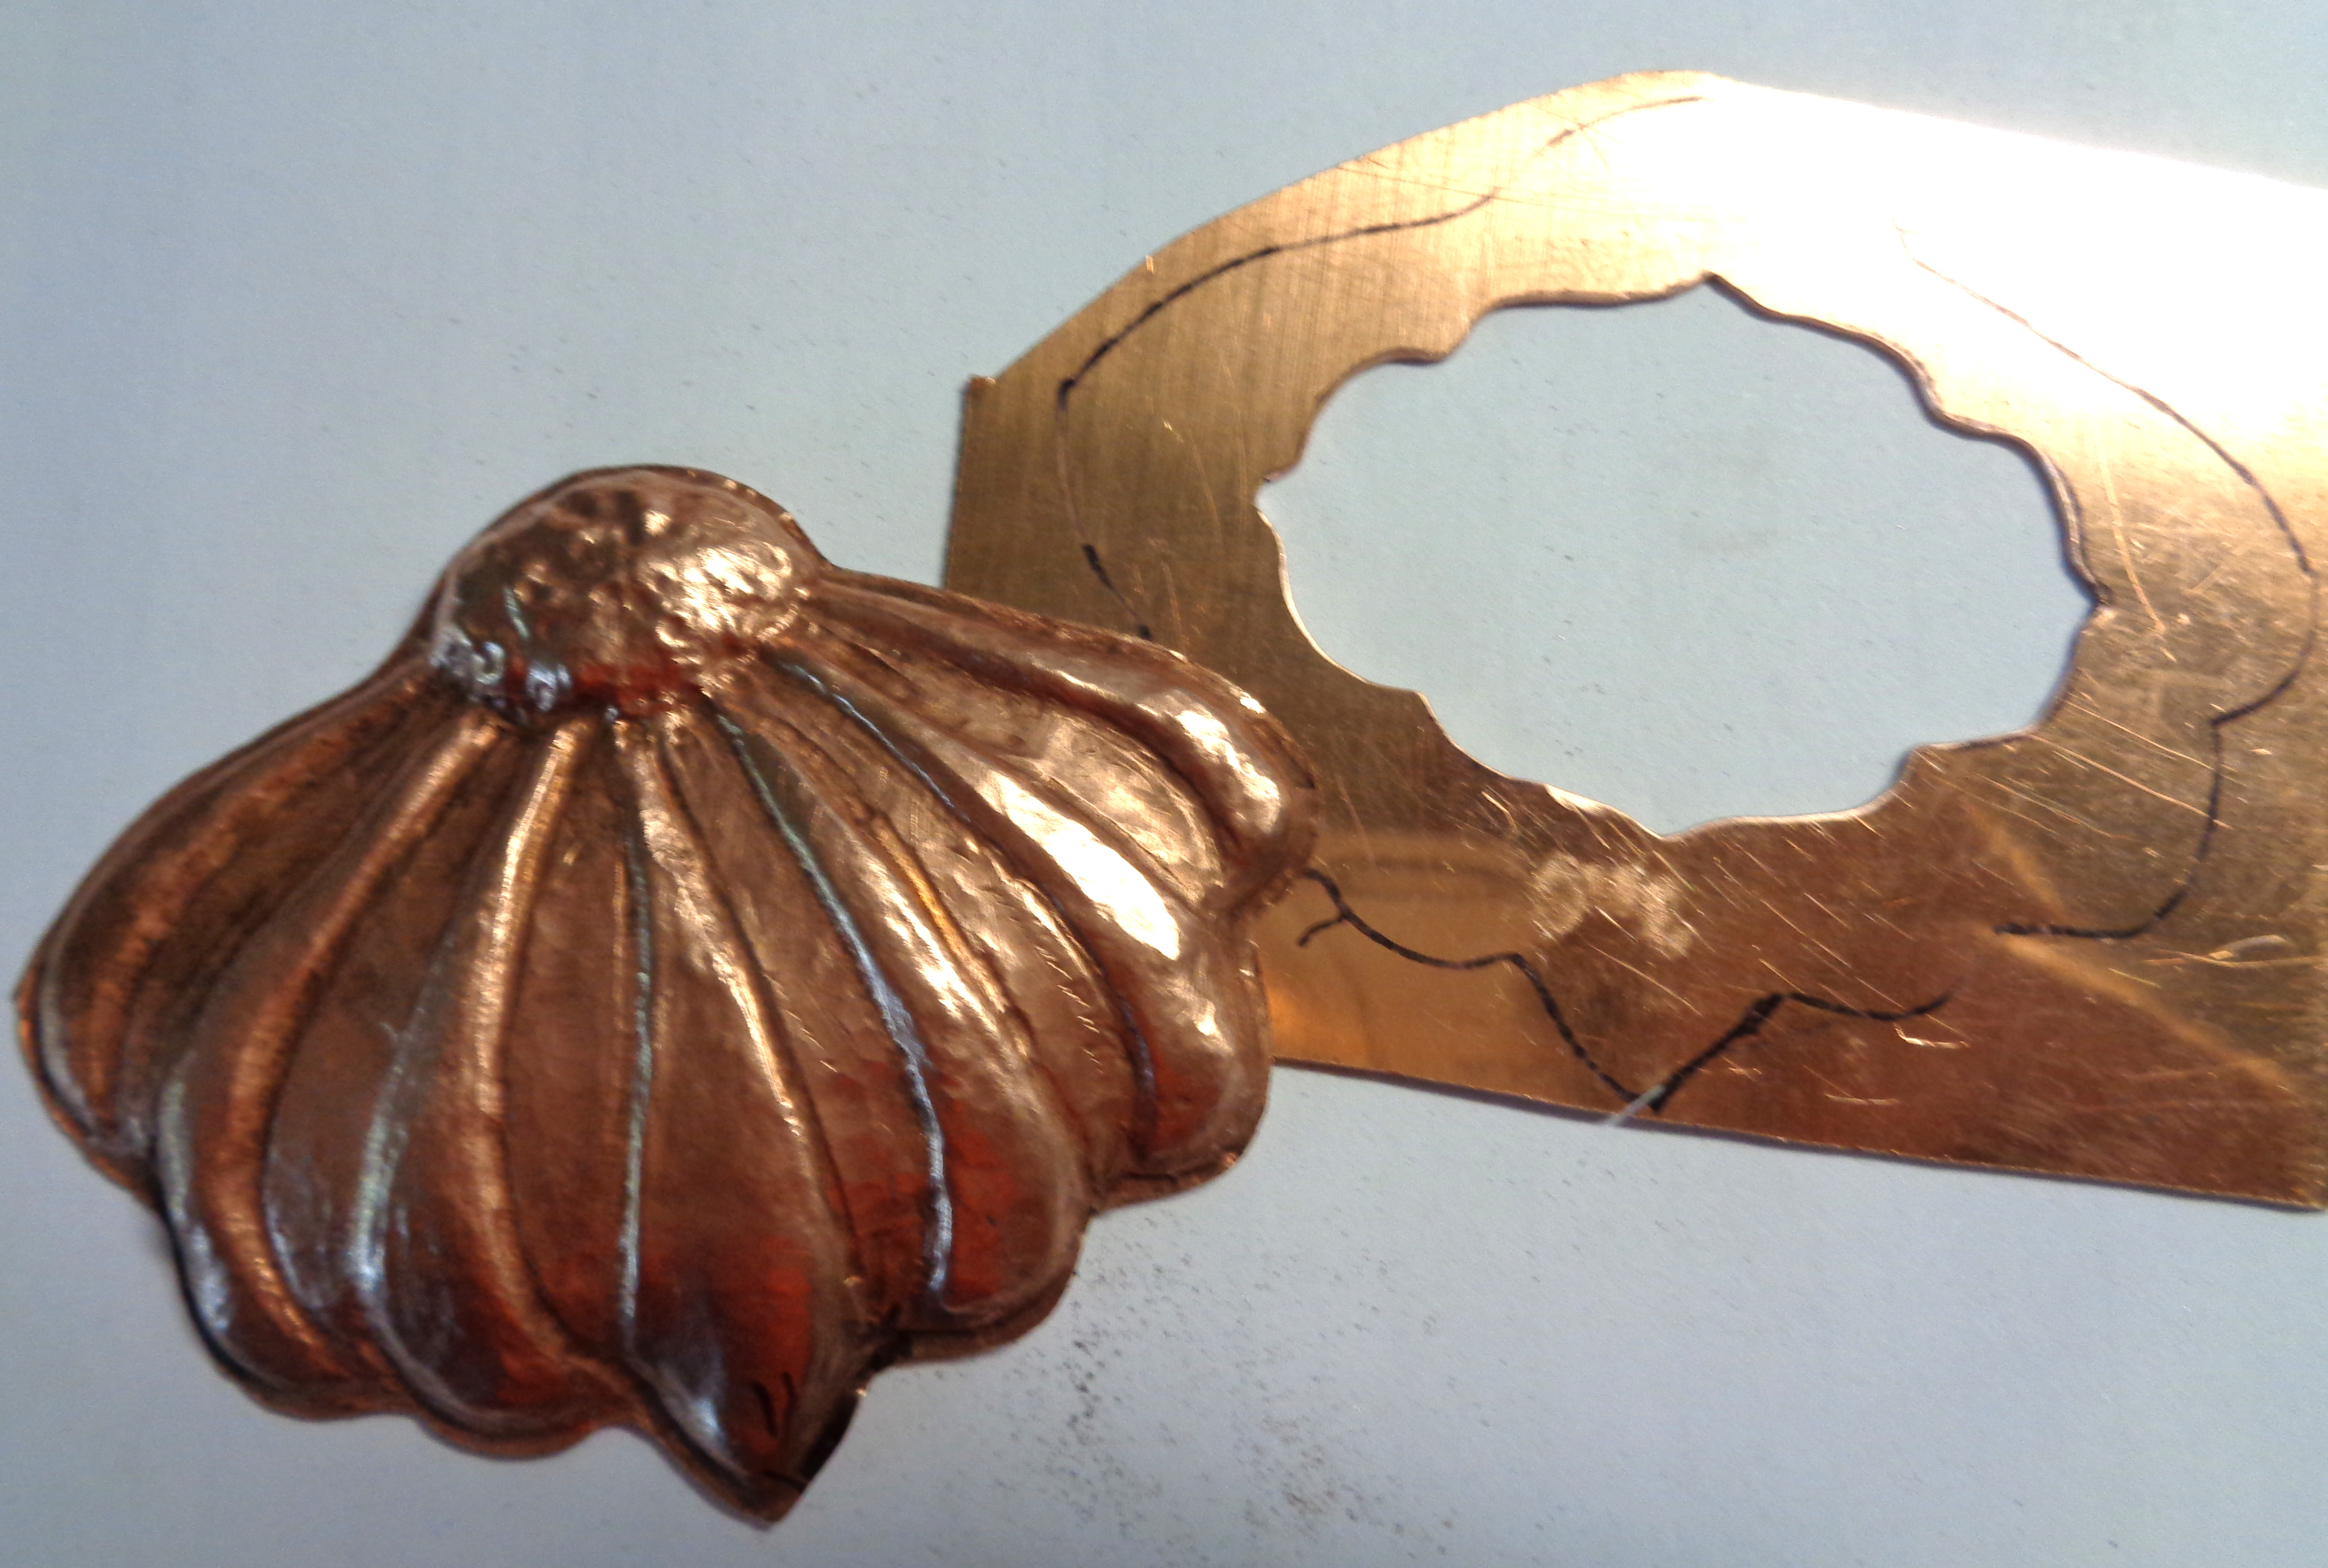
To complete the pendant, first saw around the design and sand the edges flat. Cut out a back plate from 24 gauge metal. It is also necessary to cut out a hole (decorative) which will let all the gases escape as you solder the pendant to the back plate. (See Disaster entry below.) Other benefits of the opening are your piece is lightweight and you can see and appreciate the repousse work.
|
10/16: Disaster. I had completed what I thought would be a great pendant....until I added the back plate. Knowing that I needed some air holes to let the gases escape while soldering, I drilled two holes on the back plate. Not enough! When I soldered, part of the piece collapsed and broke. I called Pat Nelson, my mentor for the grant, and had her look at my mess. Immediately, she said the problem was I needed a large, preferably decorative opening rather than drill holes. It's great to have an expert on board! I'm keeping the piece as a reminder of what not to do.
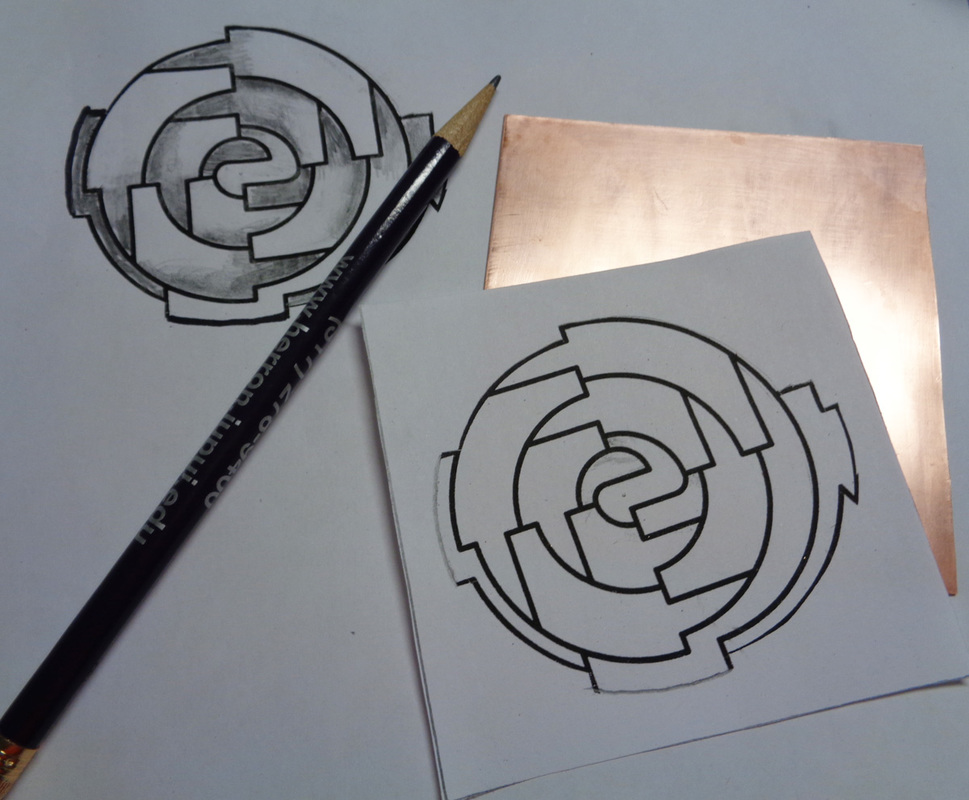
10/4/16: Preparing Your Metal for Chase Repousse. The preparation involves a number of steps. I first found an image in a book on tessellations that I wanted to use. The shaded copy shows which areas I want to recede and which areas should come forward in my finished piece. Next, I prepared the copper by sanding any scratches on either side. Next, I annealed it to make it softer, cleaned it with a mild acid called pickle, and scrubbed it with cleanser.
|
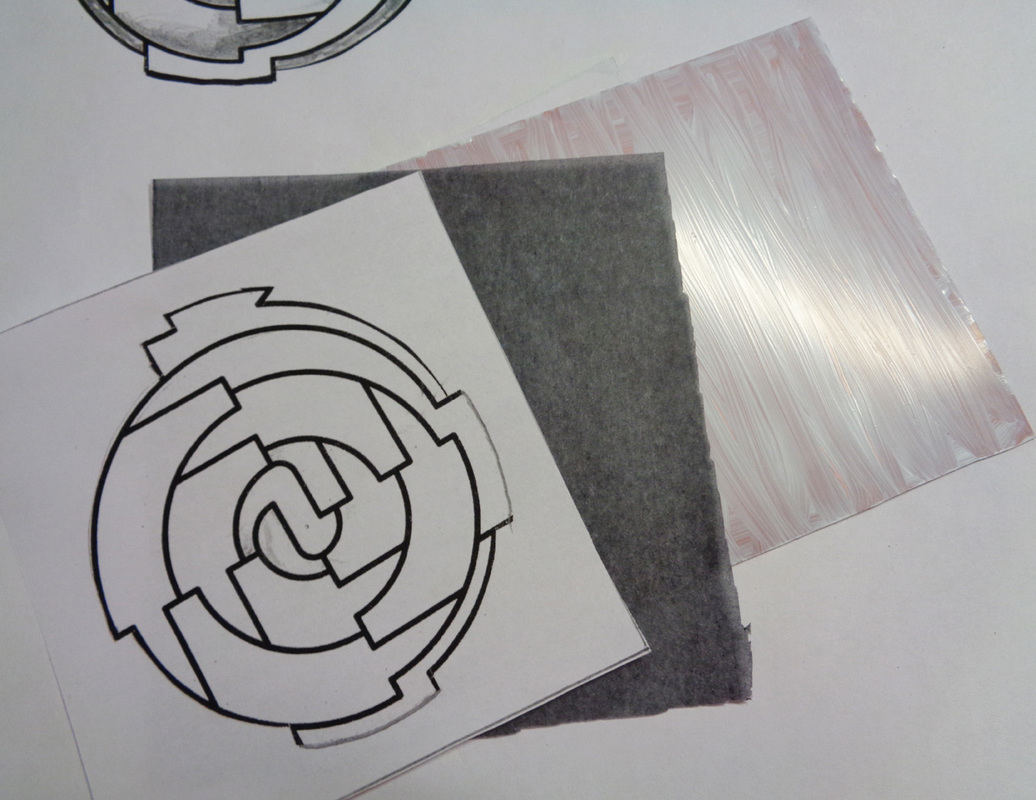
Transferring the Design. One of my sources recommended painting the copper with Chines White gouache. A layer of graphite paper is placed over the copper and topped with the design. Using a ballpoint pen, you redraw the design which transfers to the white copper. Good in theory....but I didn't have gouache, so I substituted white acrylic. It is too slick, so the design didn't show up very well. I ended up going over the pen lines with an etching tool which inscribed a line.
|
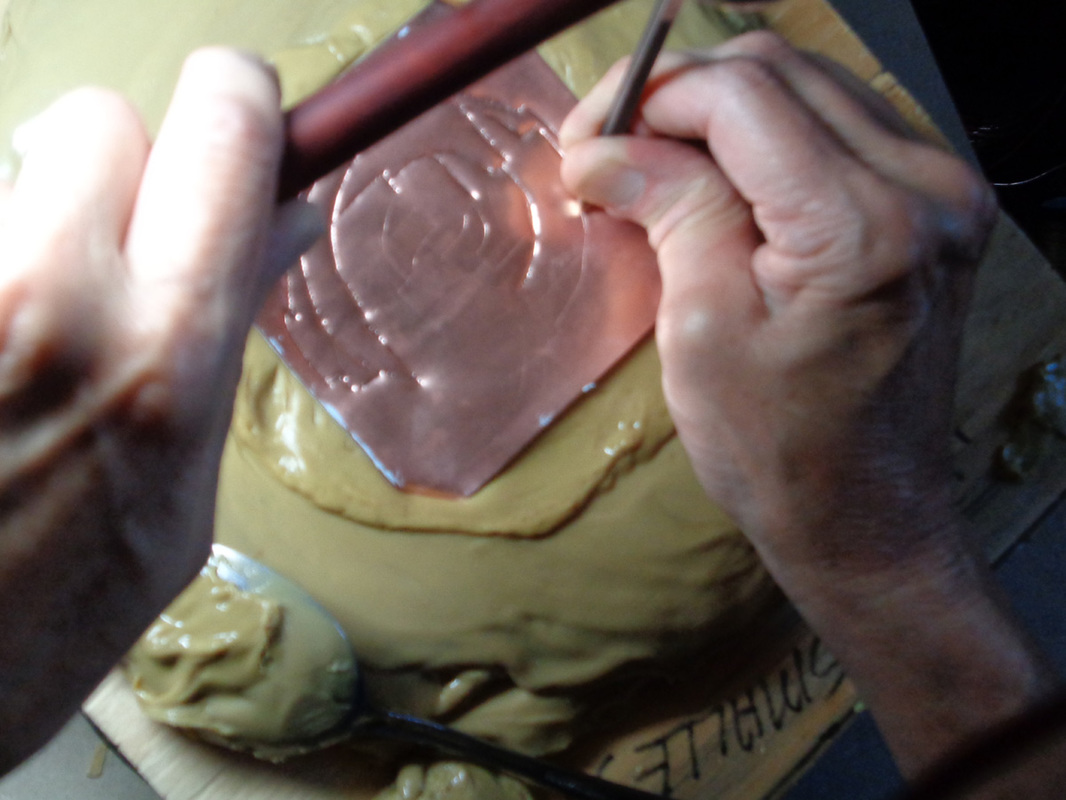
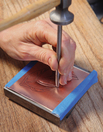
Lining the Design. Now the fun begins! I heated up my soft pitch bowl with a heat gun and pushed my copper into it. I then used a lining tool and chasing hammer to outline the design. It took a while to catch onto the technique. Rather than lift up the liner after every tap, you slide it along the outline while continuously tapping your hammer. I was surprised at how quickly it went....about 1 hour and my design was outlined. It looks like it was quilted! Pat is coming this week to show me the next step.
|
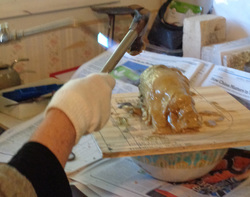
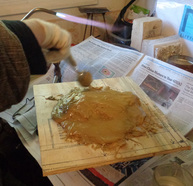
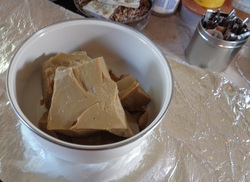
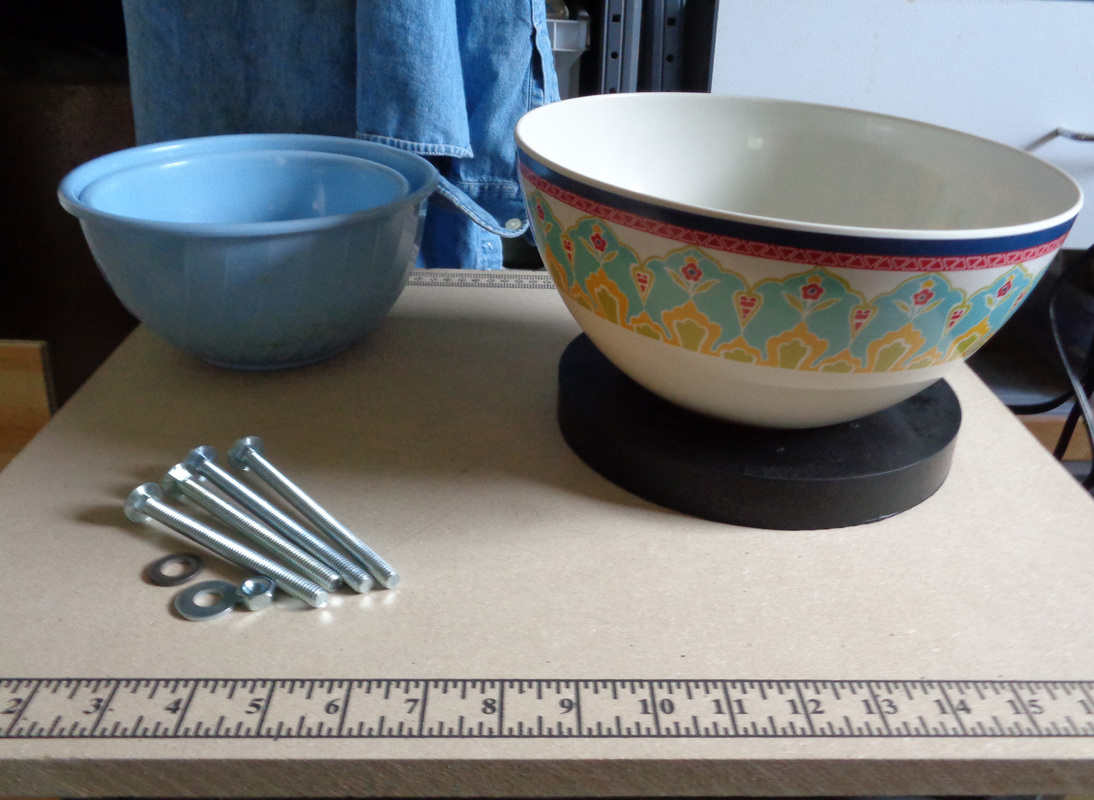
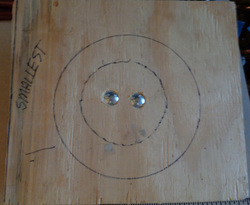
9/16: Preparing the Pitch Bowl. Pitch is a resin that is used to secure your metal during chase repousse. I bought soft, medium and hard pitch from Northwest Pitchworks. Pat showed me how to soften the pitch, which came in a half gallon milk container, with a torch. The goal is to make a circular expanse of pitch about an inch thick.
|
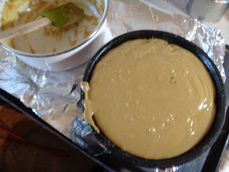
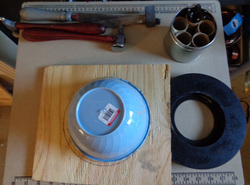
9/16: Besides making DIY pitch bowls, I purchased several commercial ones made of cast iron. I first filled them half way with concrete in order to use a smaller amount of pitch. For these bowls, I melted the pitch in an old pan over a foil-covered electric griddle. Once the pitch completely melted, I poured it into the bowl and let it cool. This way is a lot easier than the torch method. However, you couldn't use it for the DYI bowls since the melted pitch would run right off the wooden work surface. I now have bowls for soft, medium and hard pitch. They should last forever!
|
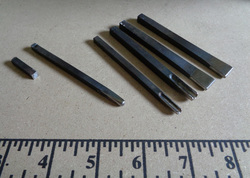
8/16: Revitalizing Old Chasing Tools. I already owned a small set of commercial chasing tools. However, they had sharp edges which tend to cut rather than stretch your metal. To make them usable, I annealed my metal to soften it; then filed, sanded and polished the heads until all sharp edges were removed. I also cut off an inch on the hammering end so the tools would fit my hands better.
8/16: Introduction to the Project. I received an Indiana Arts Commission grant for my new project: Chase Repousse. Over the next year, I will work with retired BSU metals professor and master metalsmith, Pat Nelson, to learn this ancient technique.
What exactly is chase repousse? originating in the ancient Near East (2nd millennium B.C.), chasing and repousse are two interrelated techniques used to add dimension to flat metal. to chase, the artist uses a hammer and rounded punches to apply a relief design to the front surface of heated metal. To repousse, which means "push from behind," the artist uses the same tools to work the back. Repeated hammering from the front and back is necessary to define the relief. While being worked, the metal is set on a bowl or board of warmed resin called pith which absorbs the hammer blows and keeps the design from collapsing.
What exactly is chase repousse? originating in the ancient Near East (2nd millennium B.C.), chasing and repousse are two interrelated techniques used to add dimension to flat metal. to chase, the artist uses a hammer and rounded punches to apply a relief design to the front surface of heated metal. To repousse, which means "push from behind," the artist uses the same tools to work the back. Repeated hammering from the front and back is necessary to define the relief. While being worked, the metal is set on a bowl or board of warmed resin called pith which absorbs the hammer blows and keeps the design from collapsing.
