- Home
- What's New?
- $70.00 to $110.00 Pendants
- $115.00 - $140.00 Pendants
- $150.00 - $195.00 Pendants and Pins
- $200 and over Pendants and Pins
- Bracelets for Sale
- Work at Gordy's Fine Art and Framing
- Work at Ft. Wayne Museum's Paradigm Gallery
- Work at Indiana Artisan Store: Carmel
- Work at Carrie Wright Silks
- Chase Repousse Collection
- Purchasing and Contact
IAC Grant for Silver Casting

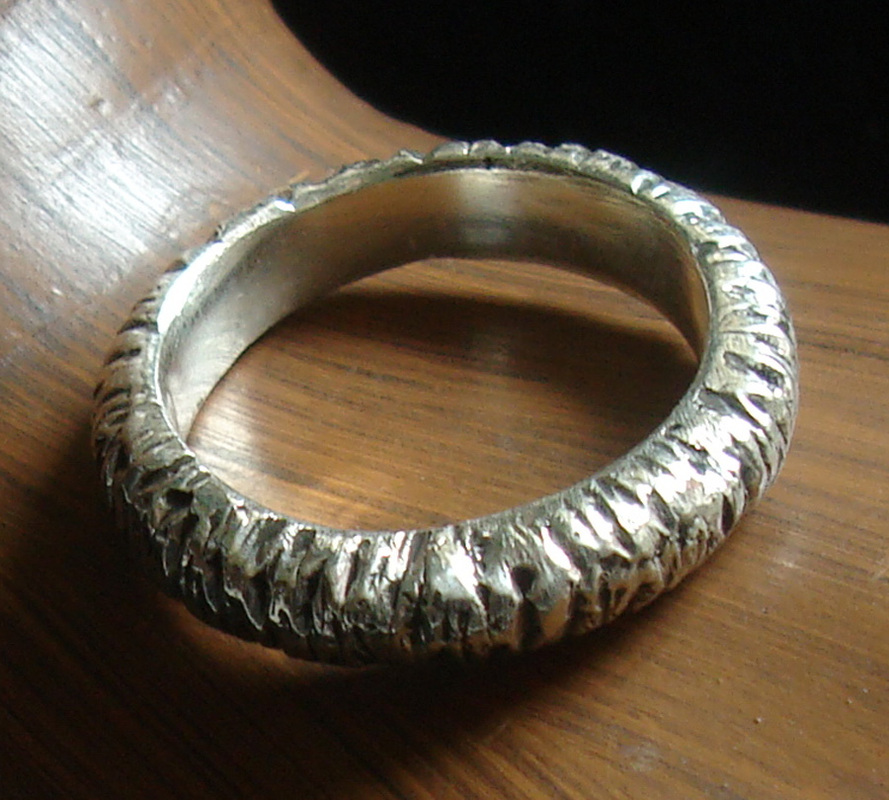
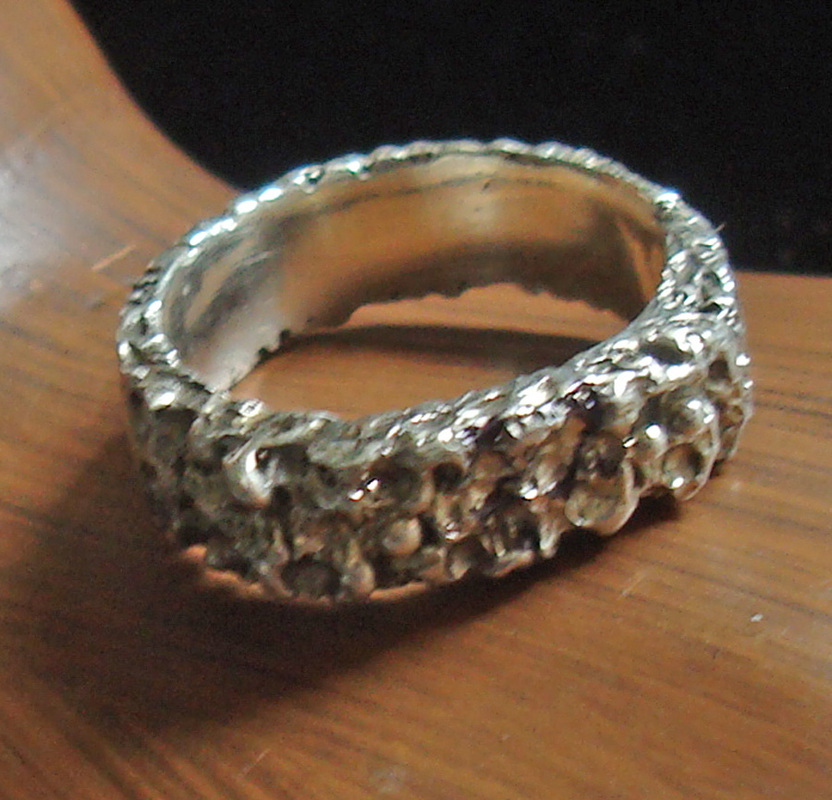
6/20/15: June 30 marks the end of my year long exploration of silver casting. Over the past year, I've experimented with two main forms of casting: gravity and centrifugal casting. In gravity casting, you pour molten metal into a mold that you have created from charcoal, sand, cuttlefish, plaster etc. Gravity casting works best for simple shapes that are flat on one side. My favorite mold medium was sand. After much practice, I consistently produced quality silver casts of antique buttons, twigs etc. that I used as jewelry components. Centrifugal casting is a lot more versatile and capable of producing complex 3-dimensional forms. I experimented with many natural forms such as seed pods, bark, twigs as well as forms carved from wax.
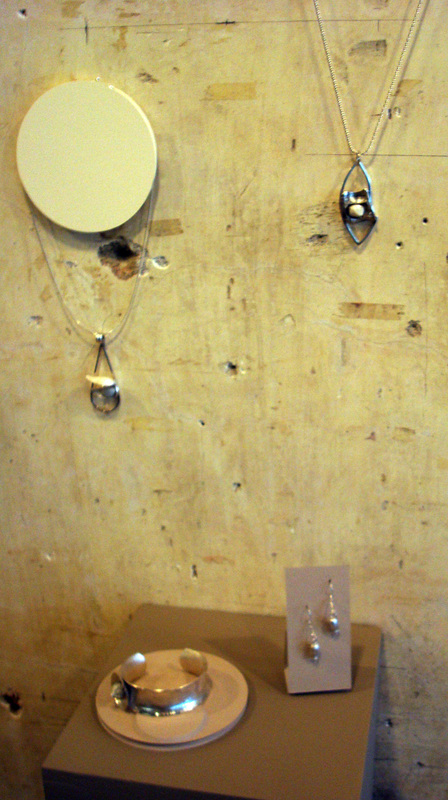
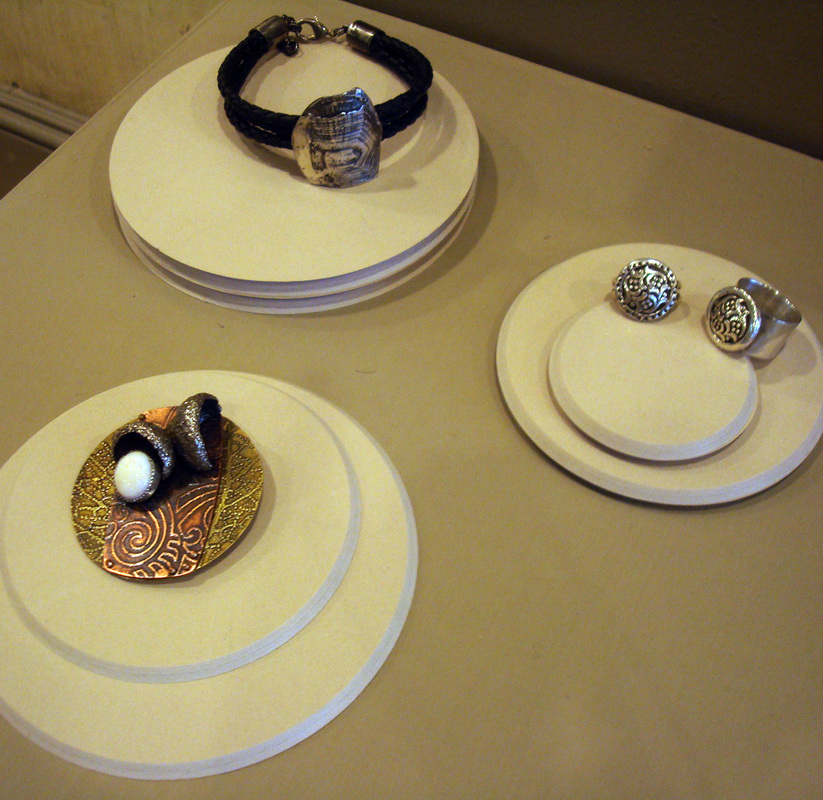
The culmination of my project was an exhibition of my cast silver jewelry at Gordy's Fine Art & Framing along with Sarojini Johnson, another IAC grant recipient. It runs from June 4 to August 3. Braydee Euliss, gallery manager, did an amazing job of displaying the work. We had a huge crowd at the opening as you can see in the bottom photo.
The culmination of my project was an exhibition of my cast silver jewelry at Gordy's Fine Art & Framing along with Sarojini Johnson, another IAC grant recipient. It runs from June 4 to August 3. Braydee Euliss, gallery manager, did an amazing job of displaying the work. We had a huge crowd at the opening as you can see in the bottom photo.
Centrifugal casting is the best casting method for capturing the complex 3-dimensional forms found in nature. The gravity casting methods in which you carve out a mold in sand, plaster, cuttlefish, charcoal or other materials work best for simpler forms with no undercuts or complexities
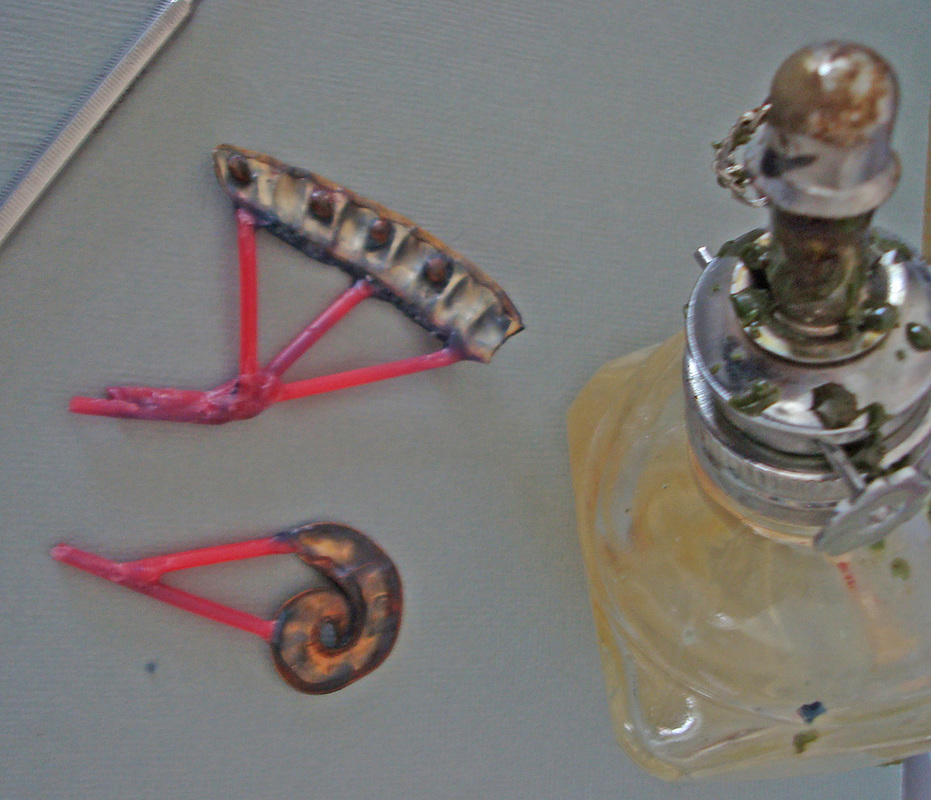
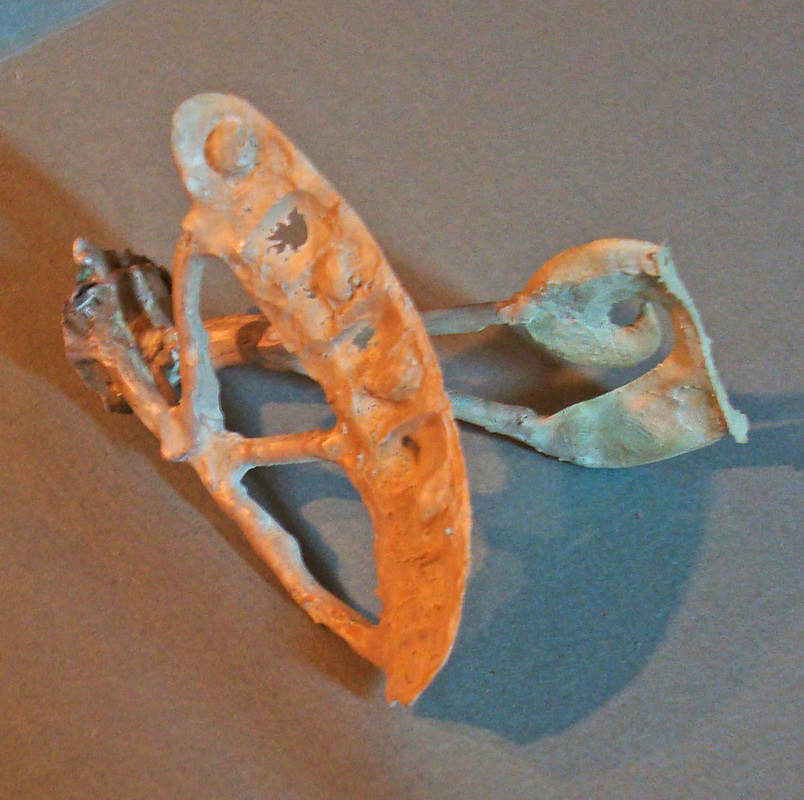
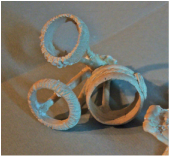
Shown above are an acacia pod and a redbud which were some of my first attempts at casting natural objects. It works like the lost wax casting detailed below except the organic material rather than wax burns out during the 8-9 hours in the kiln. As with the wax, you must build sprues out of wax rods which will channel the molten silver into the pods. The major problem I ran into was that the redbud pod was too thin and thus the cast silver had holes in it. See the picture below. I tried brushing on hot wax but it went on unevenly and made a bumpy cast. Eventually on other pieces, I heated a small metal container with wax in it and dipped the organic material into the hot wax. I learned that I could build up layers of wax evenly. Think of how candles were made by dipping and redipping a wick into wax to form layers and you get the idea.
Notice that the acacia pod only cast partially. I had positioned it too high in the flask, so the cast cut off in the middle. My solution was to use the half pod in the piece below....and treat it like that's exactly what I had planned!
.
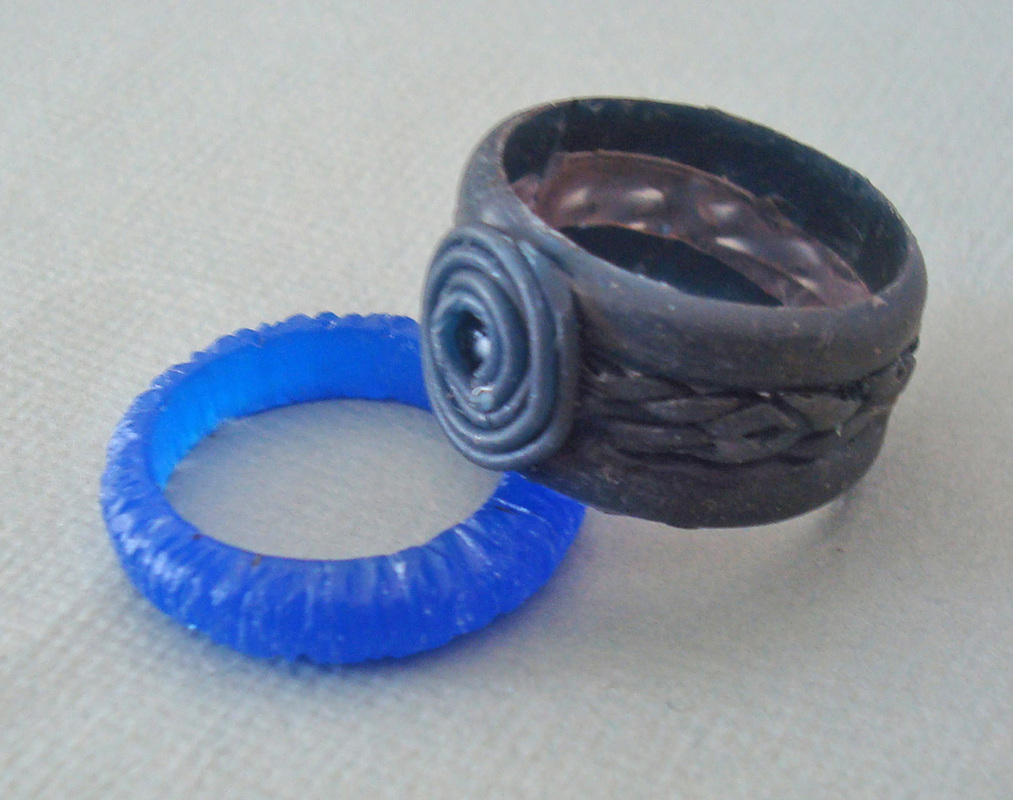
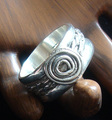
3/13/15 Lost wax casting is so named because during the process, your wax model is melted away and the cavity is replaced by silver or another metal. Thus, your wax is "lost." Using the process of lost wax casting, I can make a wax model of a ring (such as the ones on the left) and through a series of steps, end up with a the solid sterling rings on the right. Let's break it down:
|
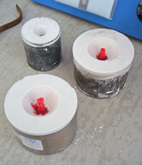
Step 3: After the plaster investment is set, the sprue base is pulled off. You can see the red sprues sticking out of the flasks. The flasks are then put into a kiln for 6-8 hours. The wax melts out, leaving a cavity for the silver to fill.
|
Step 1: Once you create your wax models, you need a channel for your metal to flow into your wax rings. Using melted wax, I attached the red sprues, which will act as the channel. I then fastened them into the black sprue base.
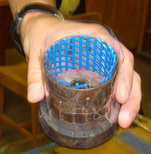
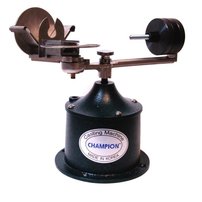
Step 2: A metal flask is fitted over the sprue base. Specially formulated plaster called investment is mixed and poured over the wax models and let to set for several hours. Step 4: This contraption is called a centrifugal caster and is used by dentists to make crowns and by jewelers. It works by centrifugal force...wind up the arm on the right for 2 revolutions and secure it with a bar. Once you drop the bar, the caster spins and shoots the molten metal into the flask. To cast, place your hot (1000 degrees) flask in the cradle on the left. The hole matches up with the hole in your flask and is where the silver will enter the flask.
|

Step 5: Before you start the caster spinning, you have to heat your silver until it is molten (about 1700 degrees). Since you can't put a thermometer in it, you learn to judge by the looks of the silver. When it's ready, it puddles in a ball and looks like the mercury in a thermometer. Once your silver is molten, drop the bar on the caster and stand back!
|
Step 6: After the flask has cooled for a few minutes, swish it in water using long handled tongs (it's still hot!). The investment plaster bubbles away, leaving your silver items at the bottom of the bucket.
Step 7: Cean up. This step takes a very long time! Using a jeweler's saw and snippers, cut off all the sprues. Then file and sand off all the places where they were attached to your ring. Finally, sand and polish your metal until it looks beautiful. Even though lost wax casting entails a lot of steps which must be followed precisely, I love the process and the results!
|
Melting Silver and Charcoal Block Molds
|
9/2/14: Let's start at the beginning...melting your scrap silver into lumps that you will later use in casting. I made a depression in an old charcoal block and filled it with cut silver scraps. As the torch melted the silver, the metal slid together like mercury does and formed itself into a circular blob. It was amazing to watch!
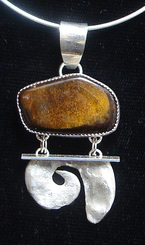
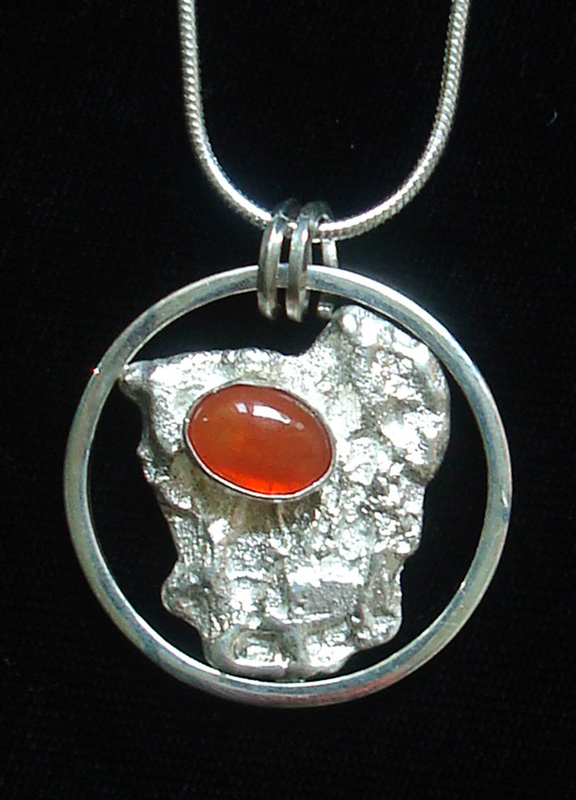
My original idea was to carve a design into the charcoal block, melt the silver inside the design and presto, I'd have a cast of the design. Not so easy because the silver wants to make a lump rather than conform to the shape you plan. After several tries, I found that if I put a fireproof block on top of the melted silver, it would force the silver into somewhat the shape I wanted. My best attempt was an irregular shape that I turned into the pendant on the right. |
Sand Casting
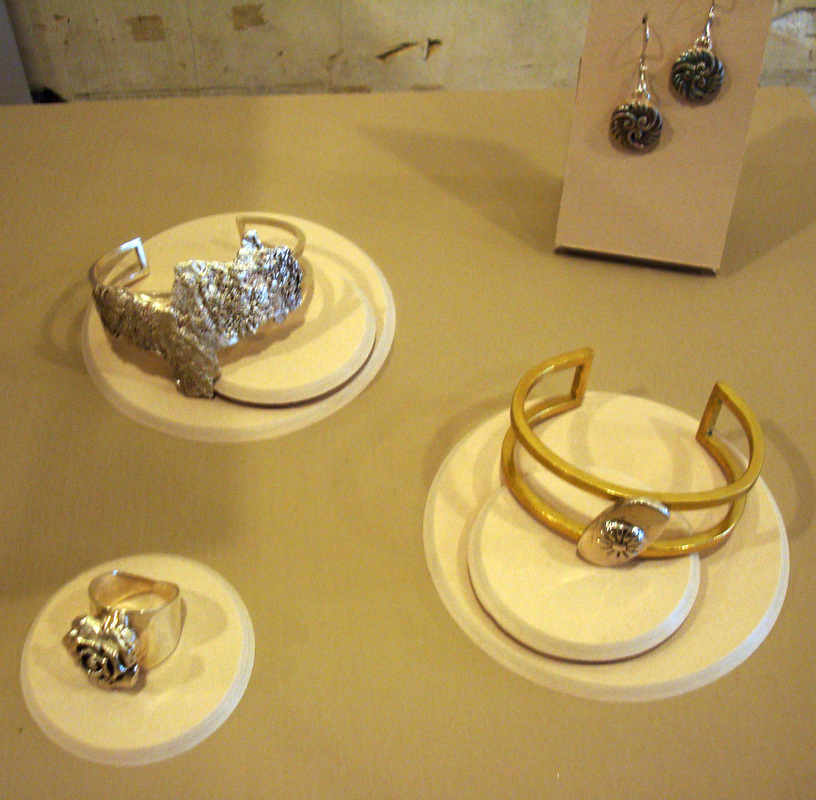
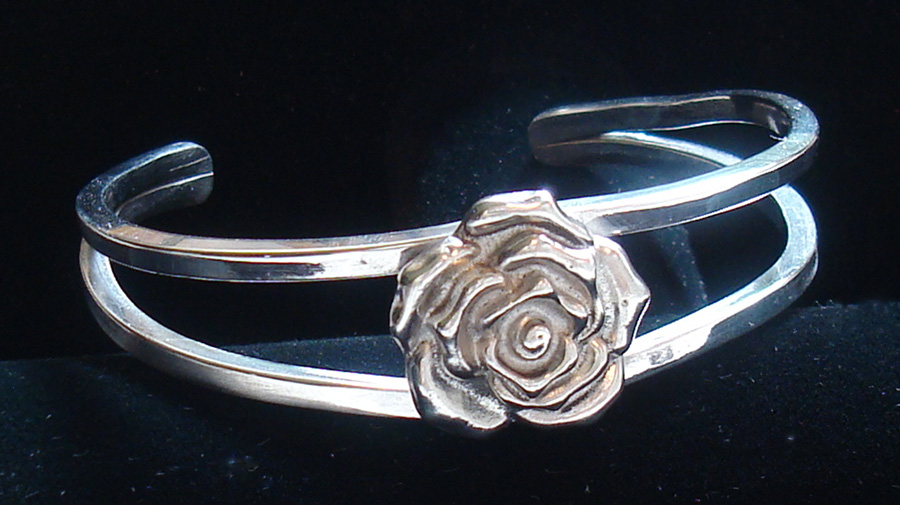
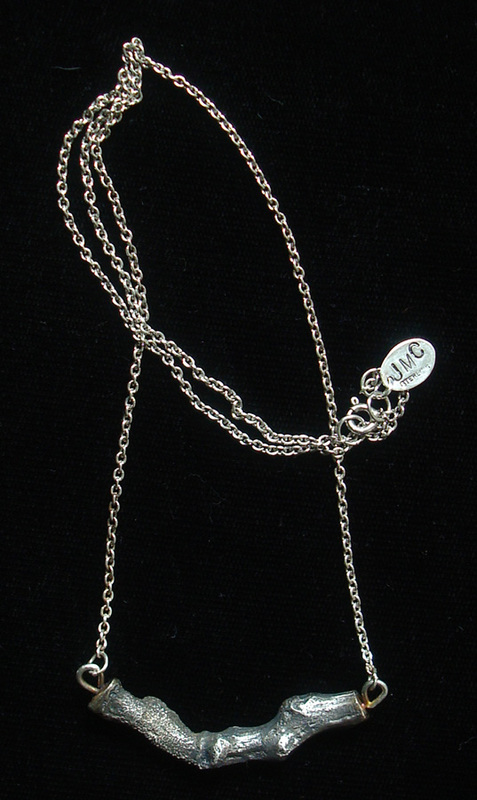
9/12/14: My first casts were ones that I made into post earrings. (See 9/2) I am realizing, however, that the best use of my sand cast is to incorporate them into my pendant and bracelet designs rather than use them on their own. For example, the bracelet is set off with a hand cast solid sterling rose which was molded from a plastic button. I made a sand cast of a walnut twig, which I then fashioned into a necklace. The pendant began as a cast heart which I cut in two because I didn't want it to look like a heart. Instead, the halves are forms connected with an agate and framed within an open box.
9/2/14: I've spent the last week experimenting with the Delft Sand Casting kit which consists of a special fine sand mixed with oil and a stainless steel form. You fill one half of the metal form with sand and tamp it down with a hammer to make it compact. Dust the surface with talcum powder and push your model (in this case a metal button) half way into the sand. Put on the second half of the form and tamp in more sand to cover the other half of the button. Open up the form and remove the button or model as shown in the picture on the left. Using a nail and penknife, make a funnel that reaches from the top of the metal form to the hollow area that will be filled with silver. With a nail, also make several air holes where the hot gases can escape during the pour. Melt several lumps of silver in a crucible and quickly pour into the funnel shaped hole you made. If you are lucky and the casting gods are smiling, you will end up with a successful cast such as the picture shown on the right.
Each of these post earrings was cast individually using the Delft system. I was amazed with the detail that can be reproduced in sand casting.
