- Home
- What's New?
- $70.00 to $110.00 Pendants
- $115.00 - $140.00 Pendants
- $150.00 - $195.00 Pendants and Pins
- $200 and over Pendants and Pins
- Bracelets for Sale
- Work at Gordy's Fine Art and Framing
- Work at Ft. Wayne Museum's Paradigm Gallery
- Work at Indiana Artisan Store: Carmel
- Work at Carrie Wright Silks
- Chase Repousse Collection
- Purchasing and Contact
Indiana Arts Commission Grant

In late June, 2012, I received an Indiana Arts Commission grant to purchase the tools and materials to create bracelets. Over the year, I taught myself to make bangle, cuff bracelets, ones made of individual segments that are linked or hinged together and many other types. My grant proposal stated that I'd complete 15 bracelets before June 30, 2013. As of May 30, I've completed 73! The more I've learned, the more ideas I want to try. The bracelets have also been well-received and have been selling steadily from the beginning. I am so thankful that I've had this opportunity to learn a entire new branch of jewelry. Thank you, Indiana Arts Commission!
The pictures and information about the bracelets are arranged from most recent to the oldest. I welcome your feedback on my new venture. Both Gordy's and the Paradigm Gallery at the Ft. Wayne Museum of Art carry a selection of my bracelets.
The pictures and information about the bracelets are arranged from most recent to the oldest. I welcome your feedback on my new venture. Both Gordy's and the Paradigm Gallery at the Ft. Wayne Museum of Art carry a selection of my bracelets.
Bracelet Blog
9/11/13: My grant ended June 30, so I will no longer add to my blog on a regular basis...unless I have a new bracelet I want to share. However, I will keep this page, so patrons and myself can look at past designs. I am willing to make similar pieces to the ones in the blog, so let me know if you see something you like.
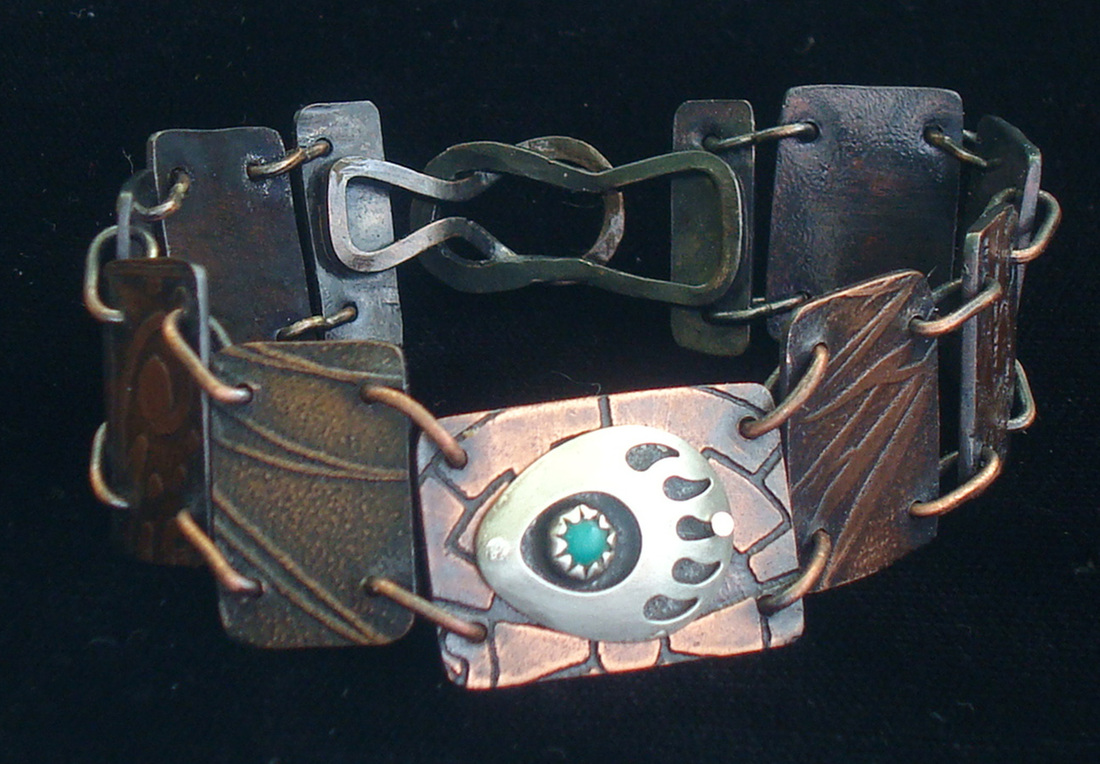
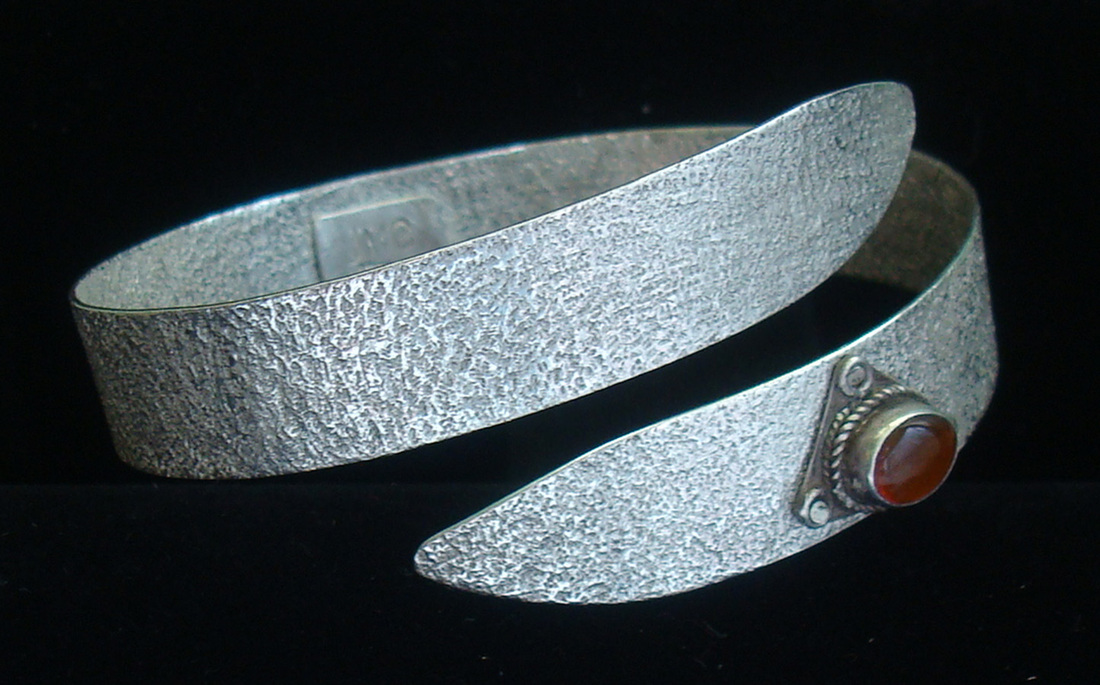
May 30, 2013 These don't fit in any categories...just designs I wanted to try. The first is made from etched copper rectangles left over from other projects and linked with rectangular copper jump rings. The focal point is a recycled Navajo earring that's riveted with silver. The bracelet closes with a hand-forged clasp. The bracelet on the right is a spiral of textured silver with a recycled amber as the focal point.
May 30, 2013 These don't fit in any categories...just designs I wanted to try. The first is made from etched copper rectangles left over from other projects and linked with rectangular copper jump rings. The focal point is a recycled Navajo earring that's riveted with silver. The bracelet closes with a hand-forged clasp. The bracelet on the right is a spiral of textured silver with a recycled amber as the focal point.
May, 2013 Navajo craftsman often form cuff bracelets using thick metal wire....my inspiration for these bracelets. I didn't even attempt these until recently because they demand technical forming skills that took me all year to learn. I respond to the simplicity of design especially in the bottom two.
May, 2013 These 4 bracelets are examples of synclastic curves, which means that they are domed. After trying unsuccessfully to form a curve over a steel pipe, I bought a set of steel forms made specifically for this purpose. To get the curve perfect all around, one must first solder the metal strip into a circle and then hammer it into the correct form. Then if I want a cuff instead of a bangle bracelet, I saw the bracelet in half and round the corners.
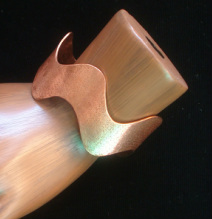
May, 2013 Anticlastic bracelets are the opposite of synclastic in that the metal is formed over an inward curving "stake." Again, they begin as a soldered circle which is hammered into the correct shape and then cut apart. Both anticlastic and synclastic bracelets are so fun to make because it is blacksmithing. You heat your metal, pound until the metal work hardens, heat again and continue until you get the form you desire.
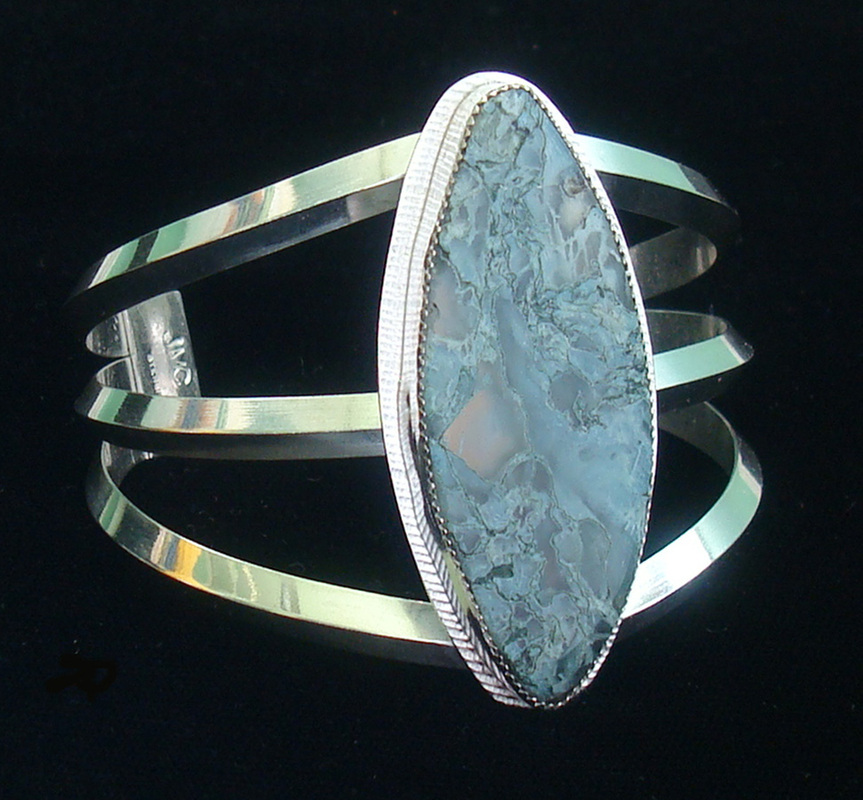
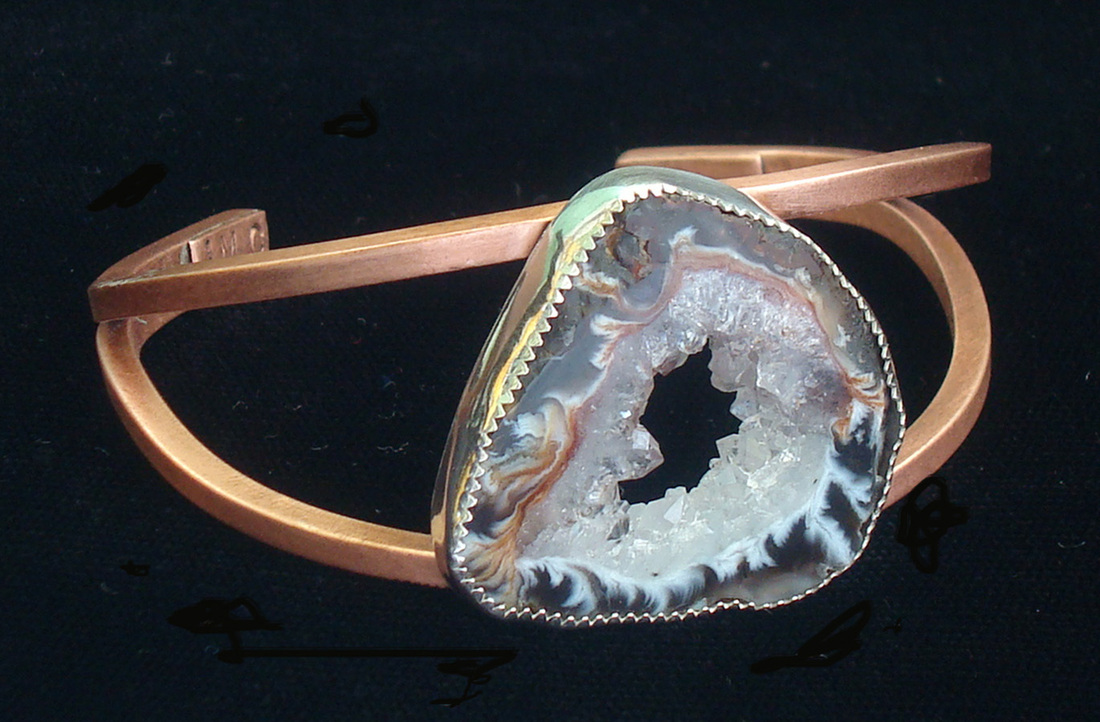
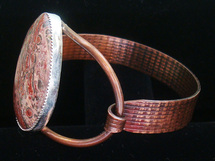
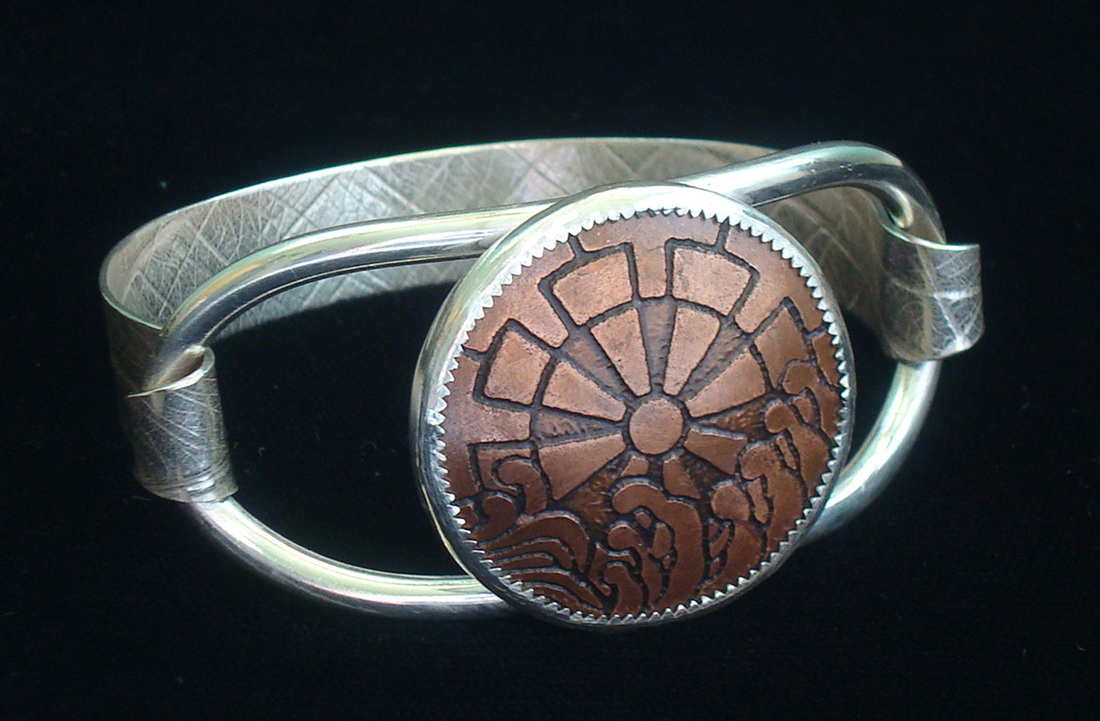
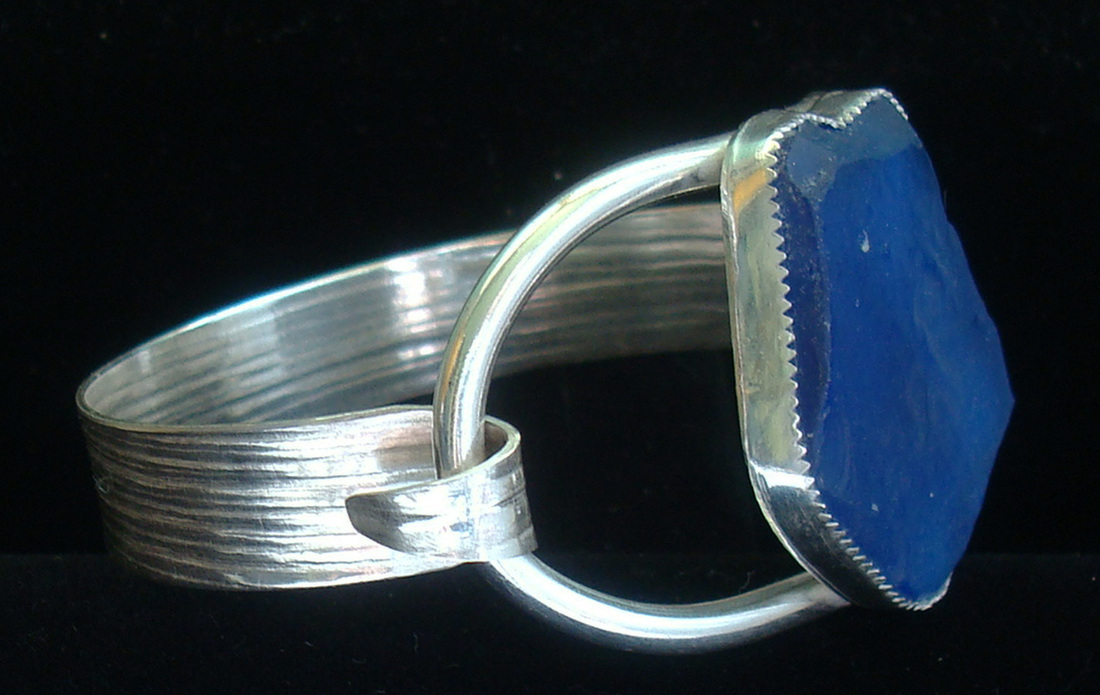
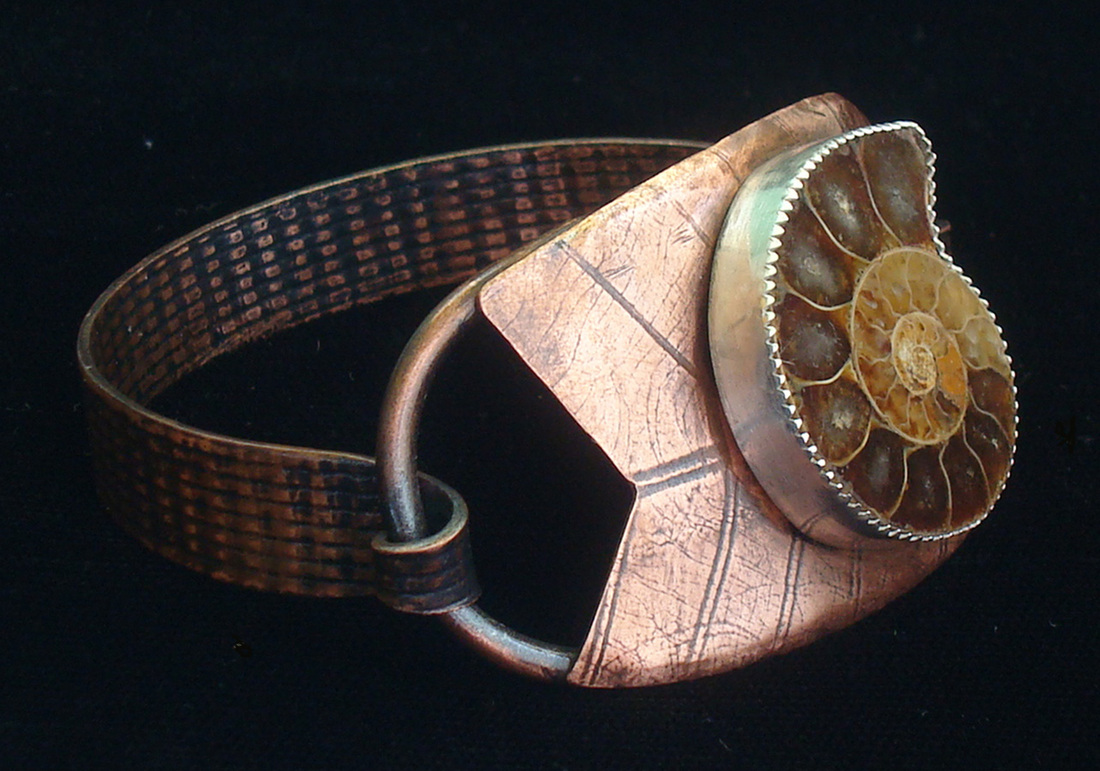
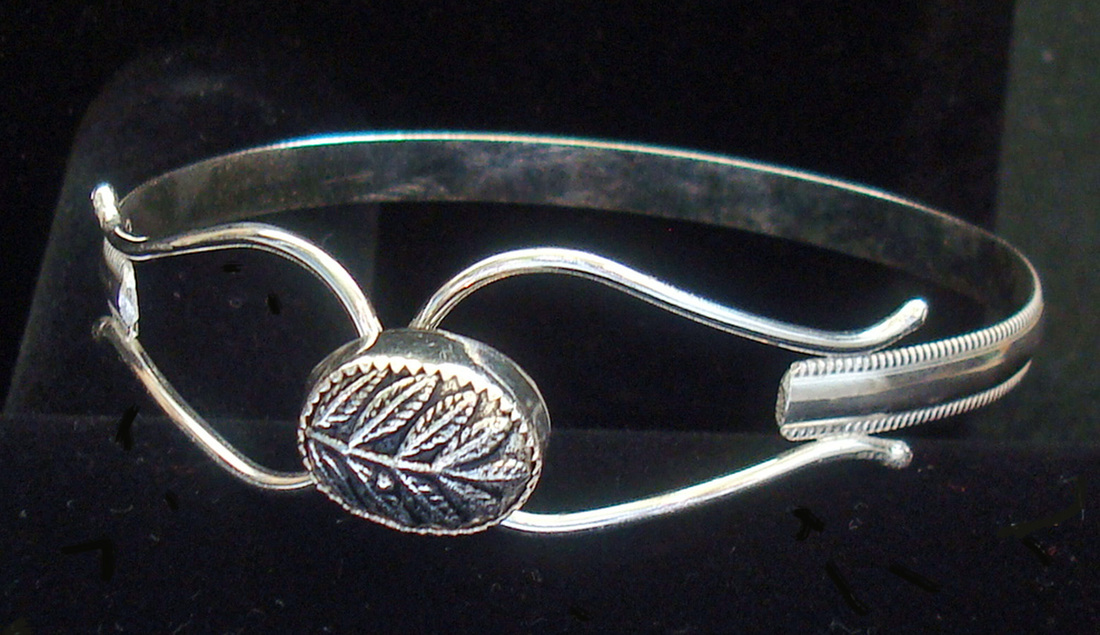
April & May, 2013 these bracelets open and close with a gate type hinge. I made the first one with copper and Birdseye Rhyolite (already sold) and fell in love with the concept. The other 3 are variations on the theme: silver with cobalt beach glass, silver with etched copper, copper with Ammonite.
April, 2013 I call these loop bracelets because they fasten by fitting the one loop over the stone on the other side. simple in concept, it took me more than one day to make a successful one.
|
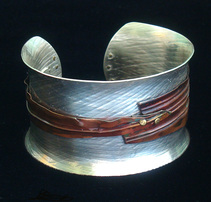
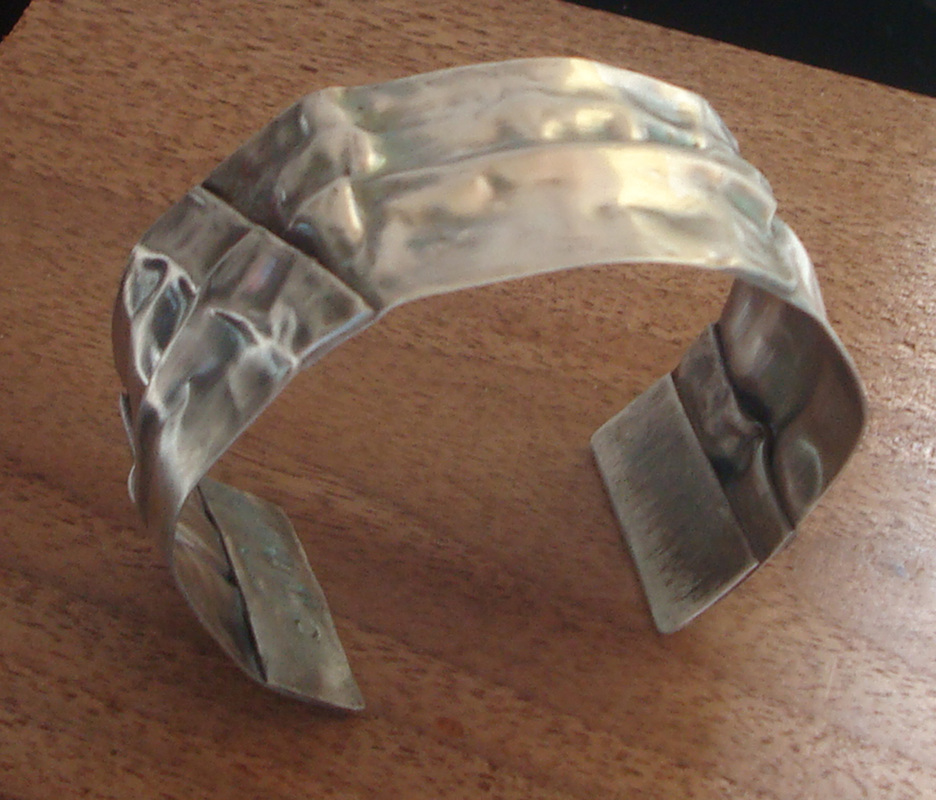
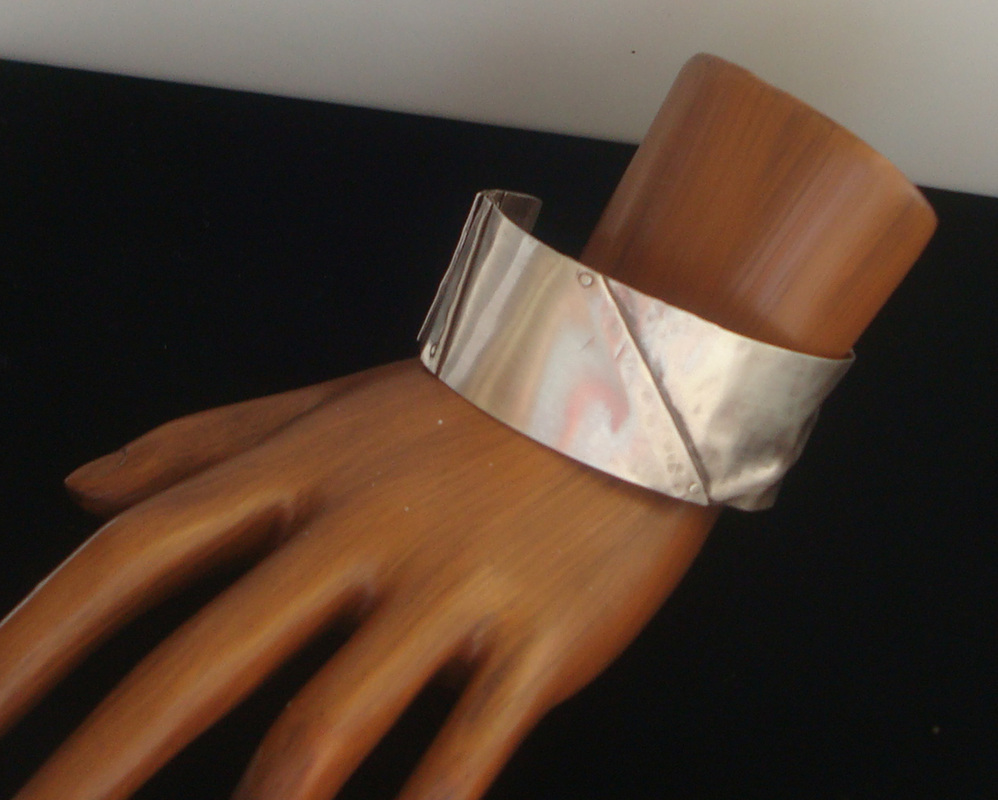
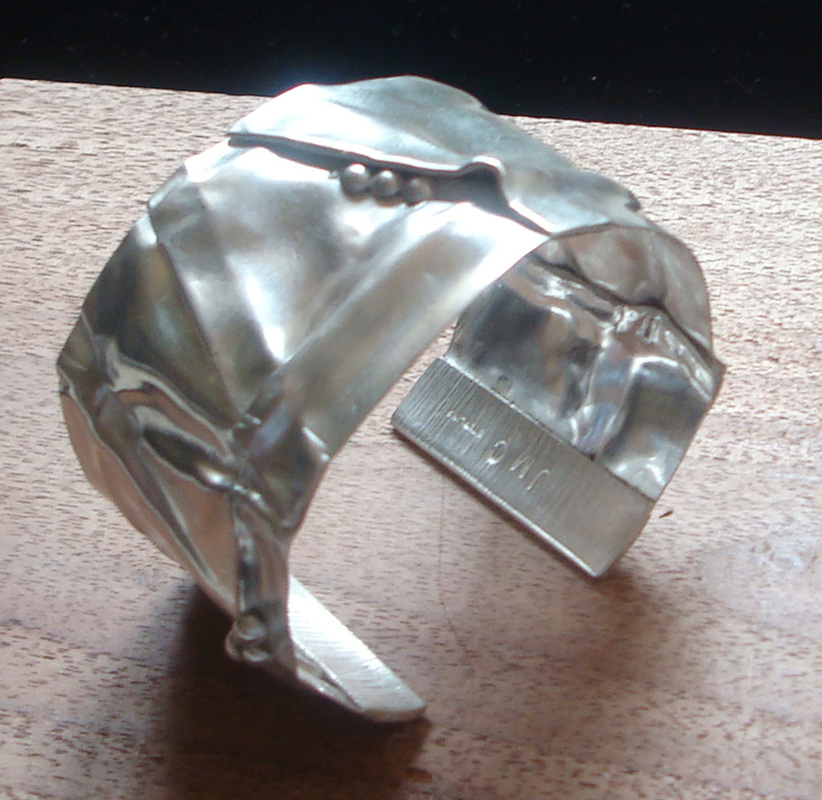
1/29/13 The last 3 creations are made of folded sterling silver. Earlier, (9/21/12) I'd made some folded copper cuffs and now I felt confident enough with the process to try it in silver. Much like a blacksmith works, I heated the silver sheet folded it, unfolded, reheated, refolded and so on until I was pleased with the results. I then cut it into strips and formed each into a cuff.
|
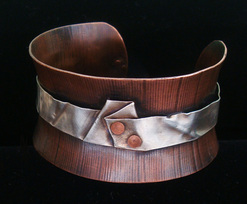
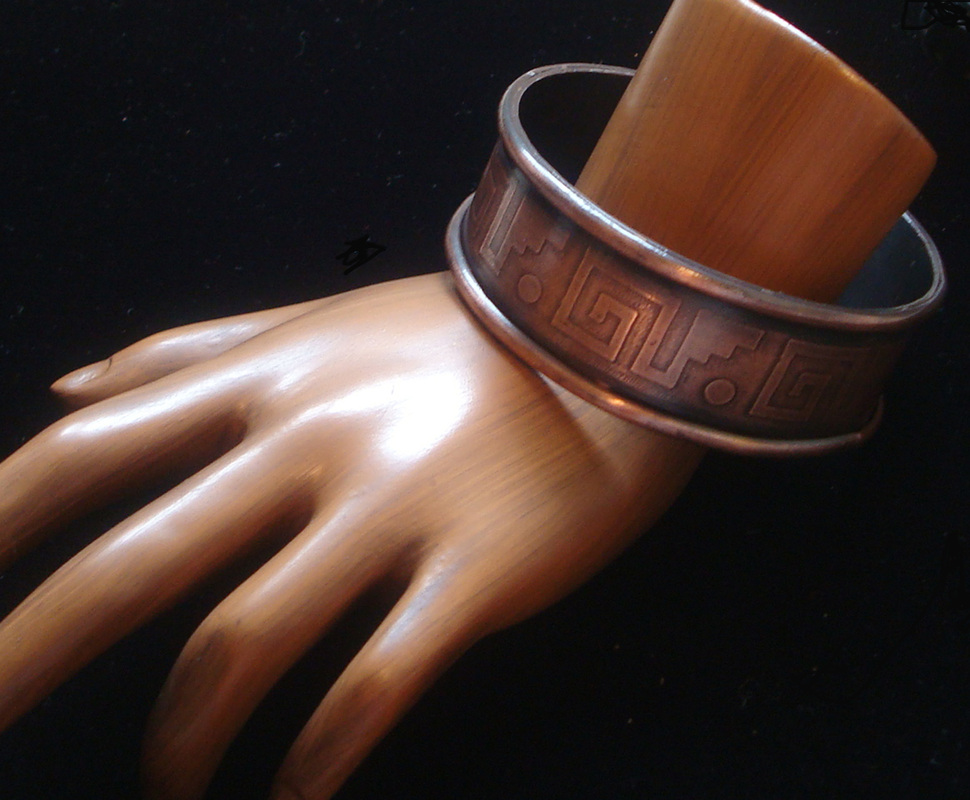
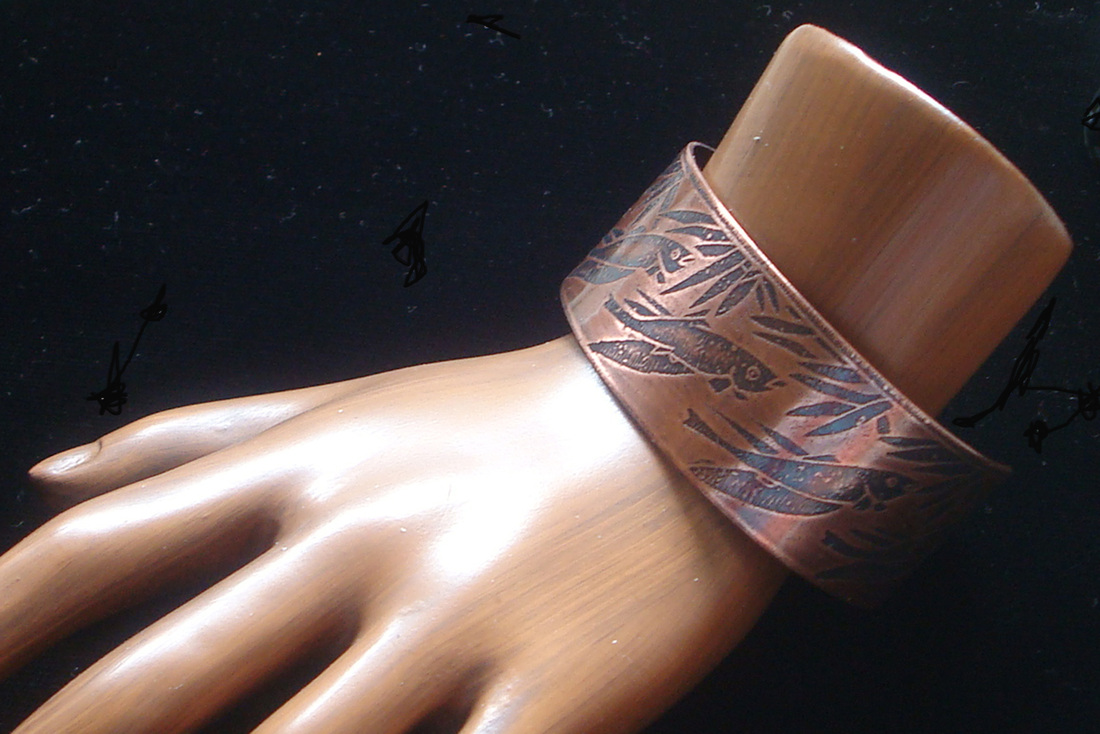
1/29/13 I finished each of the 3 etched copper bracelets below with a border made of half-round copper. It adds another dimension and decorative quality. The first 2 are cuffs while the last one is a bangle.
|
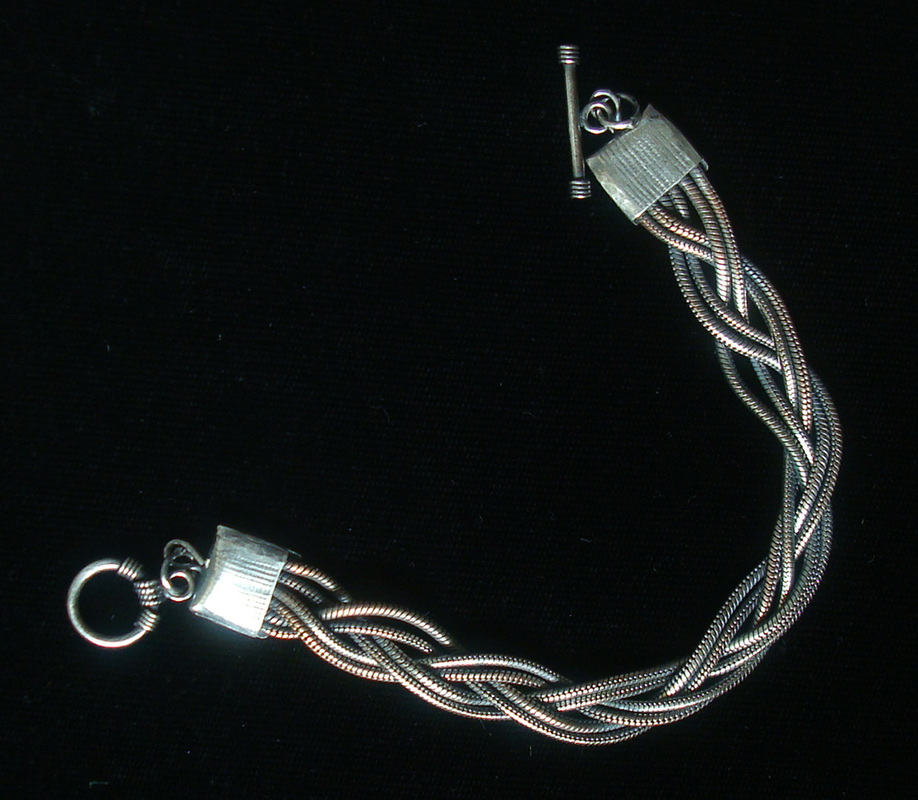
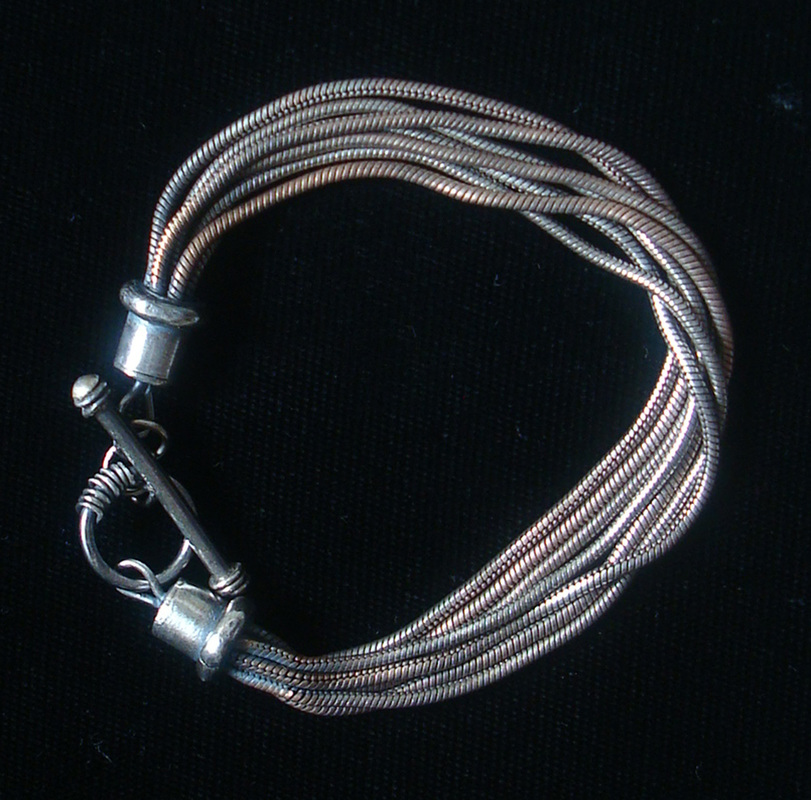
1/29/13 Just showing off my latest skill: making toggles. They are an awesome way to clasp a bracelet. The first one is the antiqued version of one made earlier (see 1/4/13). The other two answers the question of what to do with some leftover sections of silver plated snake chain. On the first, I braided 6 chains while on the other I soldered 7 into a sterling tube. The heat of soldering reveals the copper and brass underneath the silver plating. I like the subtle colors on the chains which I enhance by antiquing the metal.
|
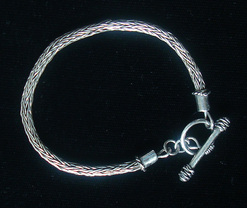
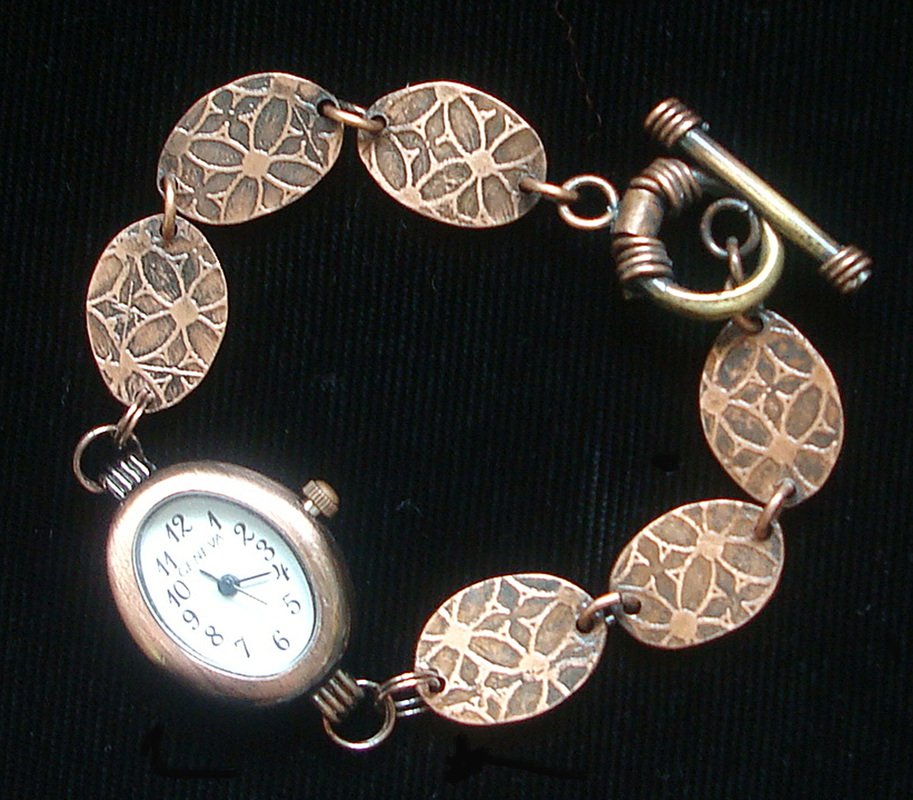
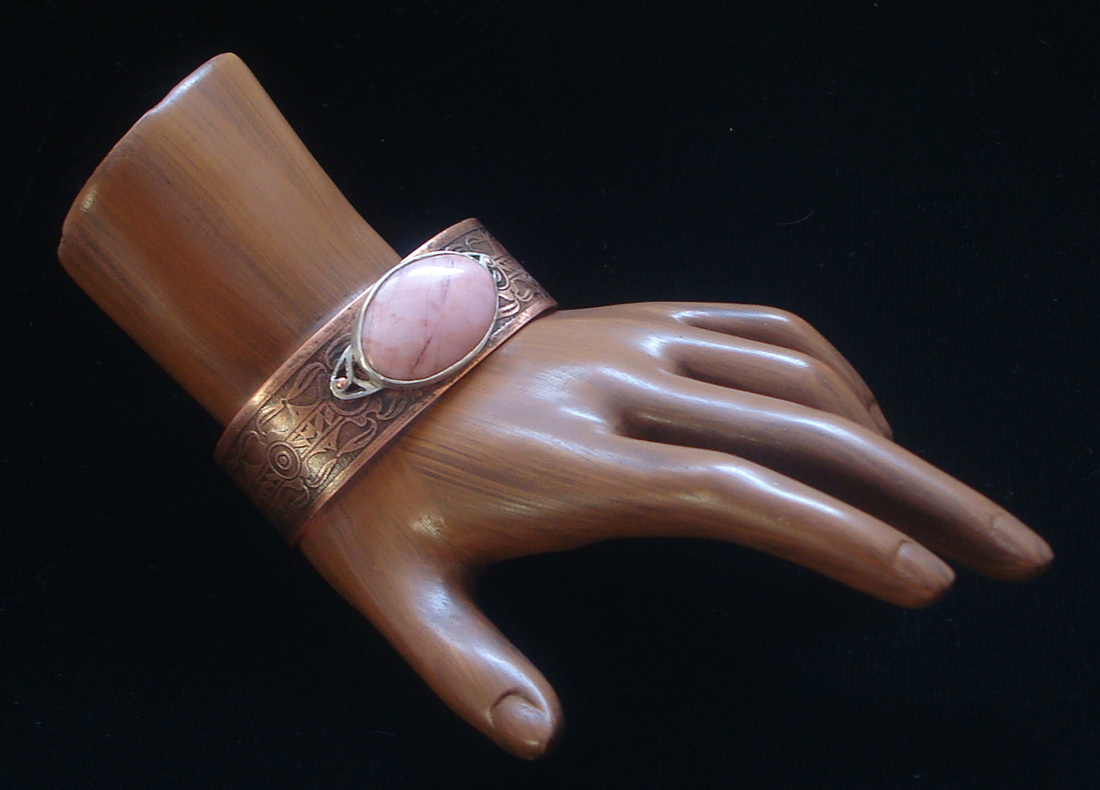
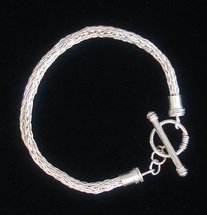
1/4/13 Below are four new bracelets: three etched copper and one sterling silver. The first is a 1 3/8" wide bangle while the second is a 3/4" wide cuff with a pink Rhodocrosite stone. The lower left shows my first link bracelet which features etched copper ovals connecting a copper watch face. On the lower right is a sterling silver bracelet made out of a chain I wove from thin silver wire. I have enough chain for two bracelets, but then never again. Making chain is simply too tedious. After studying a commercial toggle closure, I made my own to finish both this piece and the watch (which took more than one
day of trial and error!) I really like the look of homemade components, so this toggle will appear again and again.
day of trial and error!) I really like the look of homemade components, so this toggle will appear again and again.
|
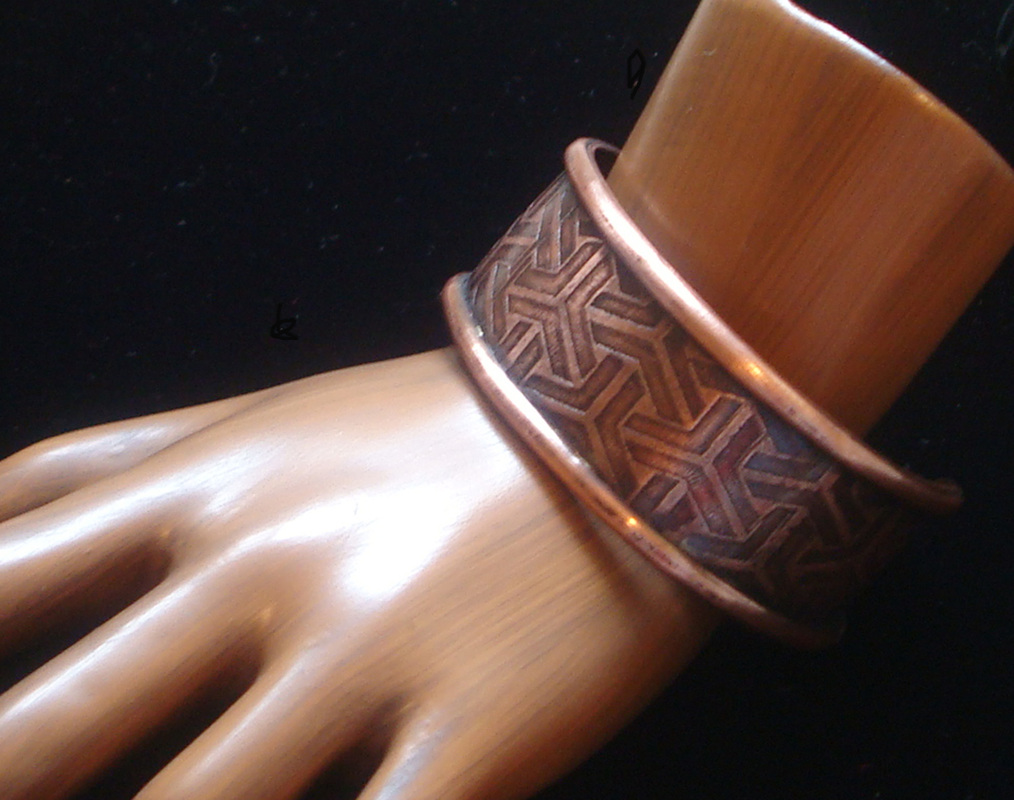
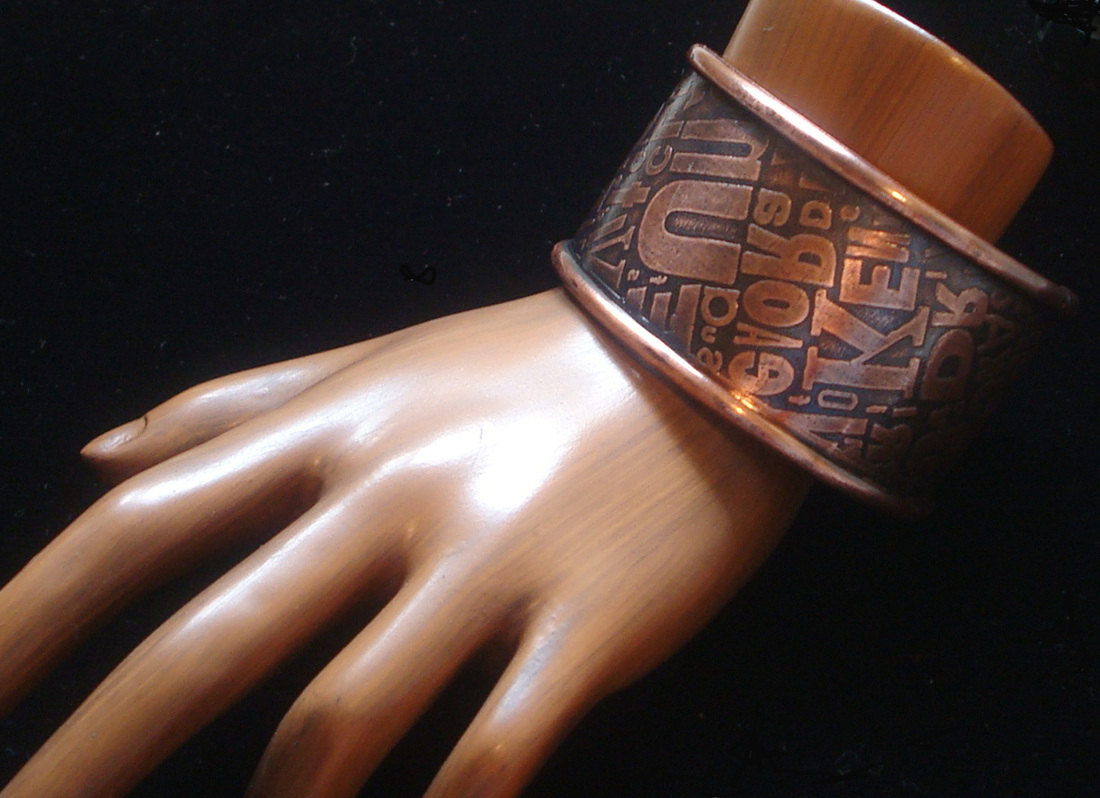
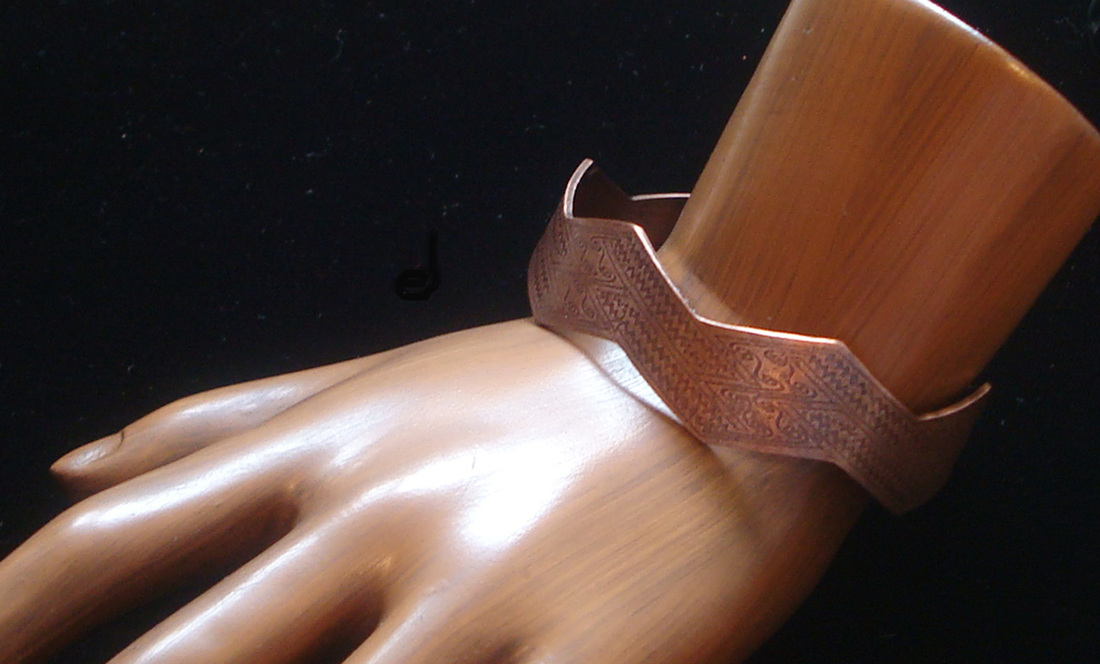
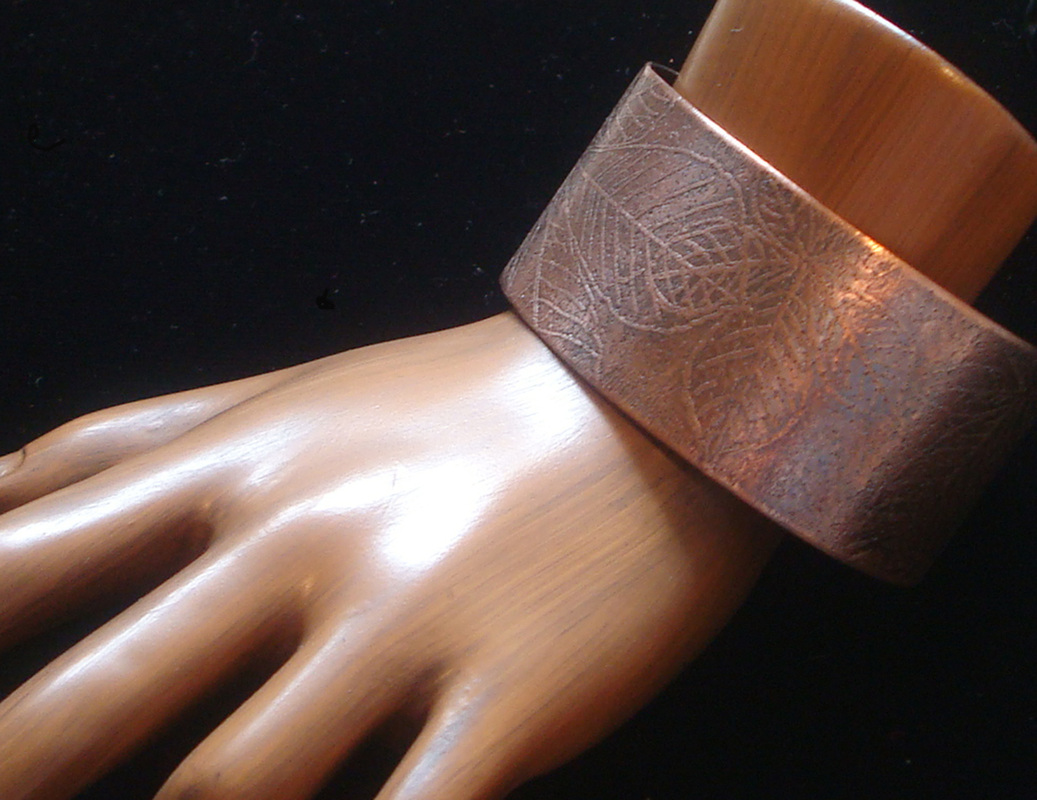
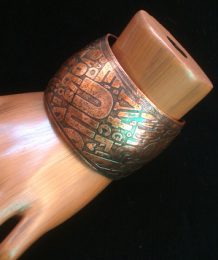
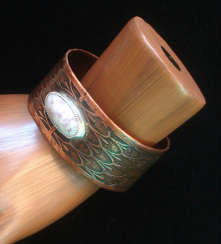
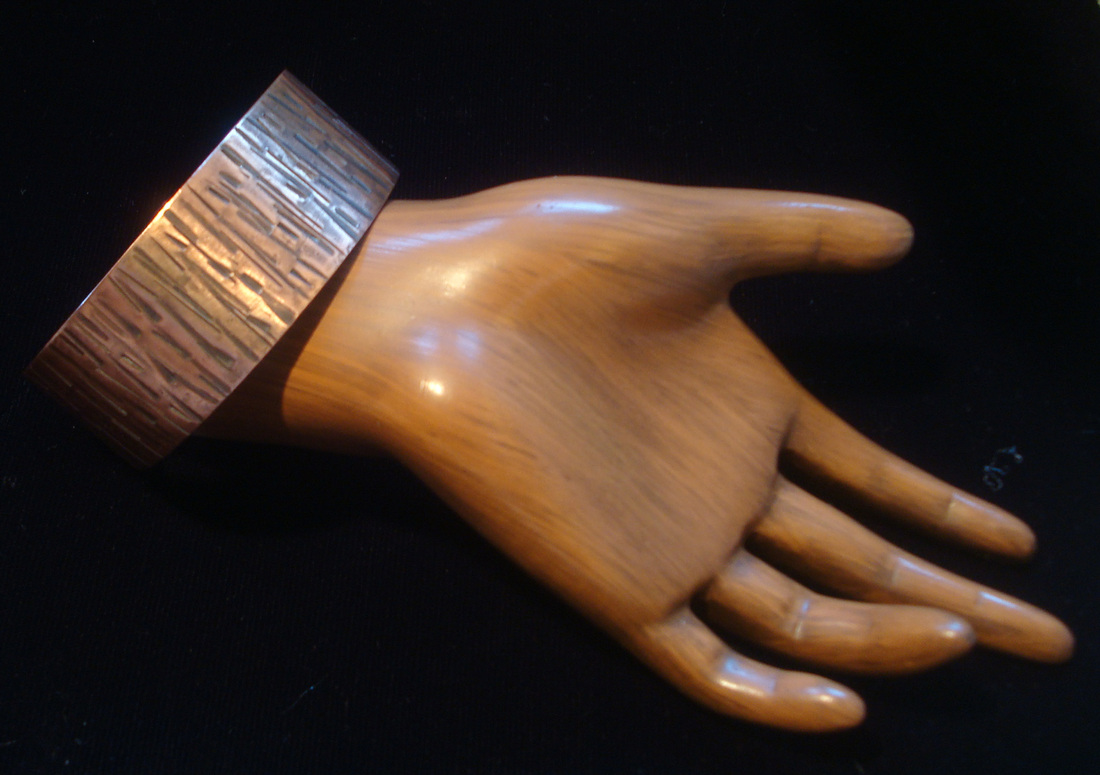
11/19/12 - Many of my pendants are constructed of etched copper. Now I'm using the etched copper in my bracelets. The photo on the right shows a thick cuff with a geometric motif that reminds me of pine trees. Below is one of my favorites ---a wide, domed cuff with a random letter pattern. In the lower right is an etched cuff with a purple and white lace amethyst.
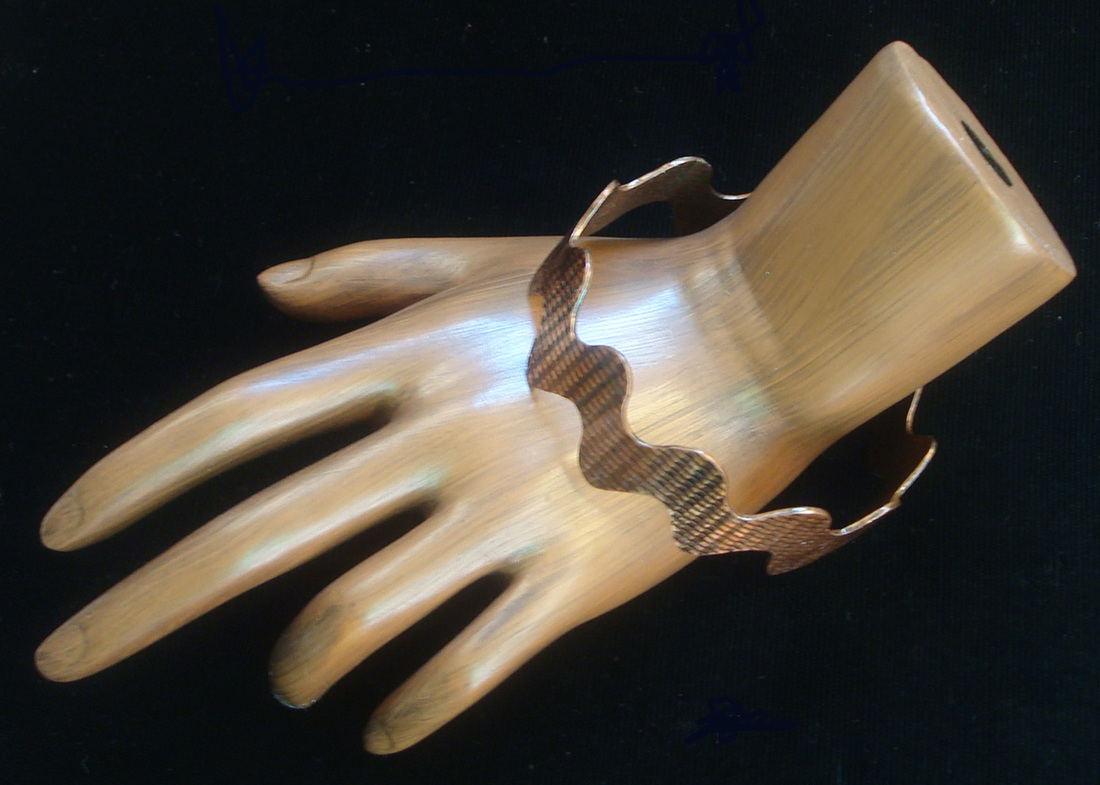
11/19/12 - My design inspiration for these three bracelets was rickrack, a type of trim used on clothing. I purchased some at the fabric store and used it as my pattern for the bangle on the right and the cuffs shown below. I liked it so much that I made one in silver and textured it with chasing tools. |
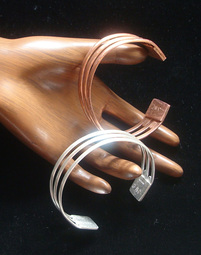
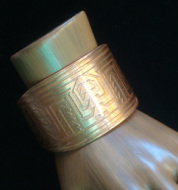
10/14 - It's been a while since I made a bracelet because I wanted to finish up a number of pendants that have been sitting on my workbench. But here's my latest cuff bracelet design. It's constructed of 3 lengths of half round wires and has an Art Deco vibe. I liked the copper version so well, I made a silver one. |
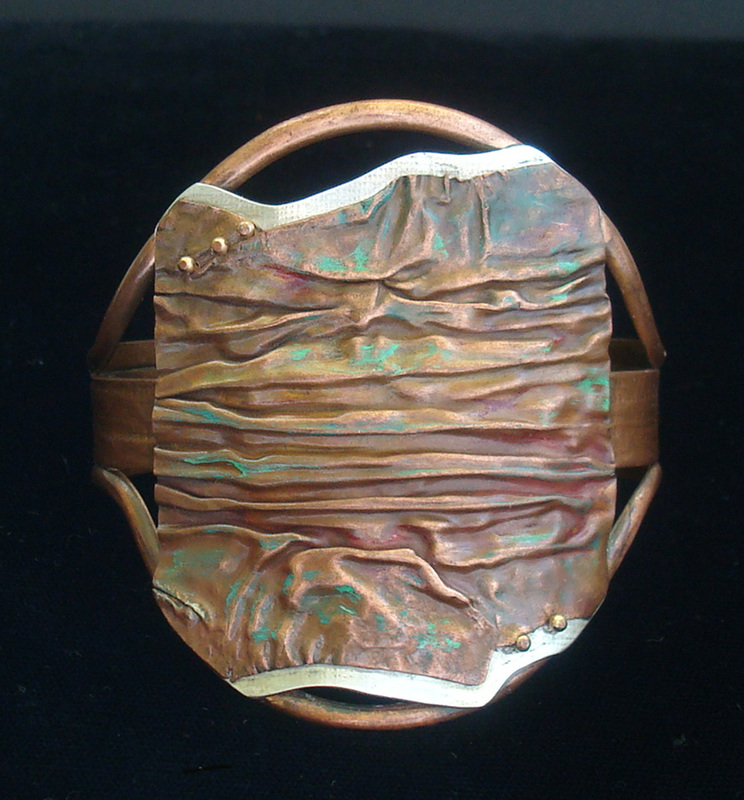
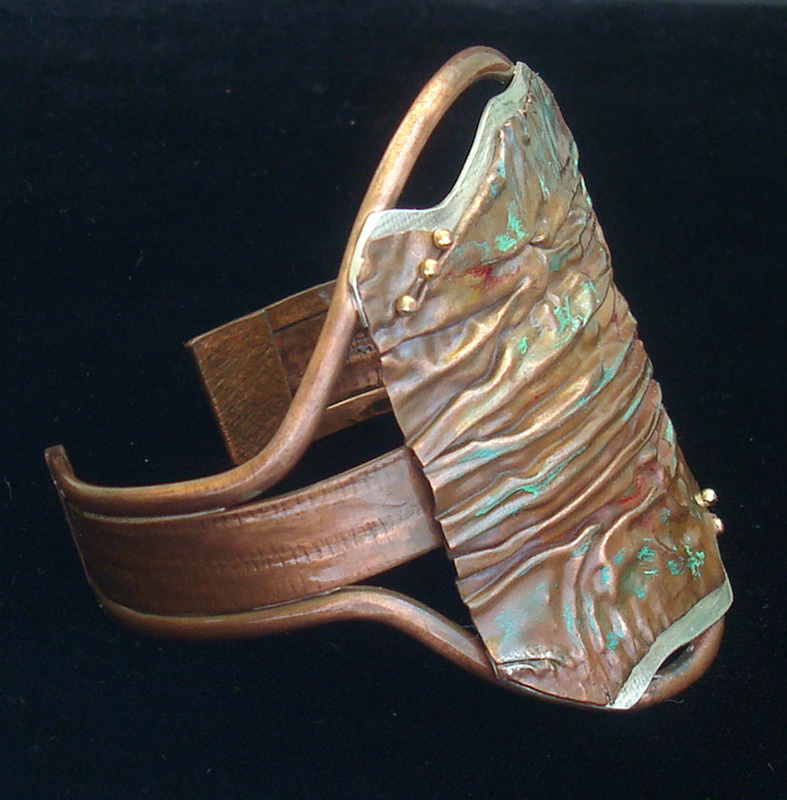
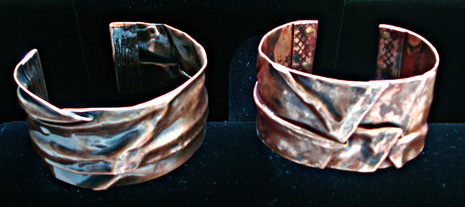
9/21 - I've been busy this week with a variety of new bracelets, both cuff and bangles depending what I'm in the mood for that day. The two cuffs below are constructed of folded copper which reminds me of folds in cloth. To construct these cuffs, you heat the metal till it glows red, let it cool, fold it into creases and then unfold and hammer it. Repeat the steps again and again until you get the deisired effect. After cutting and filing the folded copper, I soldered an edging on both end of the cuff to cover up the sharp edges. Finally it was shaped over an oval mandrel. The piece on the right also has decorative brass rivets on the edges of the cuff.
|
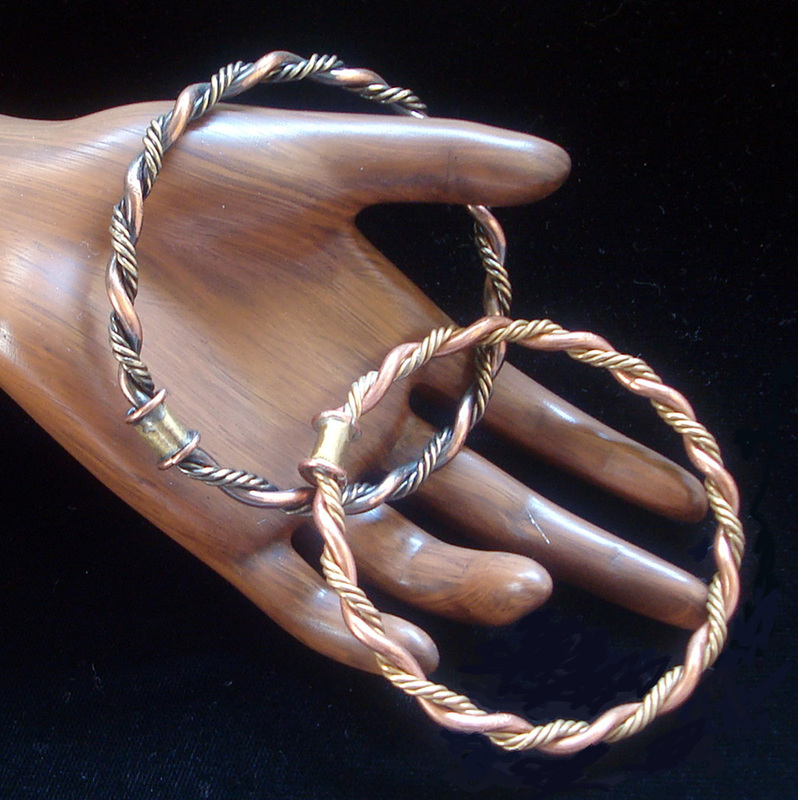
9/21 -I got all excited about twisting wires after making the twisted copper bangles (see 8/29-31). For these, I first twisted 4 thin brass wires into a single strand and then twisted them with a copper wire. Each is soldered into a bangle and the seam covered with a piece of brass tubing. The difference in the two is that the top one is antiqued in liver of sulphur while the bottom one is not.
|
|
9/12 - These are the first of my cuff bracelets with the narrow one being my practice. Unlike bangles, they are open in the back and hammered into a "C" shape on an oval mandrel. A typical cuff measures 5 3/4" of metal. The wearer can make slight adjustments by bending the metal to fit the wrist. I stamped the larger copper band with a variety of chasing tools and riveted on a narrow band of copper.
|
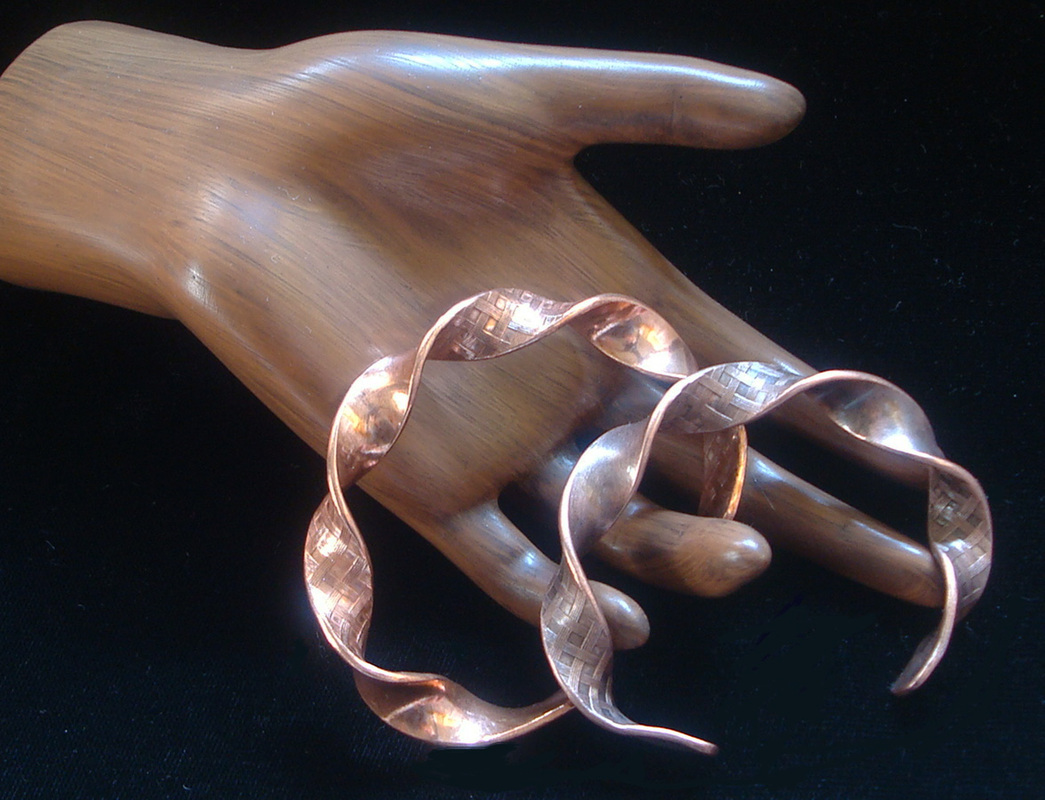
9/21 - More twists, but this time with 1/2" wide patterned copper. These cuff bracelets are modelled after an ancient Celtic necklace I saw in Ireland several years ago. The style is called a torque and is made by twisting or torquing metal that has been heated till its soft. One was antiqued while the other was not.
|
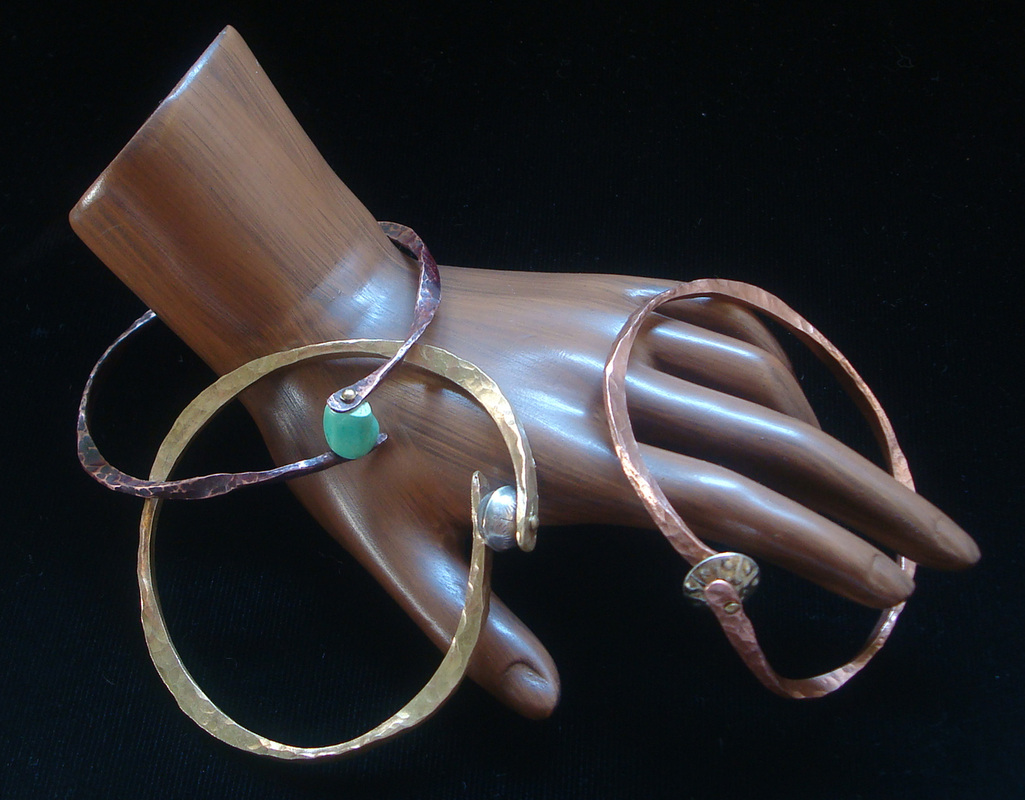
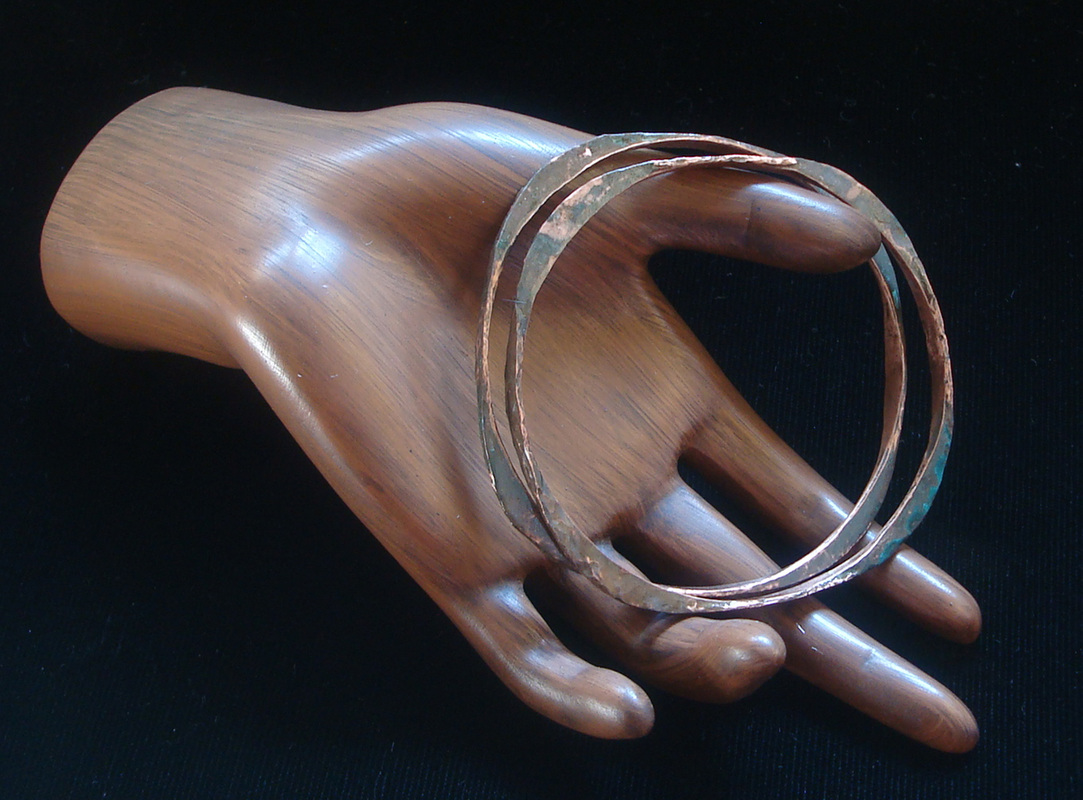
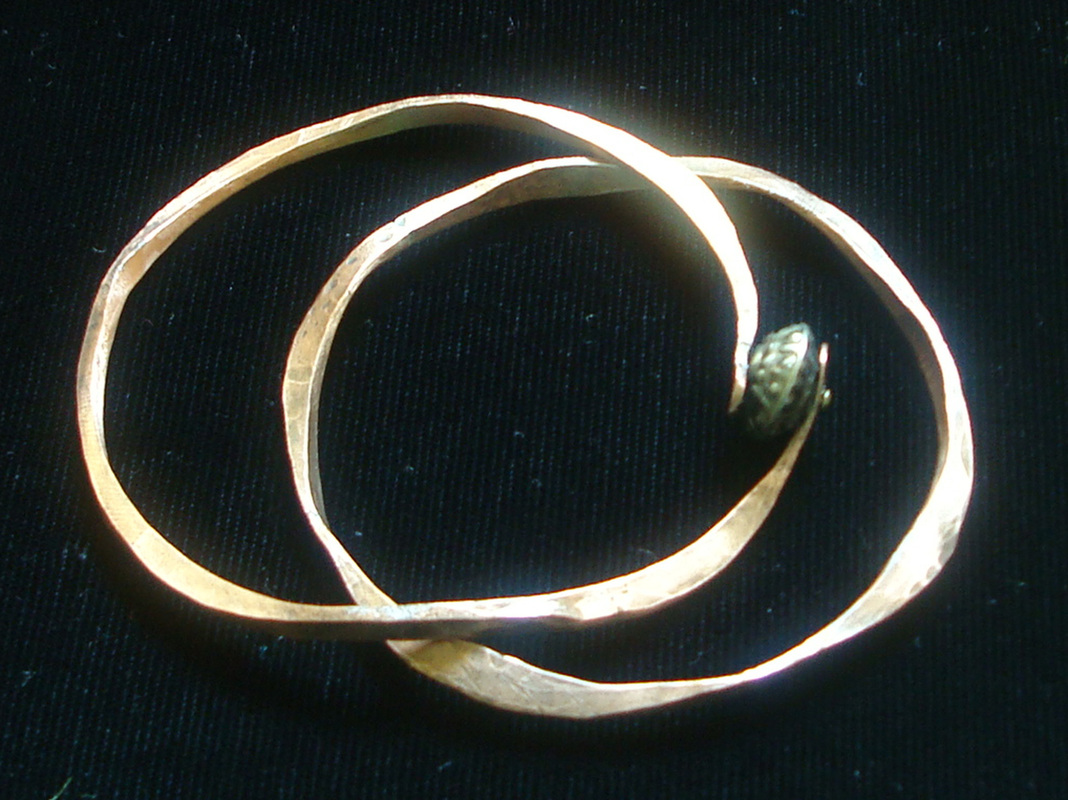
9/12 - These are some more forged bangles. When I made my first set over a week ago, I had the directions in one hand and a hammer in the other. I wanted to make sure I understood the technique, so I kept making them. The left picture shows a forged copper bangle with turquoise, a brass one with a silver bead and a copper one with a brass bead. The ones on the right are both copper with a bluish patina (made by putting them in a plastic bag with amonnia saturated sawdust.)
Bangles, bangles, bangles
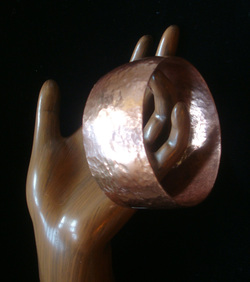
9/1 - This is a 1 1/4" wide, sturdy bangle of 16 gauge copper. I hammered the heated metal over a pipe to make it convex and then shaped it over a round bracelet mandrel. It looks great alone or combined with the other recent bangles below.
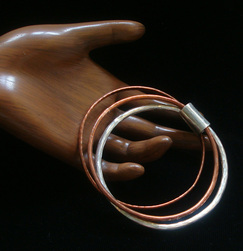
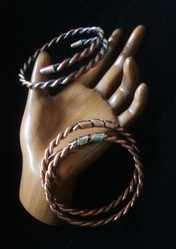
8/29 - 8/31 How about joining bangles together? The photo on the left shows two copper and one silver bangles that were threaded through a silver tube and then soldered one at a time. I like both how they look and feel on the wrist. To make each of the bracelets on the right, I first twisted two thick copper wires. On the lower two, I soldered the bangle together and covered the joint with a twisted band of silver or copper. The other one circles the wrist one and a half times and ends with hammered copper cones.I emphasized the twisting by antiquing the copper.
8/27 & 28: In preparation for my bracelet project, I researched bracelet designs and techniques while at Arrowmont this July. One intriguing bangle was made by forging --- a blacksmithing technique. To make the bracelets on the left, I heated square copper wire to cherry red, plunged it in water to cool it, and repeatedly hammered it on an anvil until it assumed the shape I wanted. What I really like is how rustic they look. The top one is not soldered, but instead attached with a rivet that runs through a brass bead. For today's bangle, I textured a 1" band of copper with metal stamps called chasing tools. This and all the bangles so far are antiqued with liver of sulfer which accentuates the textures. I then protect the finish by spraying the bangle inside and out with clear lacquer.
8/20-26 Since I've never made bracelets before, I decided to begin with bangles which are a band of metal that is shaped over a round mandrel and then soldered together. First decison: how big should they be? I'd read that a typical bangle is made from an 8" piece of metal. But since people have different size hands, I also made ones from 8 1/4", 8 1/2", 8 3/4" and 9." I'm consumer testing them on friends and so far 8 1/4" and 8 3/4" are the most popular. (See picture on left.)
The most difficult part so far is soldering, because the ends of the bangles have to be perfectly flush with no gaps or they will not solder properly. That means lots of filing and sanding until I get them perfect. My first ones had some gaps, so I just kept making them until I perfected the process.
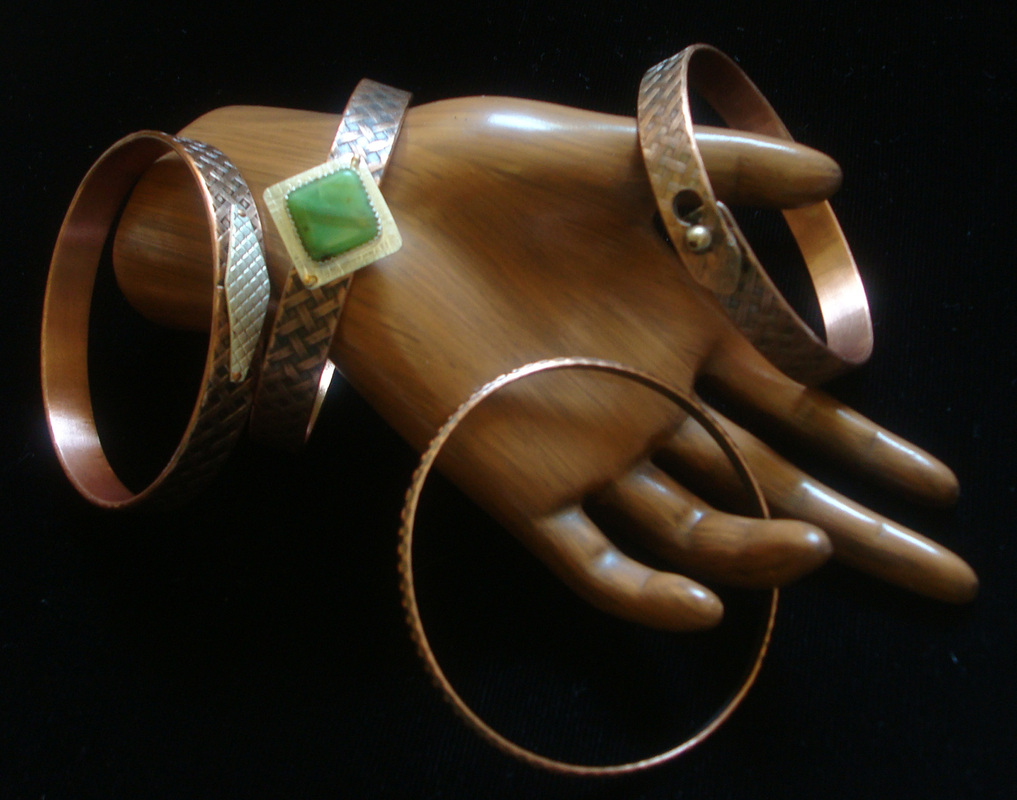
The picture on the right shows some variations that I tried after I figured out the sizing. I wanted to rivet a decorative piece of silver or silver with stone onto the curved surface of the bangle which proved challenging. Other experiments were making a bangle that fastened with a keyhole type lock instead of solder and making a narrow bangle which I textured with metal stamps.
